Today I found in my github a super simple python script for timelapse videos that I wrote a year ago.
It uses opencv to capture images from the camera and ffmpeg to create the video after taking all the pictures
It was created in Hanukkah you can read about it, if you like to know more : Hanukkah (wikipedia)
(TL;DR : It's a Jewish holiday where you light candles each day for 8 days, one candle is always lit and another eight being lit gradually every passing day of the holiday)
I just wanted to do a timelapse of the candles going off in the last day where the hanukkiah was full, so instead of downloading a free app to my phone I wanted to make my own thing so I've spent 20 minutes and wrote this script
This entry was changed and added windows configuration manual to make it run on windows also, Also the code is more mature and better documented, plus i've added some more timelapse videos and will add more in the future
Sample videos
Here are some timelapses that i've created before we dive deeper into the technicals
This was my first timelapse video using the pylapse :)
Here is the second one.. from this year
New video form Dec 15'
As a bouns here is another timelapse I did in vegas from the flamingo hotel
The code
The script is super simple so I think there is no need to go over it..
If someone will ask me to I'll add an explanation
Here is the code:
https://github.com/dannyvai/pylapse/
The only file that matters is :
https://github.com/dannyvai/pylapse/blob/master/pylapse.py
How to run the script after downloading the code:
to start a timelapse :
python pylapse.py -t True -f fps -e event-duration -v video-duration -w width -l height -c cam_idx
Not all the params are needed most of them have default values
fps - frames per second of the video output
video_ duration - the length of the video we take (seconds)
event_duration - the amount of time we want to timelapse (seconds)
cam_idx - usually it's 0 but if you have more than 1 camera it can be 0/1/2.. depends on which camera id you want
height - the height of the picture in pixels (480,720,1080...) make sure the camera supports it
width - the width of the picture in pixels (640,1080,1920...) make sure the came supports it
So for instance we want a 30 second video of a sunset and the video will be 30fps with the resolution of 640x480.
Sunset takes about 15 minutes (which is 900 seconds) from start to finish I think so:
python pylapse.py -t True -f 30 -v 30 -e 900 -c 0 -l 480 -w 640
There is another mode that you can preview the camera before starting the timelapse
It was useful to me when I used to do timelapse of sunsets and I needed to attach the camera to the window but I didn't know if I positioned the camera like I wanted.
You can use it like this :
python pylapse.py -p True -l -c cam_idx height -w width
For instance we would use it like this :
python pylapse.py -p True -c 0 -l 480 -w 640
For now the code works on a linux environment with ffmpeg and python-opencv packages installed.
Just to clarify : The code does work on windows
But the script that takes all the pictures and turn them to a movie won't work
A bit about the ffmpeg command that creates the video from pictures
This is how the script looks like:
ffmpeg.exe -framerate <fps> -i <img_format_string> -c:v libx264 -r 20 -pix_fmt yuv420p out.mp4
fps - is the fps of the movie you wanted
img_ format_string - it looks like
%0Xd.pngwhere X is the length of the number of the images the script creates
so for example if the script saved the images by this format:
00001.png
the length of the number is 5 (four zeros and the digit 1) so the img_ format_string would be %05d.png
(which says basically that all the pictures that ends with a png extension and the number scheme is a five digit number leading by zeros so to represent the number 314 it will look like this : 00314.png)
To install ffmpeg on linux or windows use this link:
To install python-opencv
- For windows and fedora users
- For Debian and Ubuntu users:
sudo apt-get install python-opencv- It should install everything needed
The configuration to make it work on windows
in order to make it work on windows we need to download ffmpeg for windows from official site
After downloading the file we should extract it

After extracting the folder we will rename it to ffmpeg to make it more accessible later.
After this we should go the ffmpeg folder we have extracted and get into the bin dir
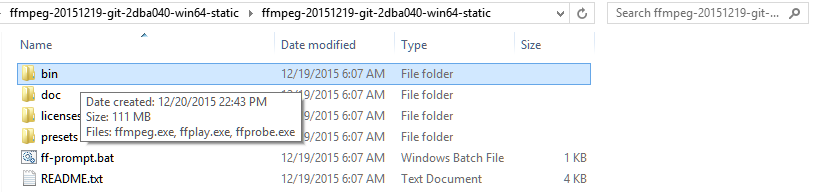
After that we make sure that the ffmpeg executable exists
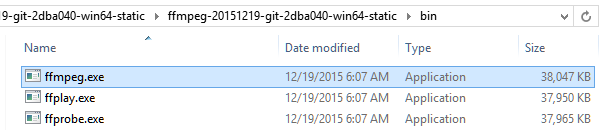
So now that we downloaded ffmpeg and we made sure that it really has the ffmpeg executable,we are going to add this folder to the path environment variable
That way you could just open the cmd.exe and use the ffmpeg from anywhere that way our python script will work on windows as well!
Here is an illustration of running ffmpeg from the cmd without being in the ffmpeg folder

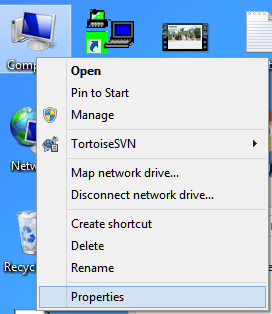
So we need to go to my computer and right click on it
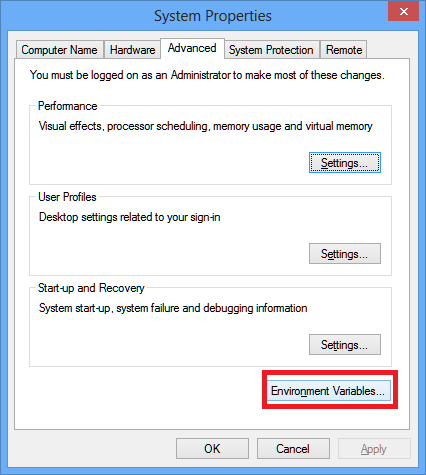
Then go to properties
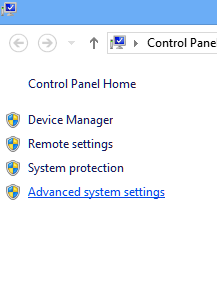
After that we need to go to advance system settings from the left corner of the window that just opened
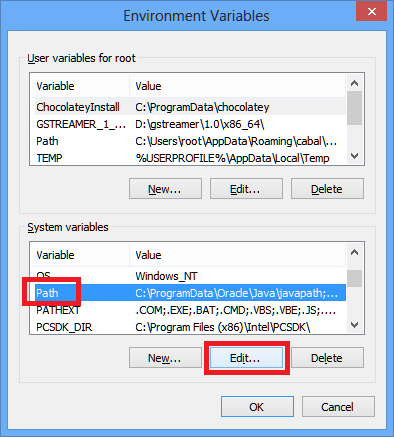
Then we need to go to the environment variables window by clicking the environment variables button:
Then we need to add the ffmpeg binaries folder to the Path environment variable:
my ffmpeg binaries folder was in D:\ffmpeg\bin\
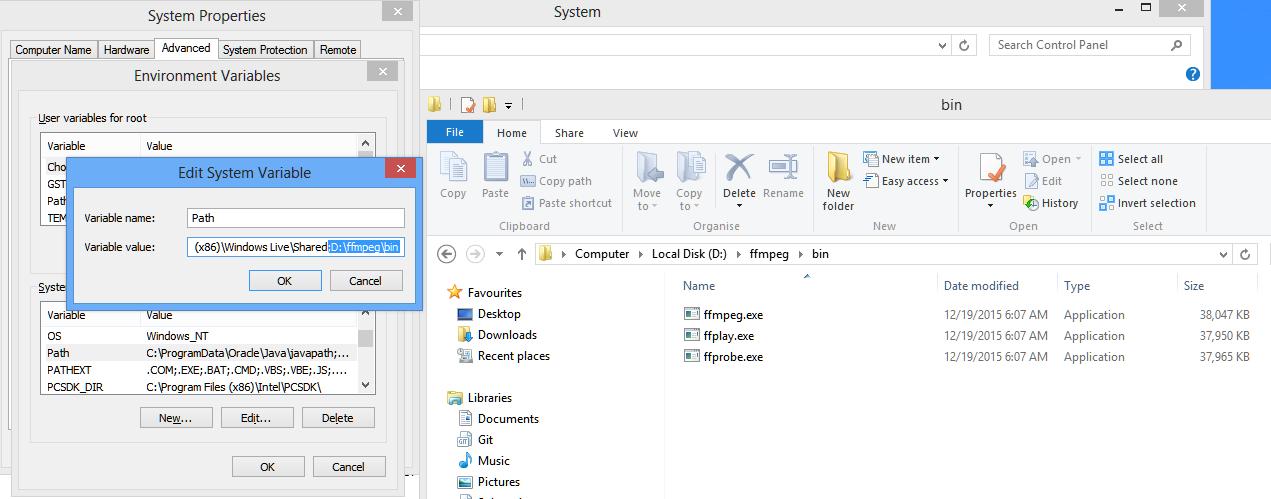
And that's it :)
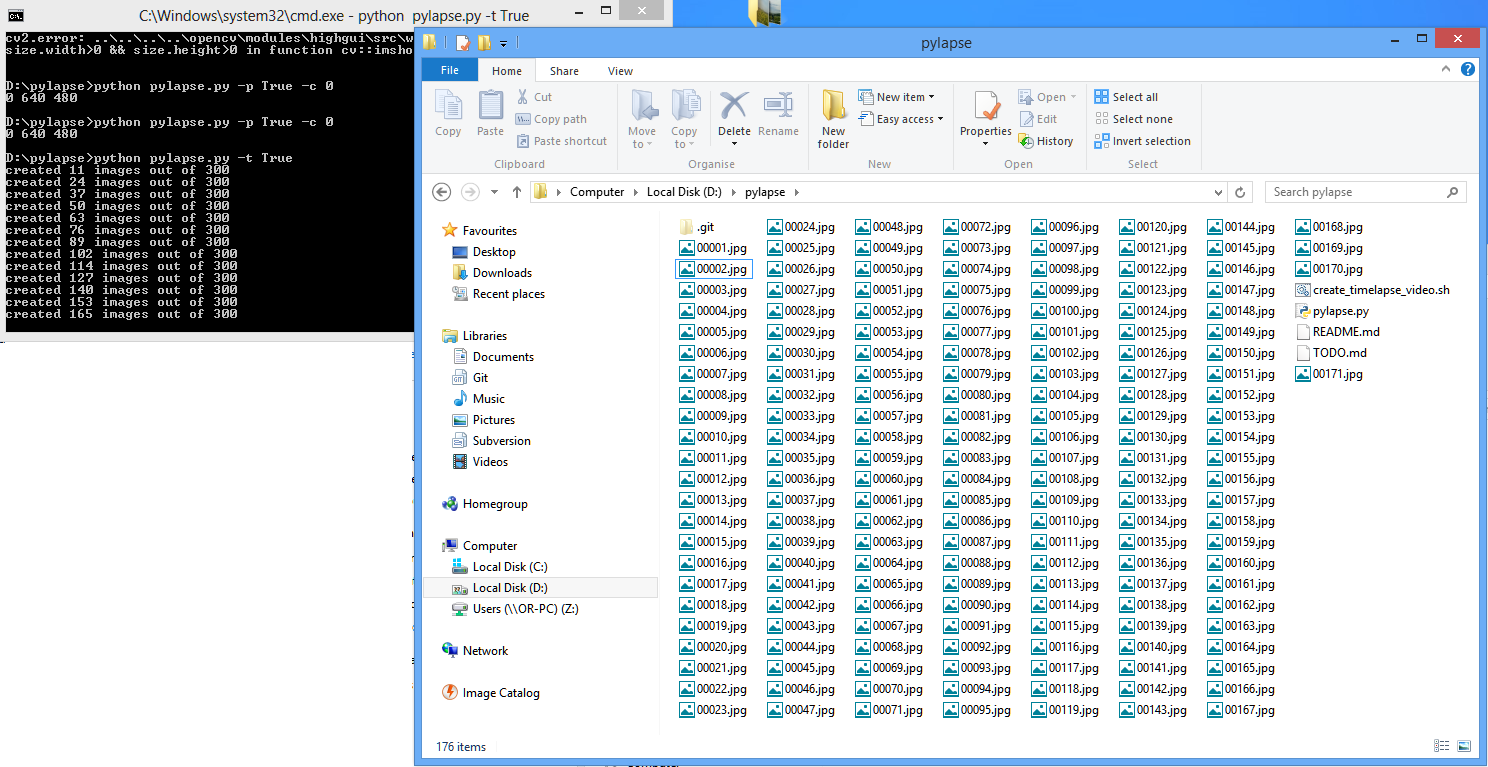
After opening a new cmd window that can run python scripts we can run the pylapse.py script
Hope you learned something or at least it will help you in any way...
I'll be back with more features and fixes for windows and linux users
So come back :)
Related Project by Amir Avni where he made an E-hanukkia