This is going to be an unusual post for this site as it includes no electronics.
Today I did something that astonished me. So much so, that I had to share it with our community.
It started a couple of years ago when I bought a plastic kit to construct a pendulum clock. It's a very simple design but it's a wonderful way to learn how the escapement of a clock works - the core of mechanical timekeeping.
Quality Construction Time
I was so enthralled by this working clock that I decided to buy it as a gift for "quality construction time" with the kids in my life.
Last summer, I was due to visit one of those kids at the other side of the Big Pond. Enthusiastically, I ordered the clock through ebay and had it sent directly to his house. For weeks, we facetimed excitedly about "building the clock together."
The Big Disappointment
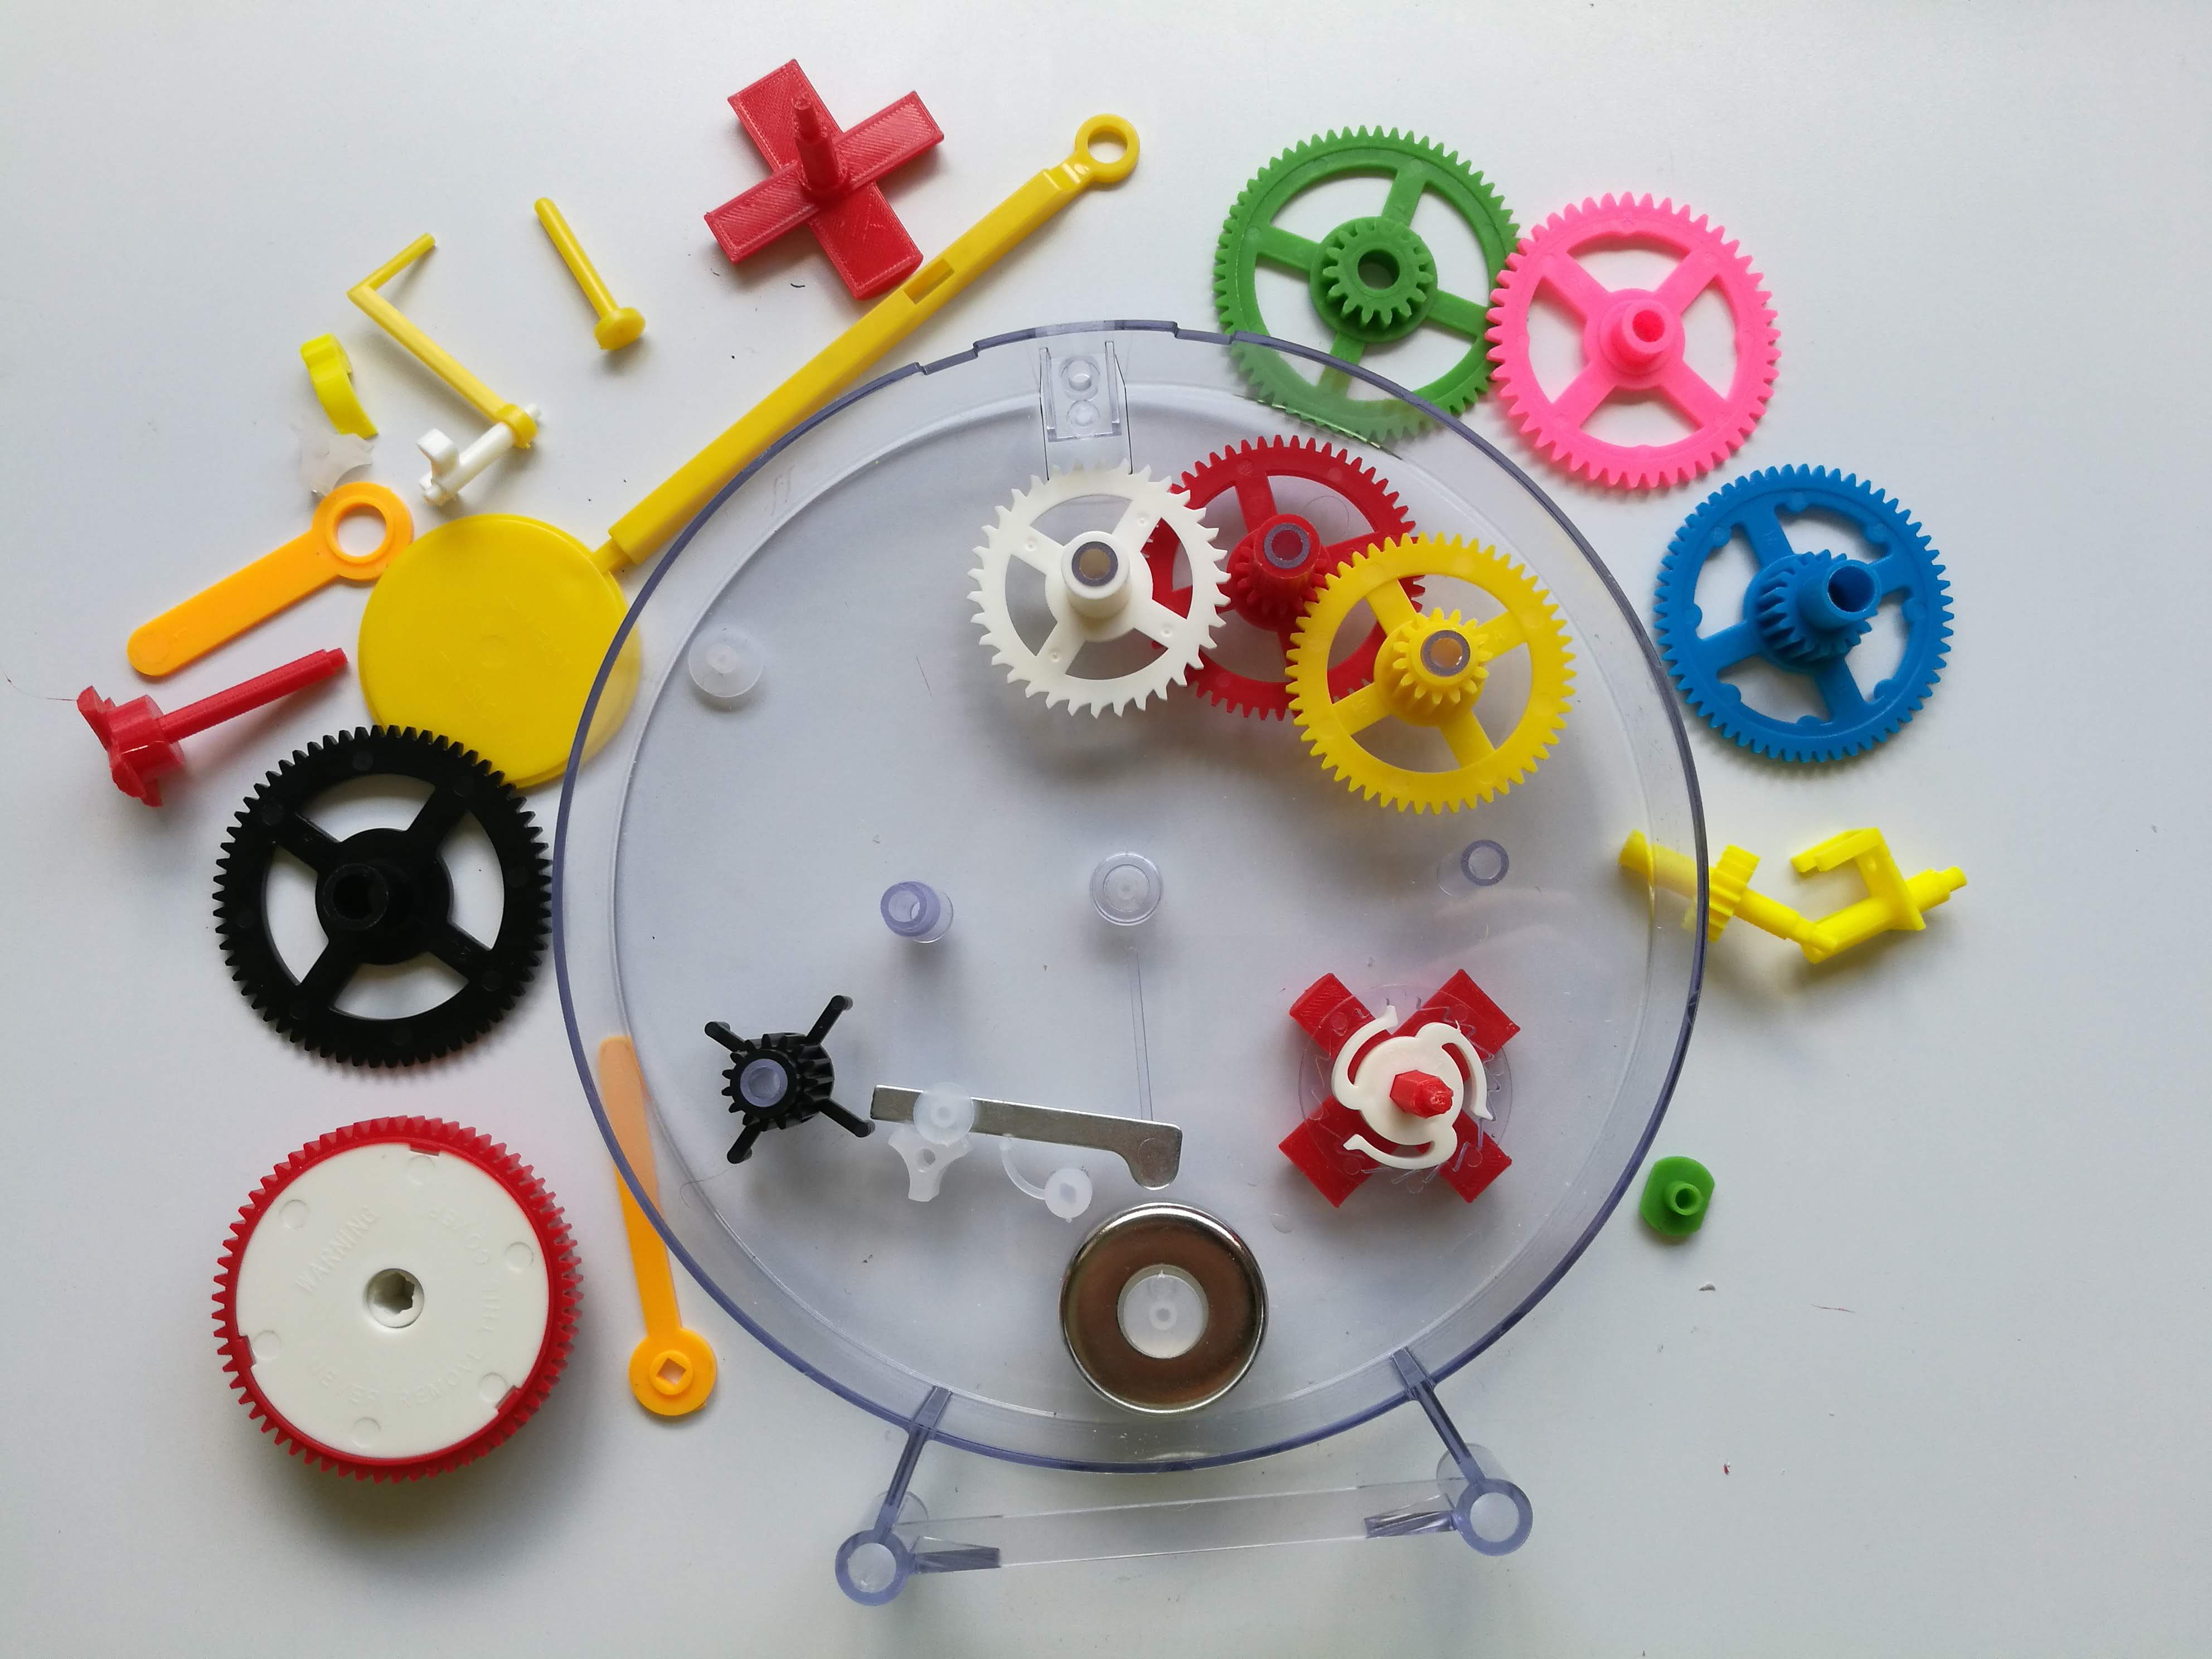
Eventually our big weekend arrived. Saturday morning while the parents lay in, we cleared the table and pulled the colourful plastic clock from its box.
We spread the instructions on the table, and like all good geeks, I first checked to see we had all the parts.
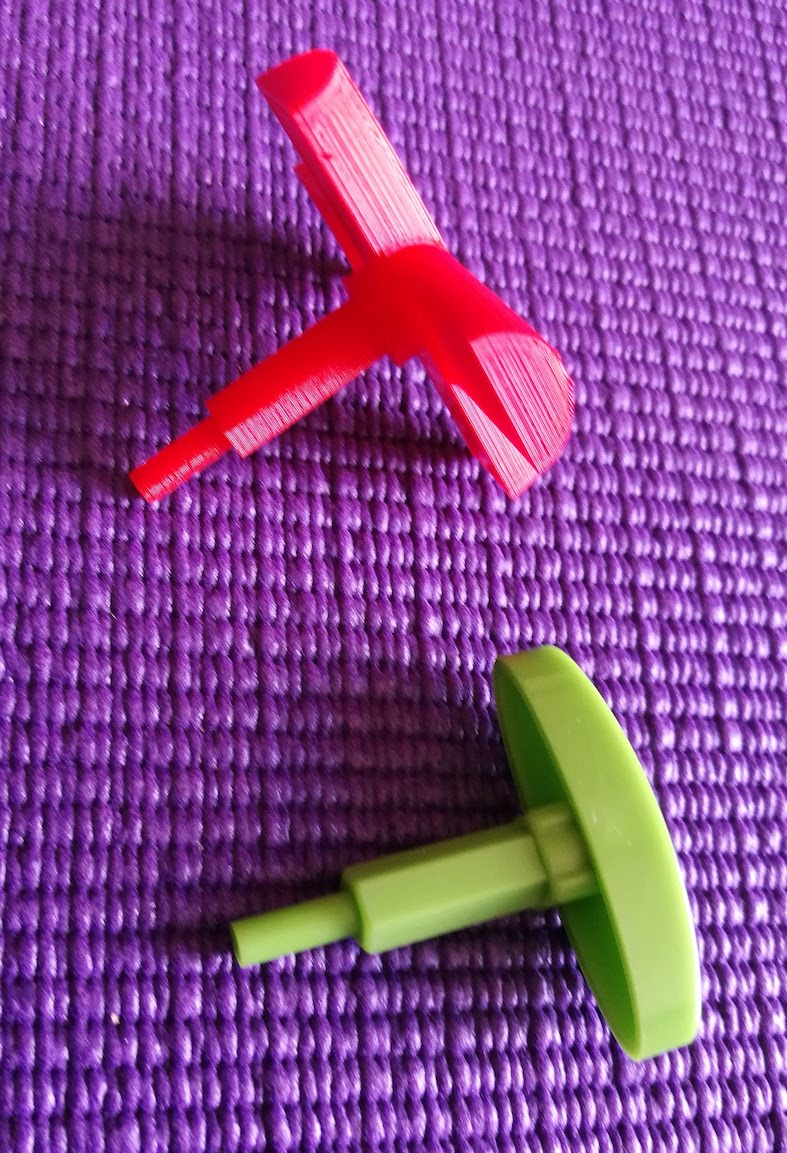
Within 15 seconds I realized we were in trouble. The center pin - the one that holds everything together - was missing. A quick glance to the end and I found that three essential pieces were absent and there was no way we could make the clock.
The disappointment on the little boy's face was heartbreaking, but I had no option but to pack it all up and find something else to do.
Naturally, I complained to the seller and got a refund. I brought the incomplete kit home.
3D Printing
About a year ago, together with fellow-blogger, Allan Schwartz, I acquired a cheap Monoprice 3D printer. Since then, I've printed all sorts of bits and pieces - some of which I've written about before.
Due to my limited CAD skills, most of my models are crude, but serviceable; I lack the patience or time to learn to do it accurately. My house is full of multi-coloured chunky knobs, frames, supports, and boxes - but I'm pleased with it none-the-less.
Repairing the Kit
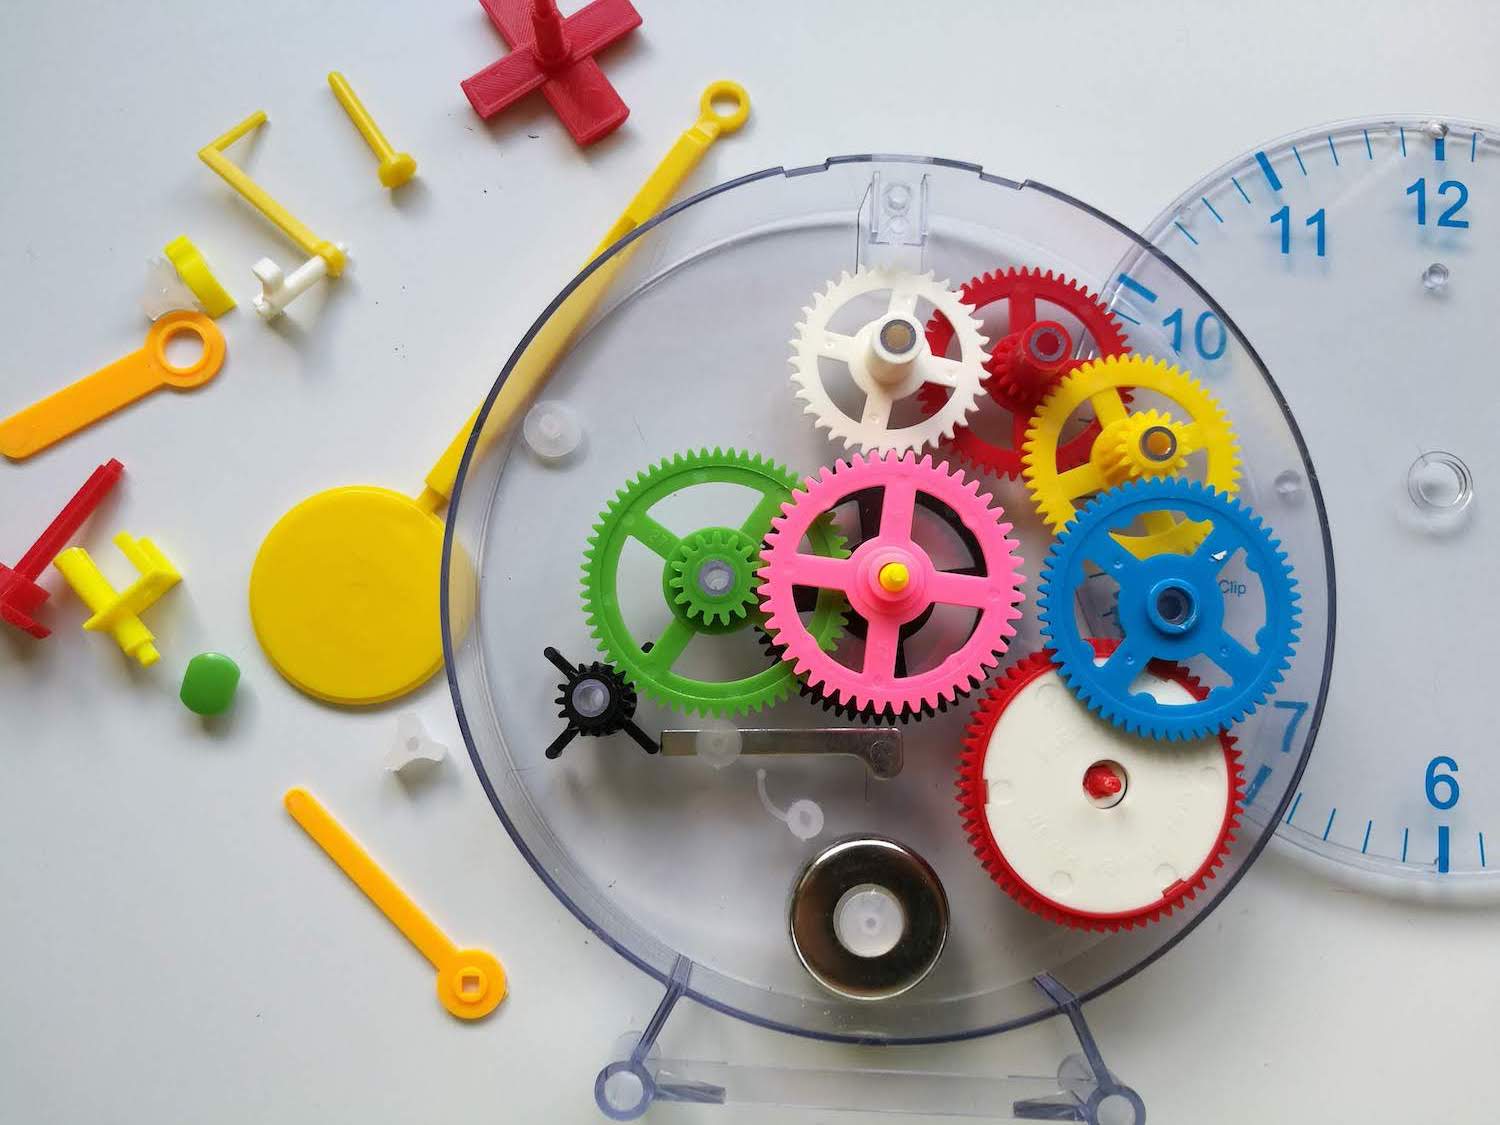
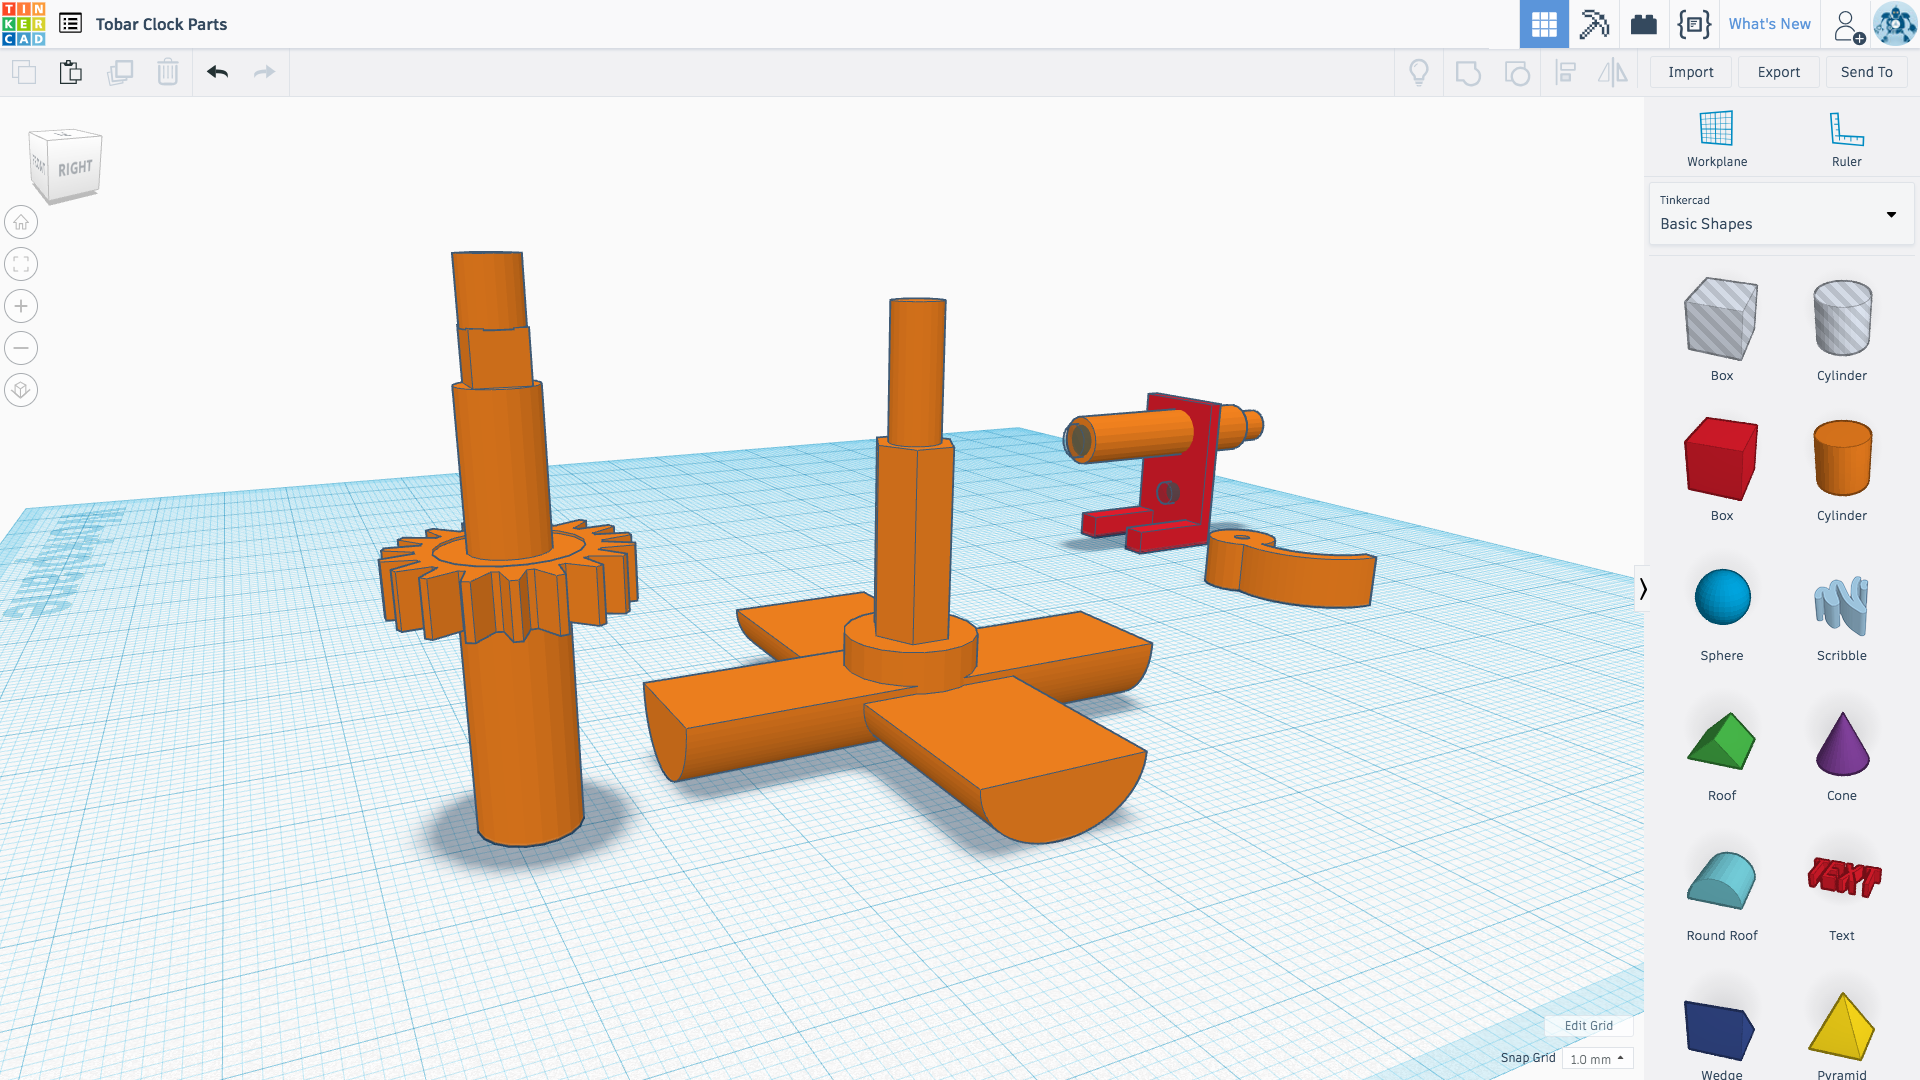
The clock kit has been lying on a shelf for months, but a couple of days ago I decided to take a look at it again. Maybe I could go a step forward in CAD and try to design and 3D print the missing parts?
You'll recall I already had a working version? All I needed to do was identify the missing parts in the working model and copy them.
Tick-tock, tick-tock
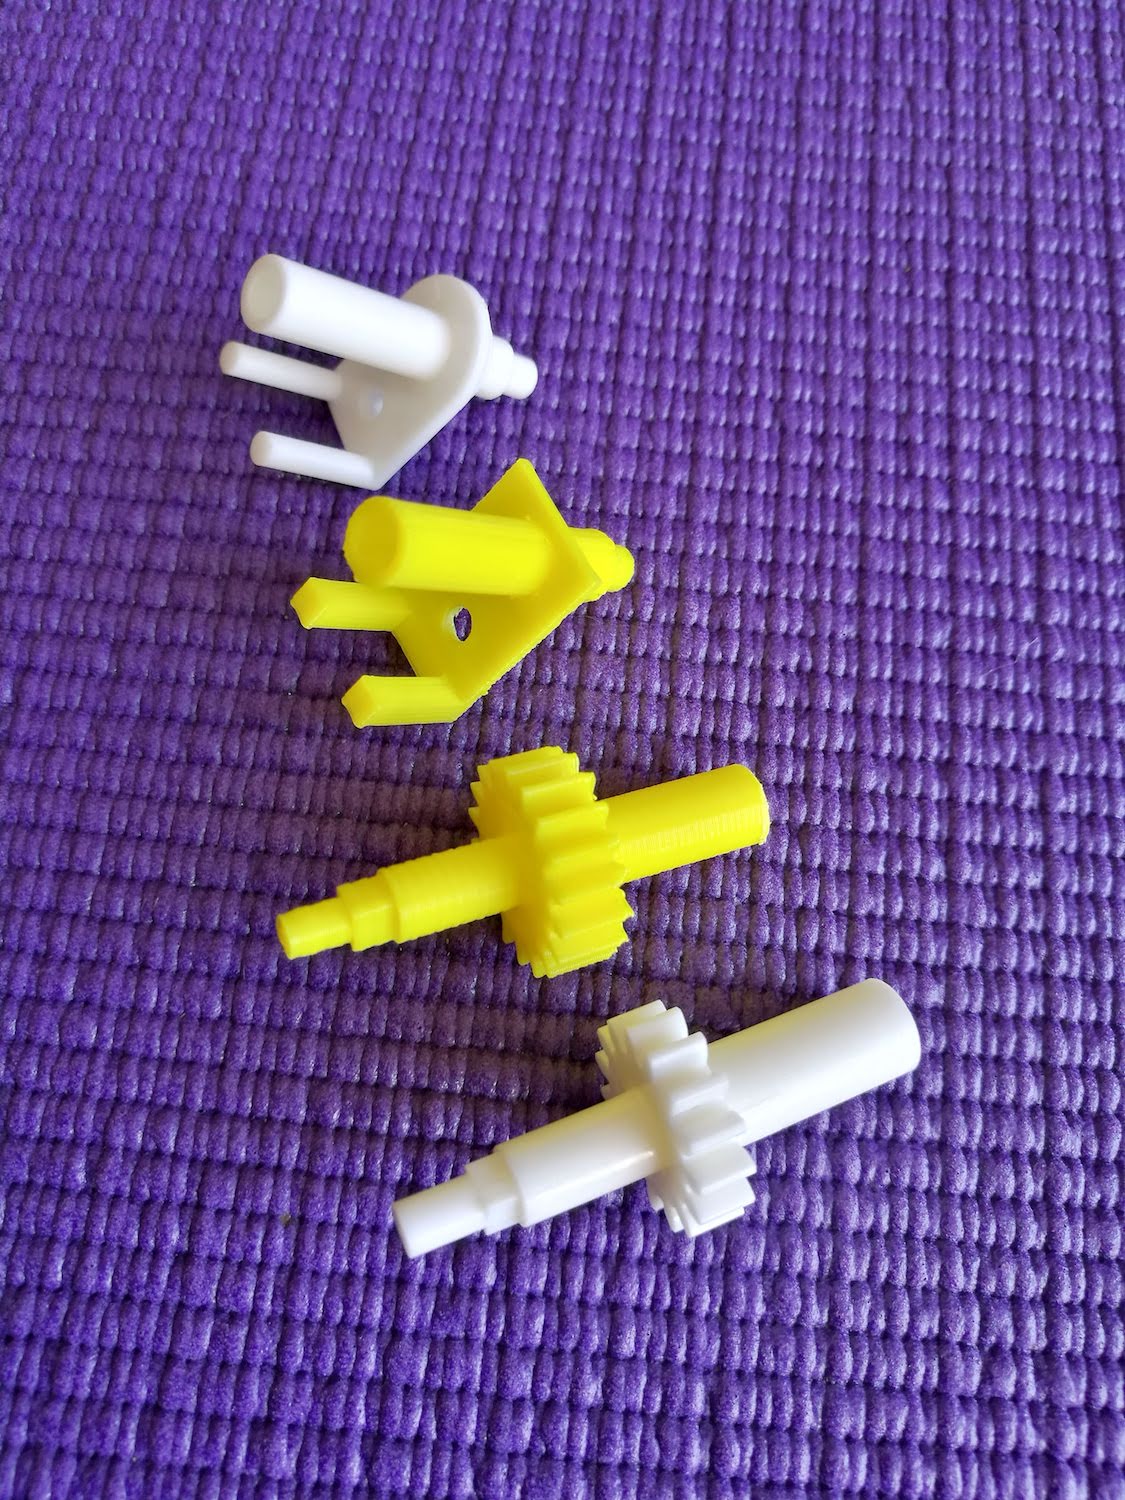
It's now a few hours later, and the clock is happily ticking on the shelf next to its older brother. Creating the parts was so simple, even for my very limited CAD skills.
The process made me realize that just 10 years ago, to achieve what I've just done would have required an expensive workshop with lathes, cutting and grinding equipment, precise measurement tools, and years of a craftsman's experience.
Yet, today, in just a few hours, with a free online CAD tool, a $200 printer, and about eight meters of cheap filament, I'd crafted intricate parts to repaire a broken timepiece escapement.
We really live in amazing times.