Arduino C An Arduino-Powered Watch Winder How to accurately control the timing and motors of a stepper motor. A practical example on an unusual project. A watch winder is typically a small box with a motor that is powered by a battery. If you wear your Rolex or mechanical watch daily, it is likely that you
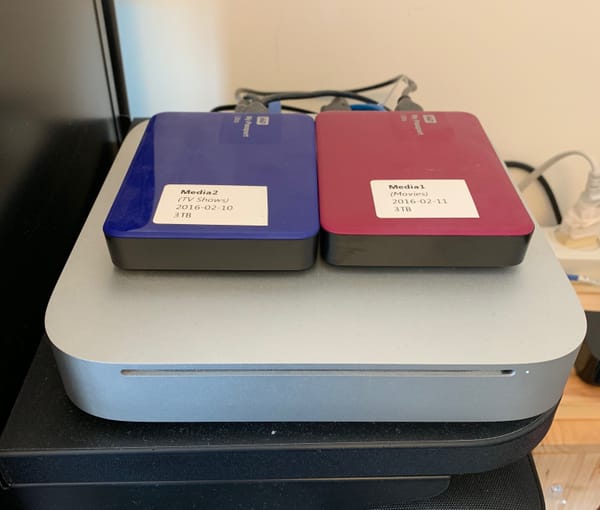
Building a Strong Network Infrastructure There are a plethora of IOT devices throughout my residences, as previously mentioned in other blog postings. I am obsessed with Ethernet Tags to monitor temperatures in our mountain cabin. In addition, there are homemade weather stations, WiFi attached Wyze IP cameras, NEST thermostats, and plenty of other devices, as
raspberry pi zero Log Raspberry Pi sensor data straight to Google Sheets - All the Python code I heard two criticisms of my previous blog on the Raspberry Pi with Astro Pi hat project: 1. The cost was very high, considering all it did was display the time and temperature. 2. It’s not a real IoT application because the data is only displayed, and not stored
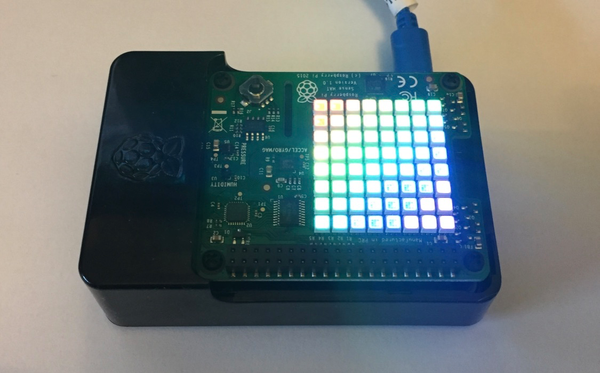
Raspberry-pi When the Pi is Stale, Bake Another After four years of inattention, it was certainly time to refresh the Raspberry Pi boards located in my residence. The older Pi, shown below, was at least 5 generations behind in hardware with hand-wired sensors located on a prototyping HAT (Hardware Attached on Top). The setup looked old and
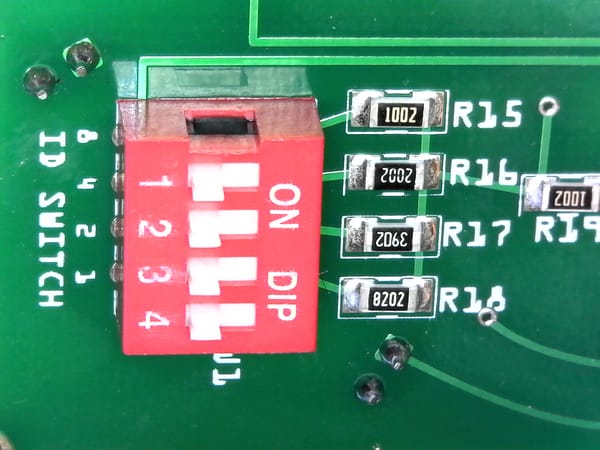
Arduino Creative solutions to your ID circuit The need for multiple switch settings, aka jumper settings, to set an ID/ program options has been crucial to my recent projects. As I build IoT devices that require self-identification, I have to create an ID number on each device. In hardware, the least expensive way to accomplish this
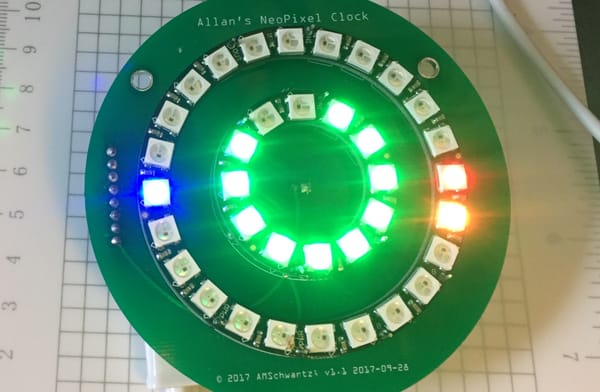
Desktop NeoPixel Clock This project involves building a simple desk clock with NeoPixel rings and a WeMos (ESP8266) processor, which is also a beautiful piece of art. Previously, I wrote about the LEDs and Buttons Arduino shield which was my first complex PCB Board. Before, the limitations of complicated wiring and my own
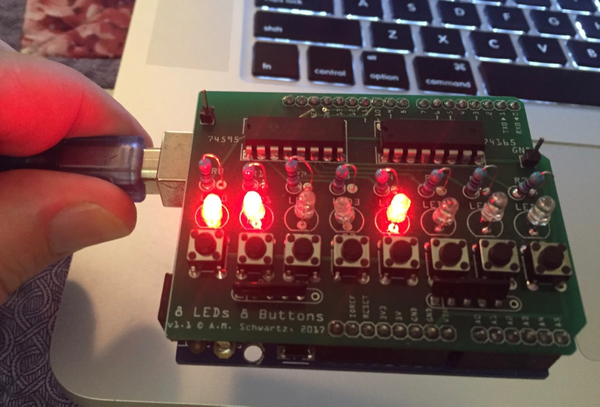
PCB: from Concept to design to fabrication and testing using Fritzing. A detailed description of how I created a PCB - and the lessons learned. LEDs and Buttons and shift registers, oh my! I have been having loads of fun designing boards and having these boards fabricated for next to nothing. Let me explain how. In a previous blog post -- My First
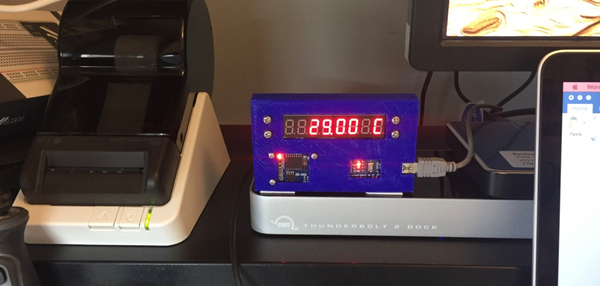
3D Printing an Enclosure – Finishing an Arduino Project in Style Our latest toy is an MP Select Mini 3D printer. I purchased this with fellow Maker and whatimade.today associate Michael Diamond. We selected this entry level printer that came preassembled, easy to operate and inexpensive. The Amazon.com price for an MP Select Mini 3D Printer was just too
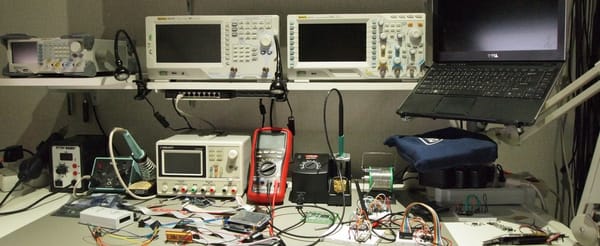
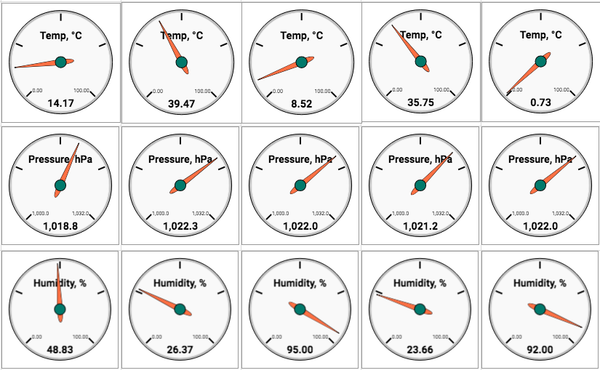
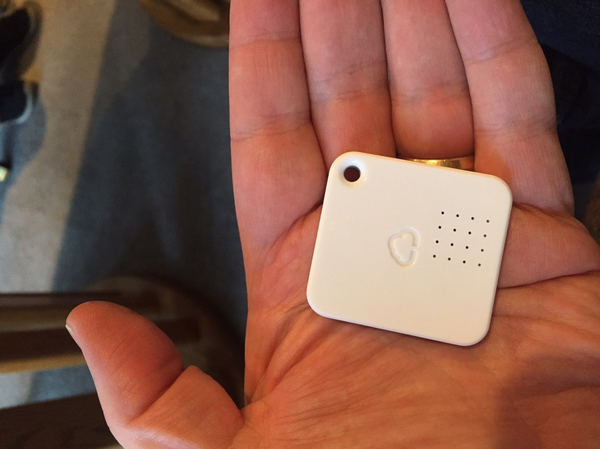
IOT Temperature Sensors As hobbyists, we are often faced with the decision of COTS (Commercial Off The Shelf) vs. CUSTOM, or sometimes known as the Buy vs Build dilemma. But let me back up, and explain the requirements for temperature, humidity, water, and movement sensors. I own a vacation house near Lake Tahoe
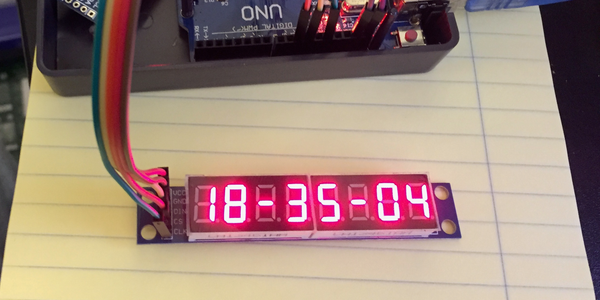
Arduino Programming an 8 digit 7-segment display, the easy way, using a Max7219 In today’s blog, I am going to show you the easy way to interface 7-segment displays – Using the MAX7219. Each 7219 chip can be used to interface eight 7-segment digits, or 64 individual LEDs. Previously, in part 1 of my blog posting Programming a 7-segment Display,
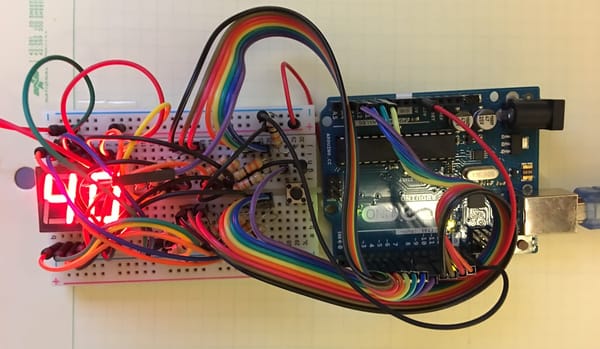
Arduino Programming a 7-segment Display, using just Arduino digital pins (the hard way) The purpose of this project is to build a countdown timer comprised of two 7-segment displays. Several interesting challenges are solved or resolved: * How to interface a 7-segment display to the Arduino directly – without using a MAX7219 chip. * How to write concise and efficient Arduino C code to