From time to time I'll write here about something I like to call "Fast-Projects". Usually a "Fast-Project" is an easy project that comes to my mind on a free evening and I challenge myself: Built it in less than an hour - or forget about it and focus on more important things!
So what's going on tonight? A friend from office was complaining about a bad habit people tend to have during work discussions.
"If only there was a gadget which could tell people when they are too loud it would have been so cool" she said.
"That's super easy to do" I replied, "At least as a prototype".
"So - let's see you do that".
And that's pretty much what triggered me to build this silly gadget. So what it does? It beeps when the detected sound go over certain decibels level as you may see in the next video:
What you'll need?
- Arduino pro-mini.
- Microphone module with a digital output.
- Piezo-Speaker / Buzzer
- USB/Power supply cable.
- Matchbox
- Play-Doh
How it is done?
The microphone module has a digital output, which produces HIGH value when the sound is above a certain level and LOW value otherwise. The level can be determined by the resistor on the module.
Here are the steps to build this gadget:
- Connect/weld the microphone pins to the arduino - Cool! No wires are needed.
- Vcc --> Vcc (Make sure its operation voltage is 5V)
- Gnd --> Gnd
- Digital Out --> Pin 9
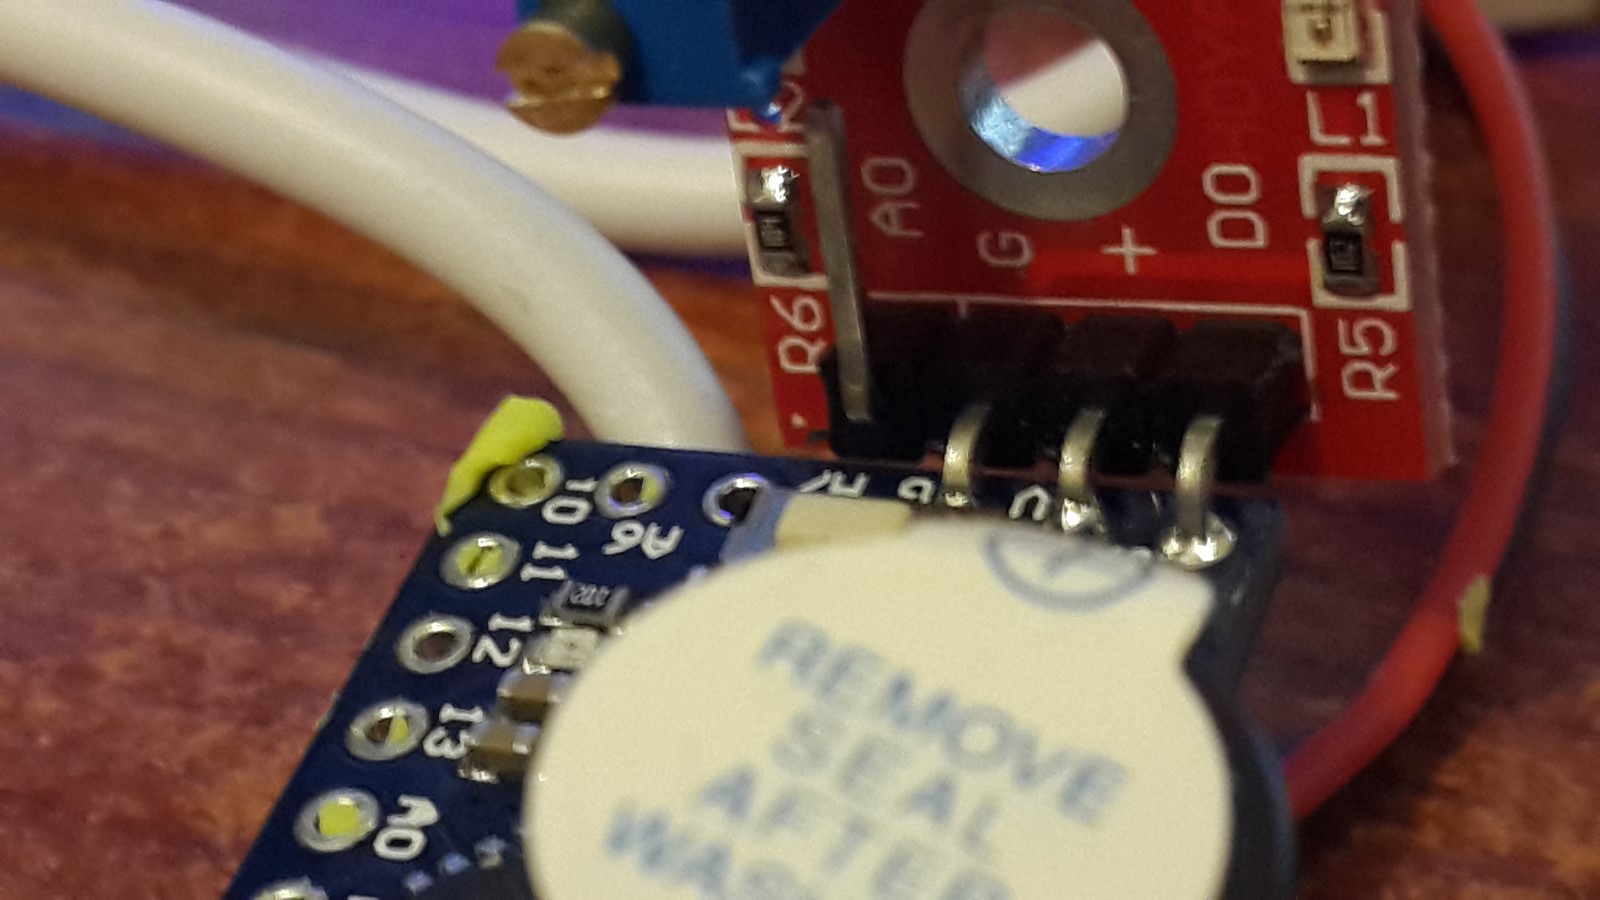
- Connect/weld the buzzer to the arduino - Looks like no wires are needed here as well :)
- Positive (long leg) --> Pin 4 (Add a resistor if you want to control the volume)
- Negative (Short leg) --> Ground
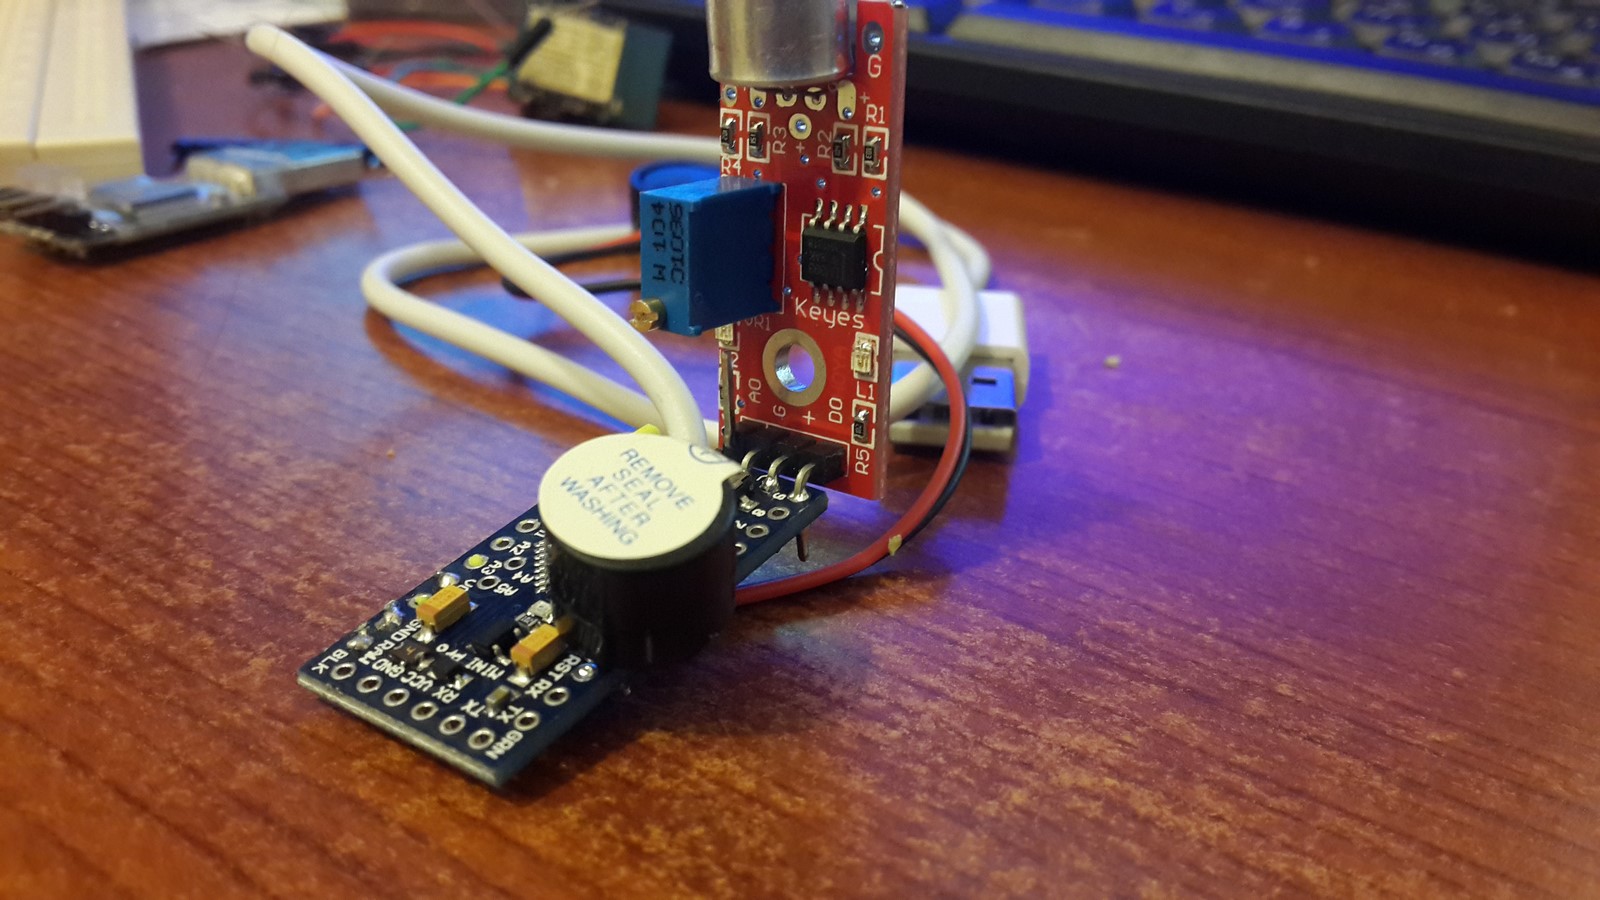
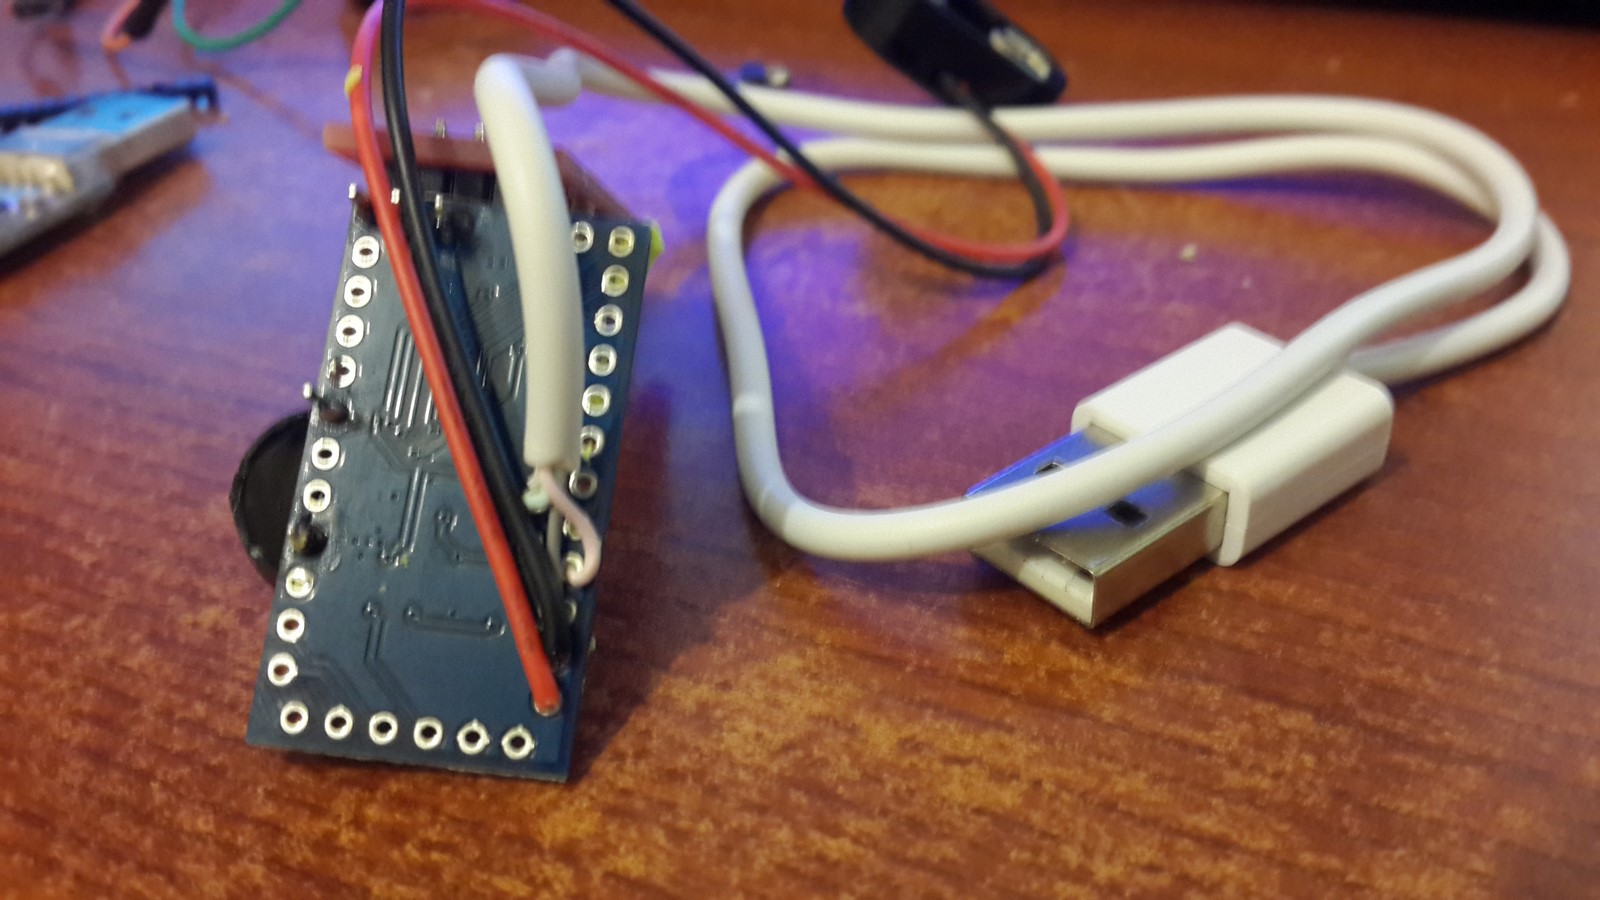
- Connect the power wires. Negative wire goes to ground. If you use a USB cable connect positive side to VCC. If you use a power supply with more than 5V connect the positive wire to the RAW pin. By the way, I connected both.
- Upload the next code to the arduino:
#define SPEAKERPIN 4
#define MICPIN 9

void setup() {
  pinMode(SPEAKERPIN,OUTPUT);
  pinMode(MICPIN,INPUT);
}

void loop() {
  if (digitalRead(MICPIN))
  {
    tone(SPEAKERPIN, 440, 200);
    delay(200);
    noTone(SPEAKERPIN);
  }
}
- Take a match-box, empty it, make a hole at the top and put some play-doh at the bottom of the inner part of the box.
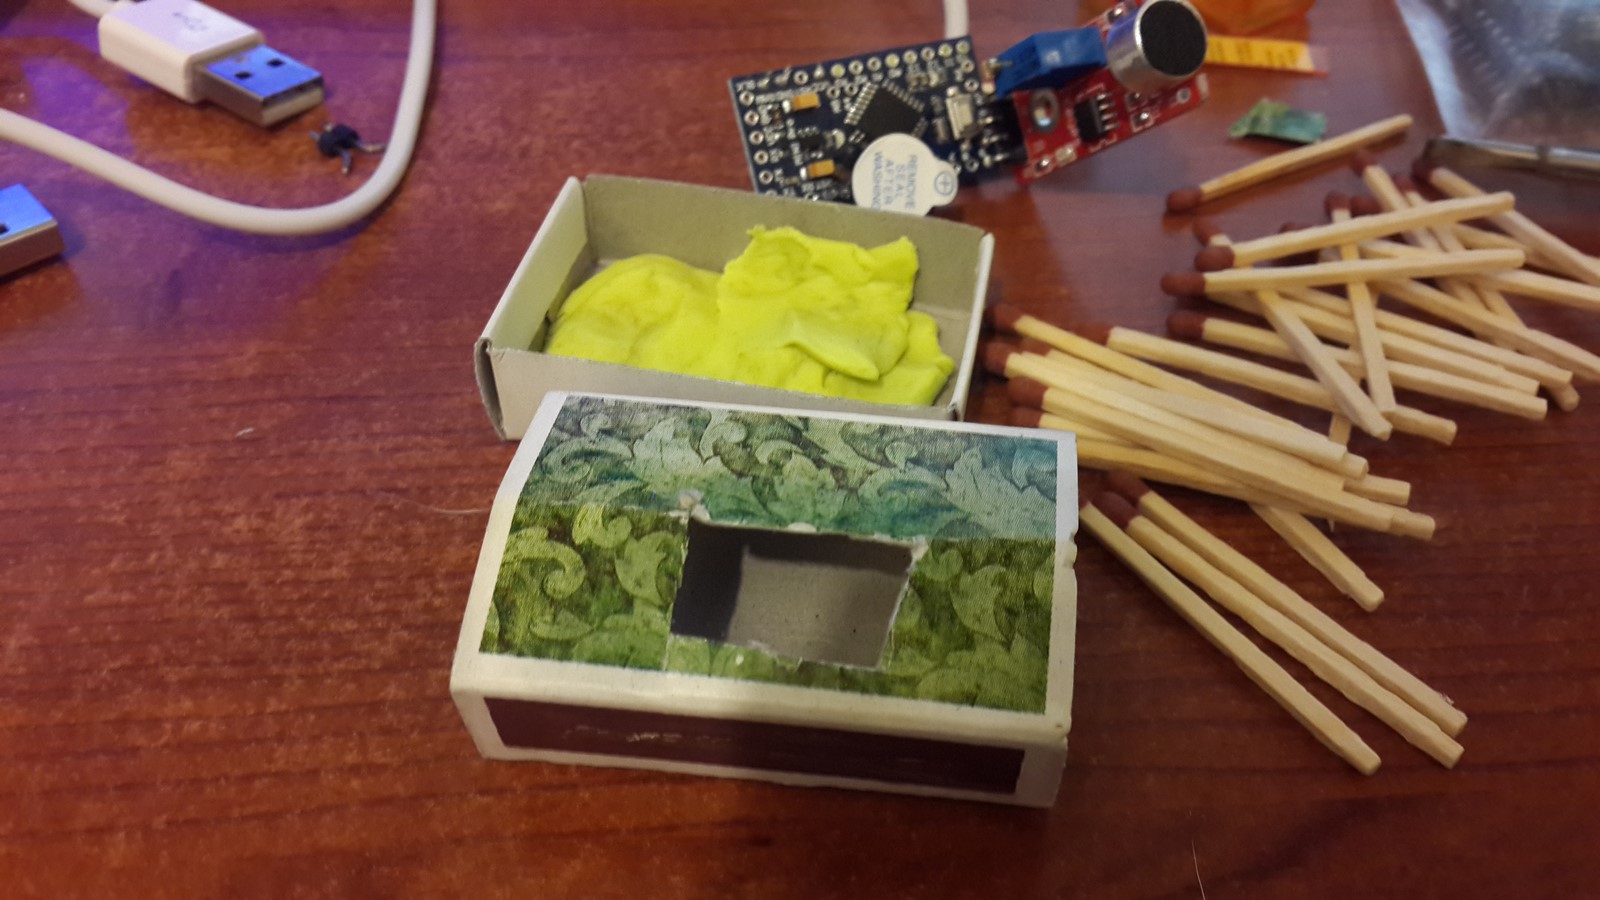
- Place the arduino inside the box with a little pressure so it will stick to the play-doh. Cut a hole at the back of the inner part of the box for the wires.
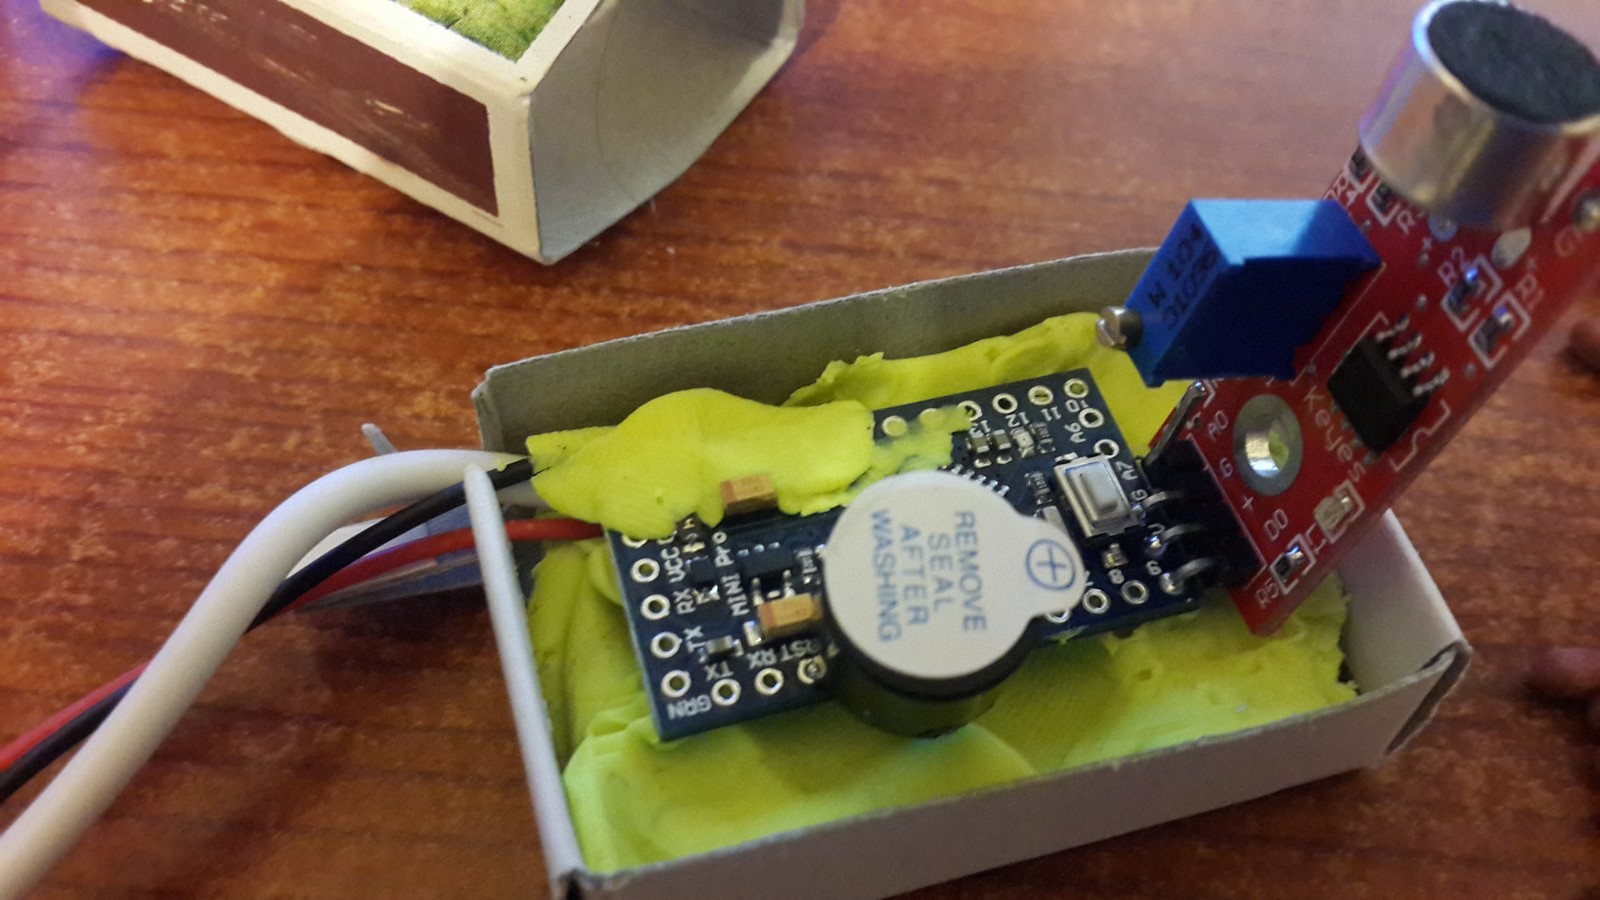
- Insert the wires throw the outer part of the match-box and close it.
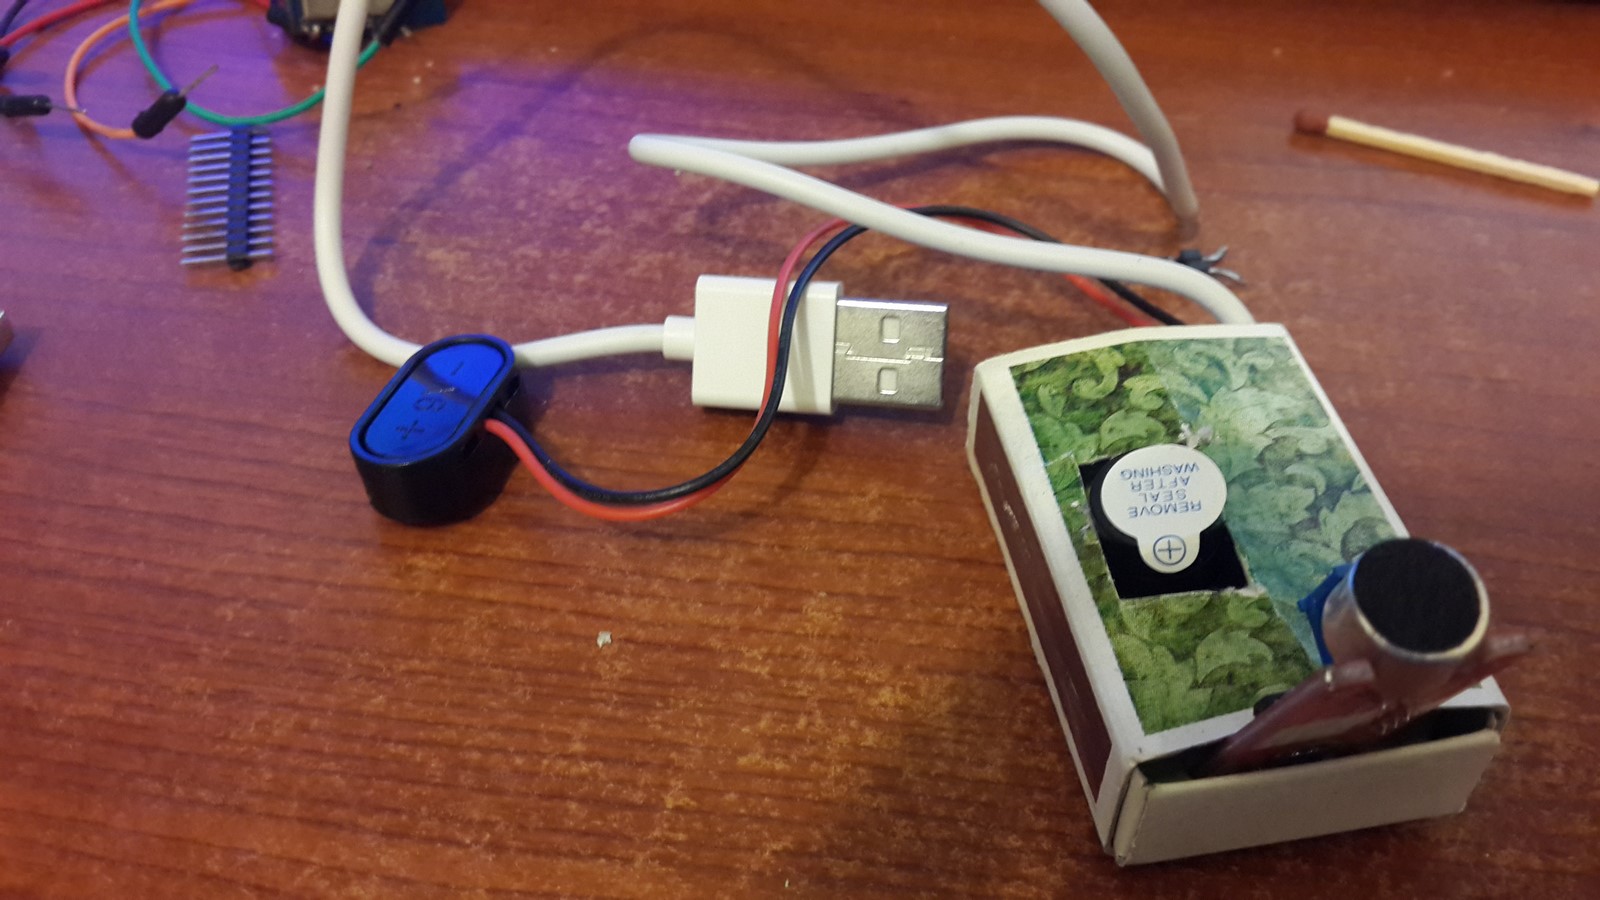
And you got yourself a new gadget. I added also some hot glue and gaffer tape around the power cables so they will not disconnect if someone gets angry and pull the gadget - and we all know it will happen.
Let's see if it will really shut people up. In version 2.0 of this project I'm thinking about replacing the buzzer with a high voltage electric shock :P
AA