What to do with a spare RasPi?
This is the third project in the "Great Projects for a Spare Raspberry Pi" series. The first project, Flightradar24, a live worldwide flight tracker can be viewed here. The second project, "Searching for Aliens" is here.
In these posts I walk you through setup, giving tips to get you over the complications. I've personally built everything I describe and I'll show you how I solved the problems I encountered.
Disclaimer
As I always take care to note in my posts, I'm an enthusiastic amateur with no formal training in computers or electronics, so my understanding of the technicalities is limited. However I make up for my ignorance with a determination to get things working, and my willingness to document - in non-technical language - how I do it. This lets the average Joe like myself, follow my simple instructions and make things work.
Today's project is:
The Linux Pan & Tilt Streaming Web Camera
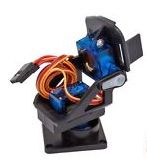
A few months ago I documented here the creation of a pan & tilt mechanism for a web cam using and ESP8266-01 with Blynk. I was very pleased that the post was taken up by Adafruit and before I knew it, it had thousands of hits.
But if I'm using a RasPi to stream video, I don't want to have to use a separate ESP to control the pan & tilt. I want to use the GPIO pins of the Pi so that I have a single board running the whole shenanigans.
Which Camera Streaming Package?
In another past blog, I described in detail how I'd used MotionEyeOS as a security camera while abroad, allowing me to keep an eye on my house. I'm a great fan of MotionEye and think it's a smooth, sophisticated and reliable package.
My problem with MotionEye is that as far as I'm aware, it doesn't contain integration of pan & tilt for someone who wants to articulate their camera. (I'm sure it can be done, but it's way beyond my ability.)
So I went looking for a package that would not only stream video, but also integrate a pan & tilt mechanism straight into the user interface.
That's when I came across the elinux RPi-Cam-Web-Interface.
Wiki for Geniuses
Their Wiki is clearly written by people "who understand" and it's sometimes difficult for the technically-challenged like myself to read between their lines of jargon. Also, instructions appear in several places on github and it's difficult to keep track of what's up to date, what to apply, and how to apply it. That said, RPi Cam Web is a sophisticated package with many, many settings. I could spend the rest of this post just describing what it can do, but I want to concentrate on the thing that interested me most - incorporation of pan & tilt into the standard interface.
The package offered two options: either a commercial pan & tilt device made by a company called "Mindsensors" or "a minimal (cheaper) option" using ServoBlaster.
I decided to go for the latter as I already had a pan & tilt mechanism and didn't need to buy one from Mindsensors.
The Wiki description of how to incorporate pan & tilt is quite challenging. As I discovered when I did it, all the information is there, but each sentence requires a bit of technical understanding - that I achieved only after considerable research. Nowhere on the internet did I find a concise description of how it's done. Indeed, most references I found were from people who couldn't get it to work.
So here's how it's done
I won't describe how to install the elinux RPi-Cam-Web-Interface - instructions are on their page and they're clear and simple to follow. I suggest going for the automatic installation, rather than the installation described under "Original Installation Method."
If you look (as I did) at the recommended github for installing the pan & tilt mechanism, it'll give you instructions for what to do. However, it turns out that the instructions are out of date, and as it says in the RPi-Cam-Web-Interface Wiki, you need to "use the functionality within this git as described below".
This is the cryptic way of saying, "in the web folder, rename "servo_off" to "servo_on"."
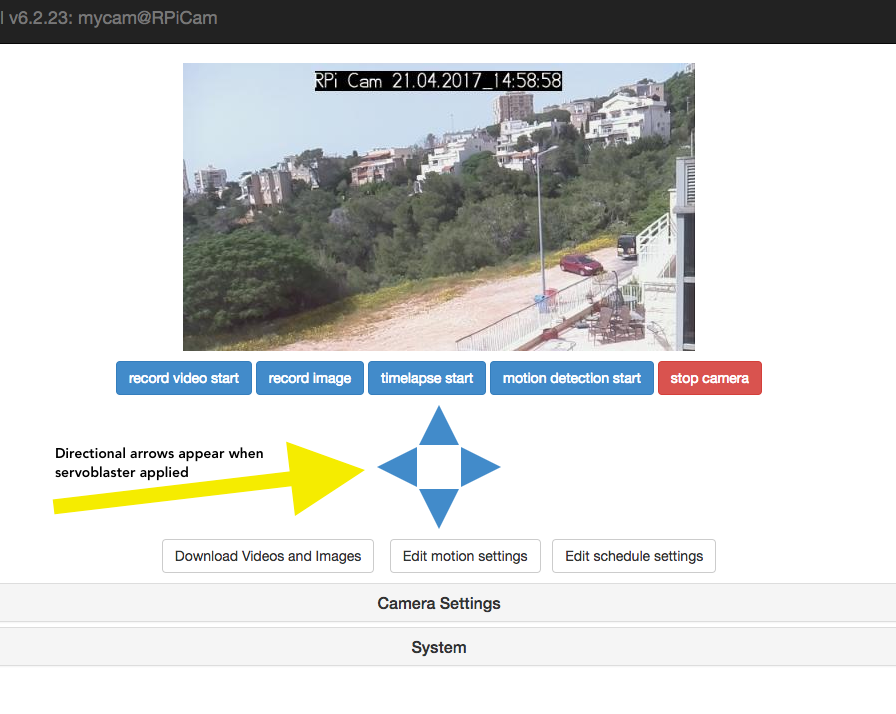
Before I did this, I wanted to know what was inside this "servo_off" file in case I messed things up. When I opened it for examination, I found it was completely empty - which didn't bode well for implementing my pan & tilt. I renamed it though, and lo and behold! my direction arrows appeared on the screen.
Which Pins?
So now I had the web cam set up, and apparently pan & tilt too.
When I clicked on my arrows, both servos twisted immediately to their extremes - and stayed there, staring at the carpet, refusing to move, twitching intermittently as servos often do, buzzing their little brains out.
Clearly something was amiss.
I went back to ServoBlaster to find the default pins. Apparently it's pre-programmed for eight servos and I needed to make sure my servos were on the correct two GPIO pins to react to the arrow clicks on the page. My research told me I should connect my servos to GPIOs 4 and 17 - which indeed, I had.
An hour of struggle later, I went back to the Wiki and read the next sentence. "You can set them using "sudo ./servod" from the user folder inside the ServoBlaster directory."
It took me a while to work out what this meant. To save you the effort, type this:
cd ~/scripts/c/ServoBlaster/user
sudo ./servod
This will set ServoBlaster in motion, center the servos, and give you control - provided your servos are connected to default GPIO pins 4 and 17.
Jumping around
Now that I had my streaming web cam with pan & tilt on the same web page, I thought I'd finished my project. But of course, it wasn't to be. The picture jumped around all over the place because the servos wouldn't keep still. They buzzed, hummed, jerked and clicked, all the time sending my streamed video bouncing around the screen. The main reason I wanted the cam in the first place is to create time-lapse movies - impossible if the camera won't keep still.
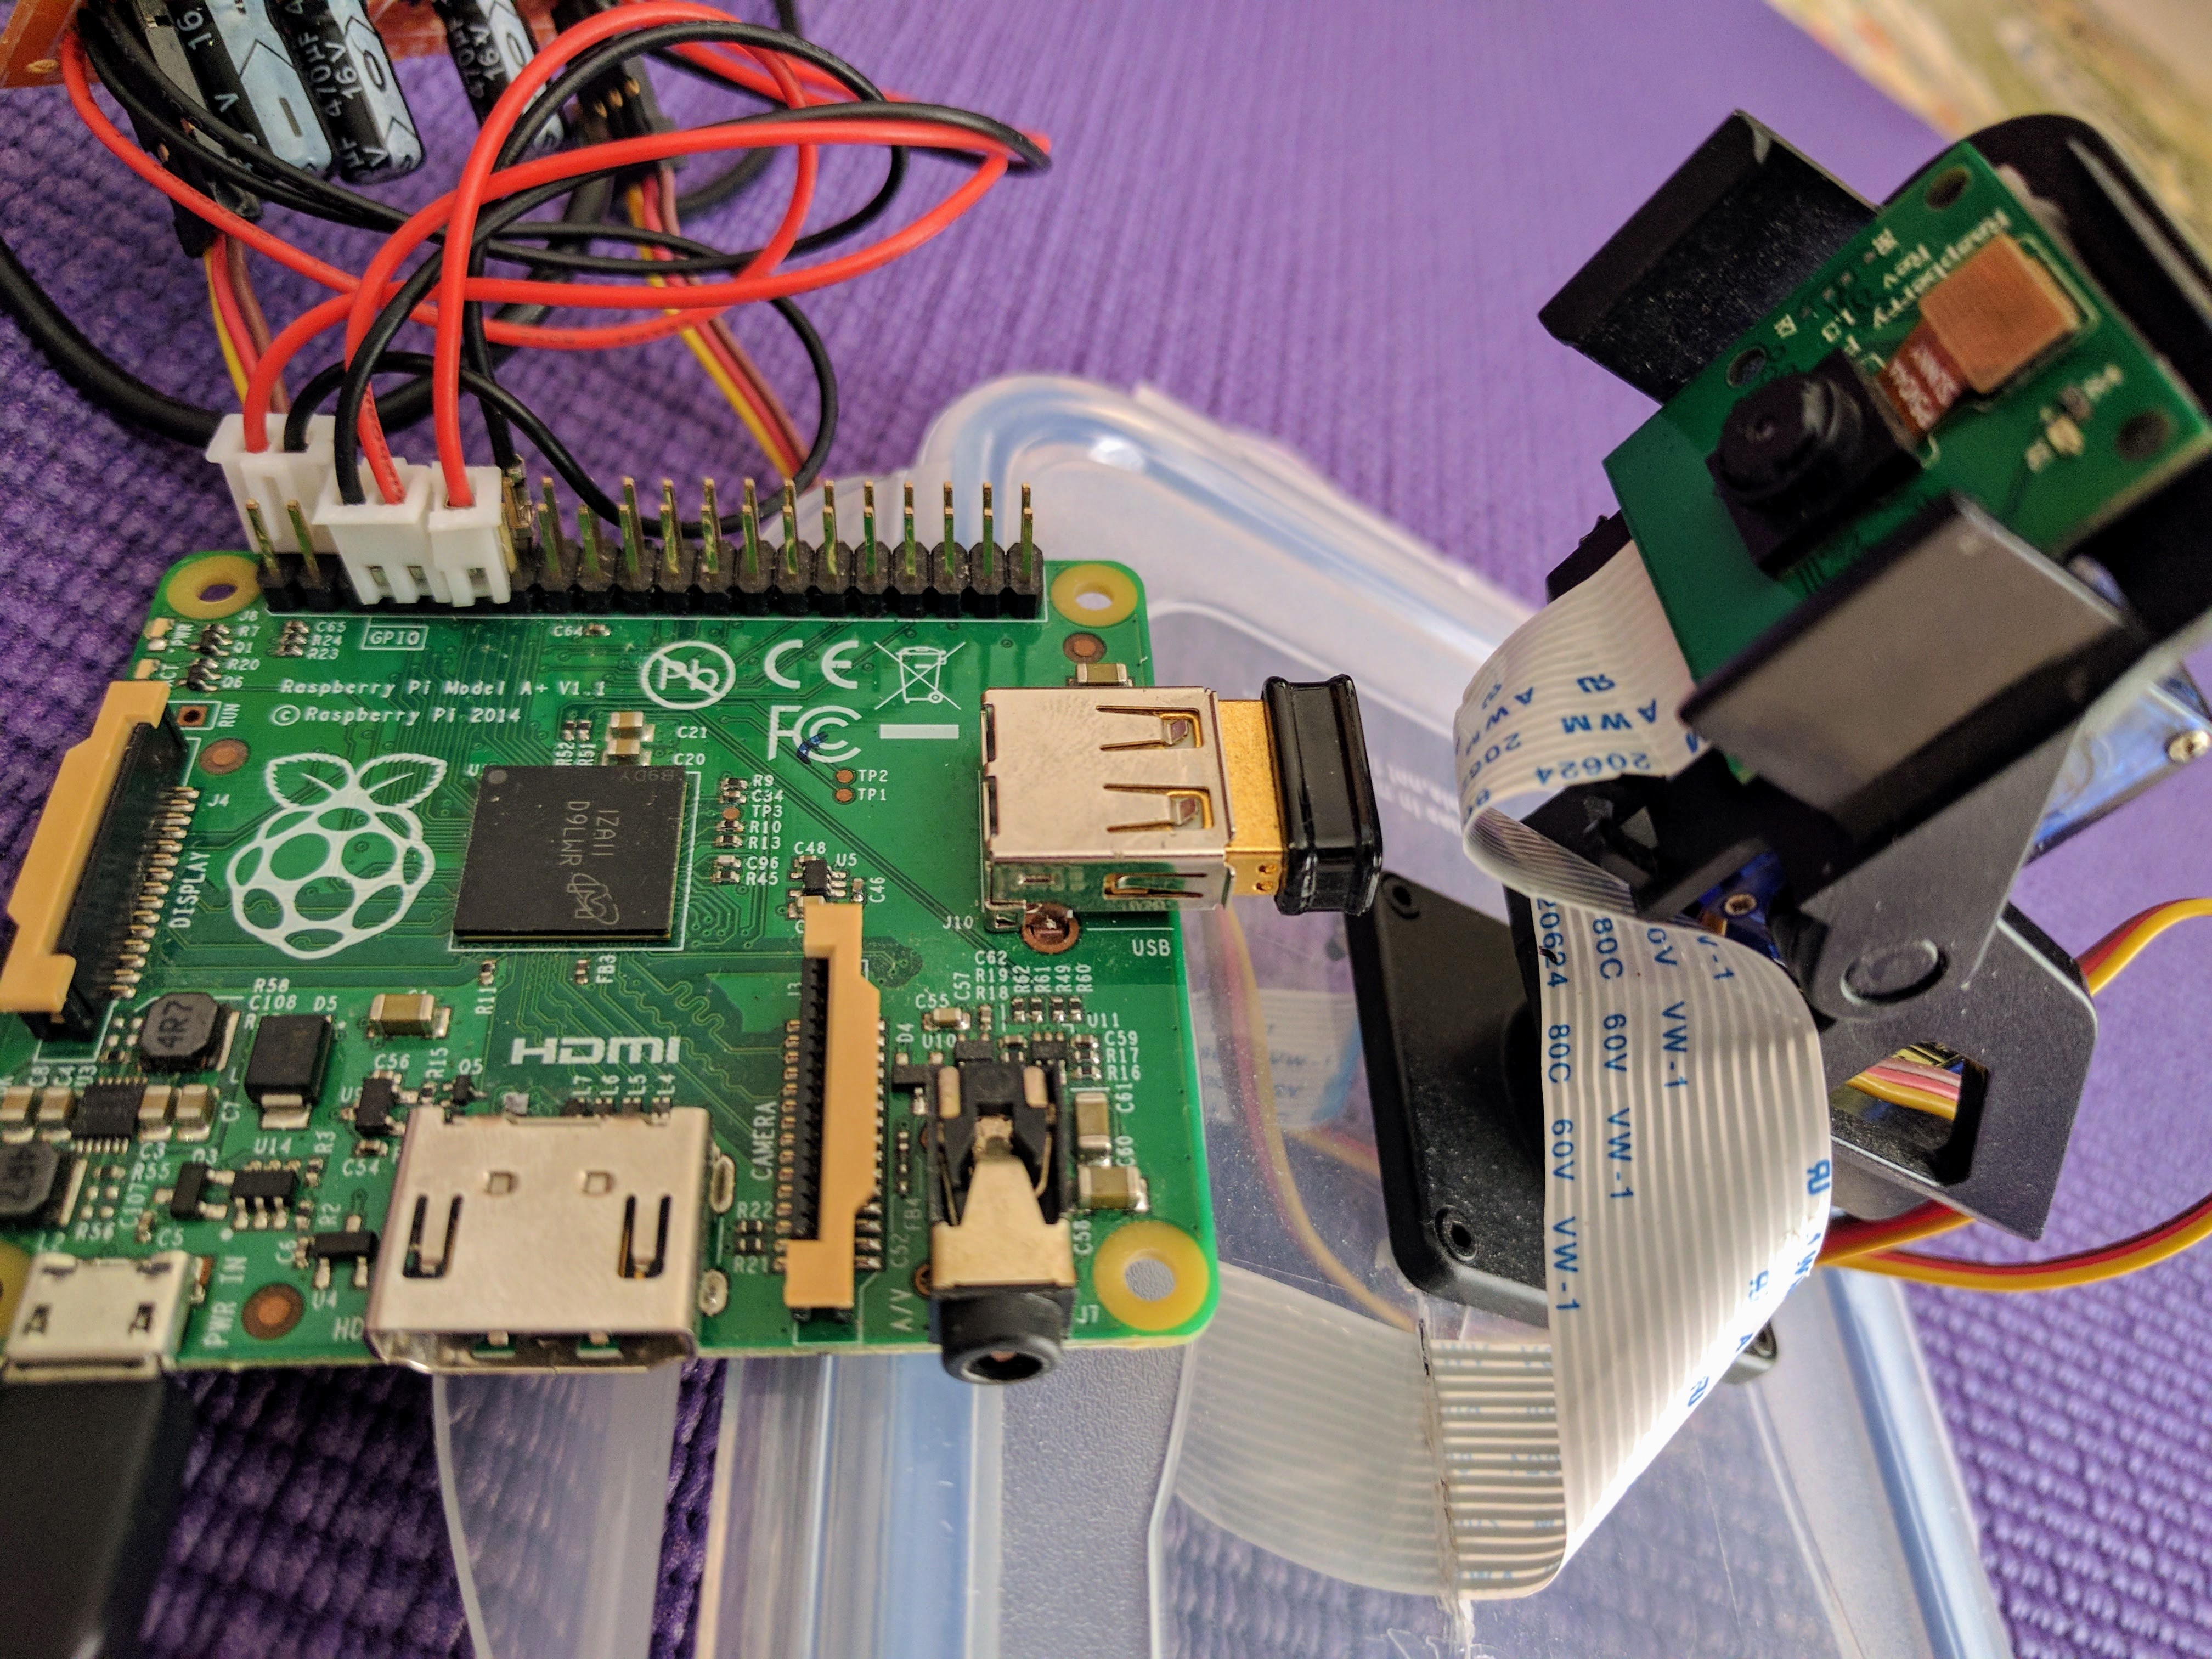
Smoothing capacitors, I thought. If I put a couple of 470 uF capacitors across the + and - of the servo input lines, it should dampen the jumping. (You can see the board with capacitors in the upper left of the photo below.)
With my soldering iron cooling in its spiral, I powered up the RasPi. Enthusiastically I logged on to my IP - and found the picture still jumping merrily.
Finally Getting it right
Another couple of hours fiddling, trying to work it out. Eventually, reading the ServoBlaster github, I discovered the --idle-timeout=Nms function that tells the GPIOs to stop sending a signal to the servos after a defined number of pulses. I SSH'd back to my Pi and gave it the same command as before, but adding the new qualifier:
cd ~/scripts/c/ServoBlaster/user
sudo ./servod --idle-timeout=1000
Eureka! After each click of the arrows, the servo moved, then went to sleep, waiting for the next click. The camera was rock steady until I commanded it to move again. No more whirring, clicking or buzzing.
So finally, I had it working. It's not demanding on the RasPi, so I plugged my SD into an old RasPi A+ and it's working perfectly. I even installed no-ip and forwarded a port on my router to see if I could log in from outside my home network. From 200 miles away, I followed my better half as she baked a cake in the kitchen. (Then promptly shut me down when she discovered I'd been spying on her.)
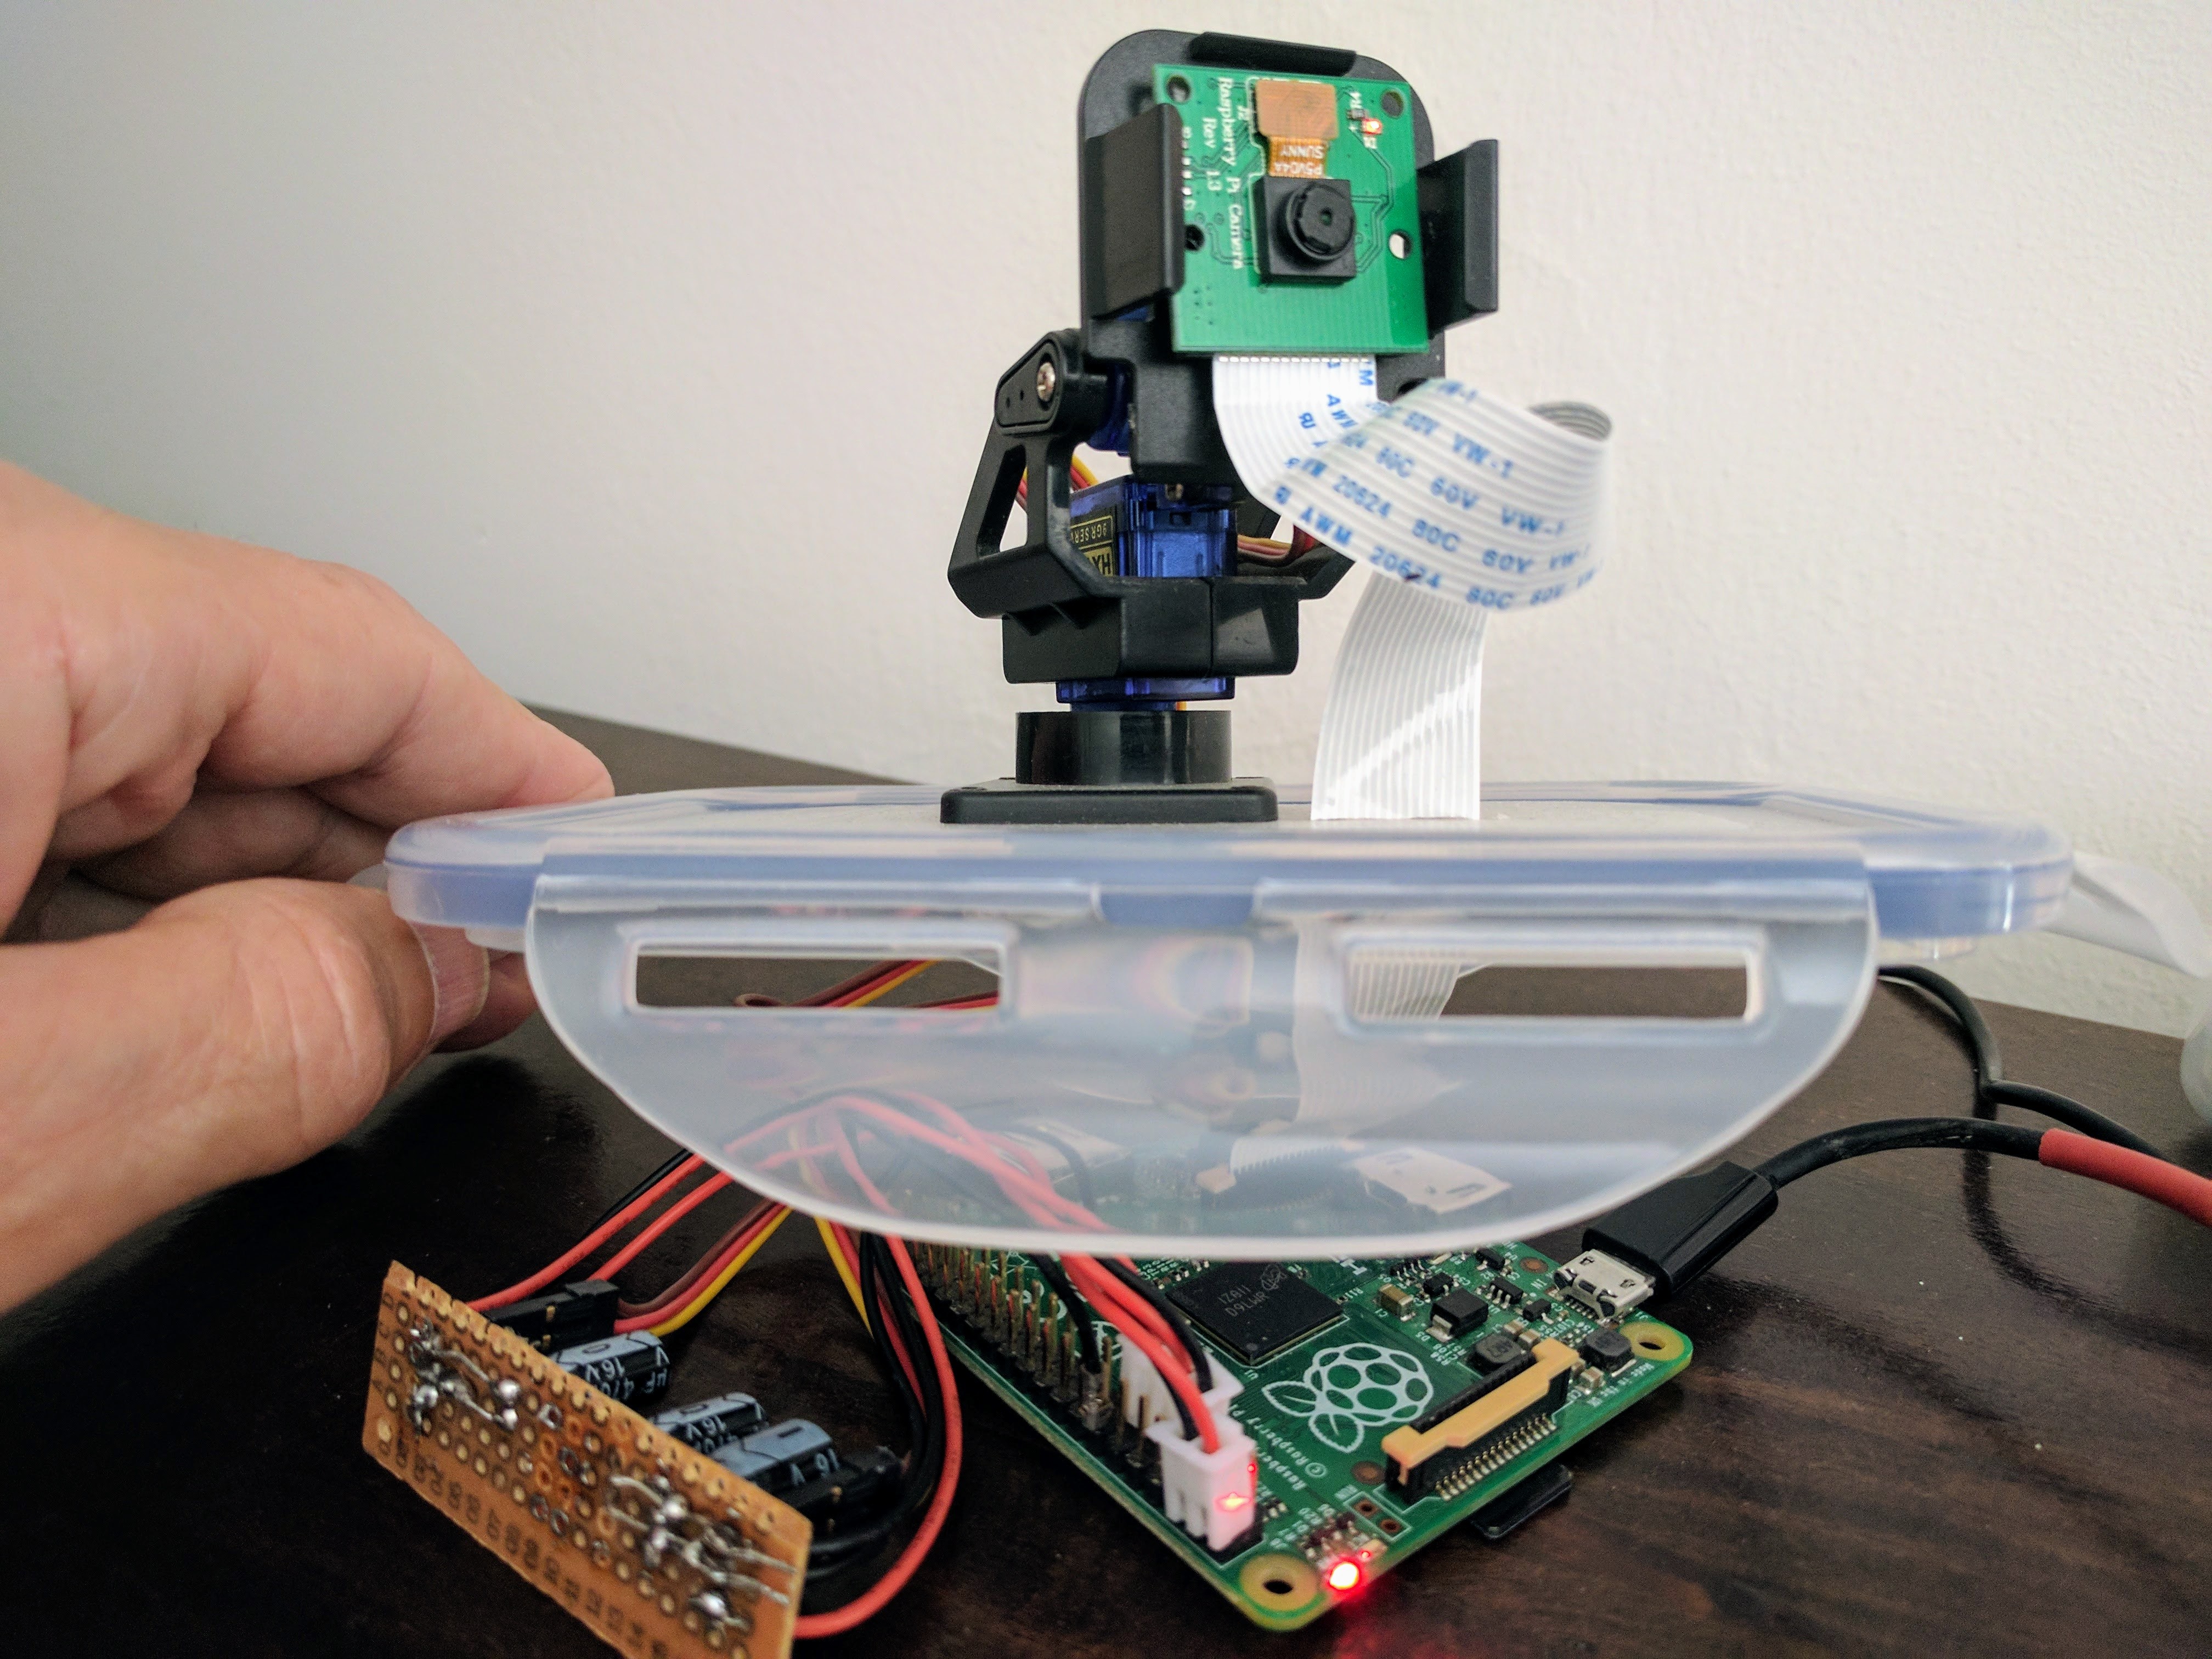
Housing
As I may place the unit in some inhospitable places, I decided to house it inside a thick plastic container to protect it as much as possible. I sliced a slit in the plastic to feed the camera ribbon cable, and another side hole for the power feed.

I see no reason that this shouldn't work on the new Pi Zero W. Indeed, maybe someone wants to design a 3D printed Zero case that attaches to the pan & tilt mechanism?