A word of warning
Before I begin, a word to this blog's regular readers. This post will likely be read by people with little background in electronic projects. I've written it for the novice to introduce him/her to the wonders of the Raspberry Pi, remote control, and home automation - so don't expect any great revelations... However, it's also an introduction to Blynk that some people may find useful.
Last year, about this time...
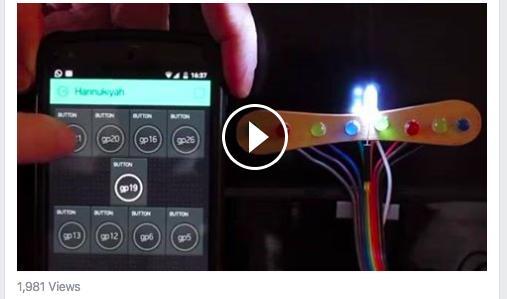
In December 2015 I posted a short movie on Facebook in which I switched on a row of eight LEDs I'd placed in a row on a popsicle stick. The whole apparatus was about 15 cm wide, and controlled by my phone. I'd called it my "Portable, pocket-sized, Internet-connected, phone-controlled, Menorah."
To my amazement, within a few hours, the movie had been viewed nearly 2,000 times.
So this year, I'm going to document how I did it - while hopefully extending myself beyond the 15cm limit of a popsicle stick.
Don't be fooled by appearances
What you're about to see seems very simple; by touching buttons on my phone, little lights will come on. But the thing is, I've chosen to switch on little lights. I could equally well have chosen to turn on the TV, followed by the washing machine, then the upstairs lights, the vacuum cleaner, the kettle, the toaster, and anything else that uses electricity. To turn on these appliances, I'd only need to add a few simple components - that can be bought from China for 2-3 dollars. So, although this blog will describe how to switch on the lights of my Menorah, it's the basis for "the Internet of Things (IoT)" and the rising industry of Home Automation.
In the same vein, had I chosen to, I could use exactly the same technique to control a huge Menorah that runs on mains electricity and services an entire community.
Components
I doubt if anyone will try to duplicate my exact project, so I'll just itemise the essential components:
- Raspberry Pi with Raspian. Any model will do. I used the Pi Zero
- WiFi dongle (if you don't have the Pi 3)
- Nine 5mm Light Emitting Diodes (LEDs)
- Candles (see below)
- Some wire
- A cellphone, with the Blynk app installed
- You'll also need to do some soldering
What is a Menorah?
A Menorah holds nine candles. There's one at the centre that's used to light the other eight. On the first night of Hannukah (the Jewish Festival of Lights) the centre candle is used to light the leftmost candle. On the second night, two candles are lit. The third night, three. This goes on for eight nights. If you're interested in the reason, see here.

The Cute Bit
When I was thinking about my remote-controlled Menorah I wanted to keep to tradition. It was when I was conceptualising the high-tech candle that I discovered something cute.
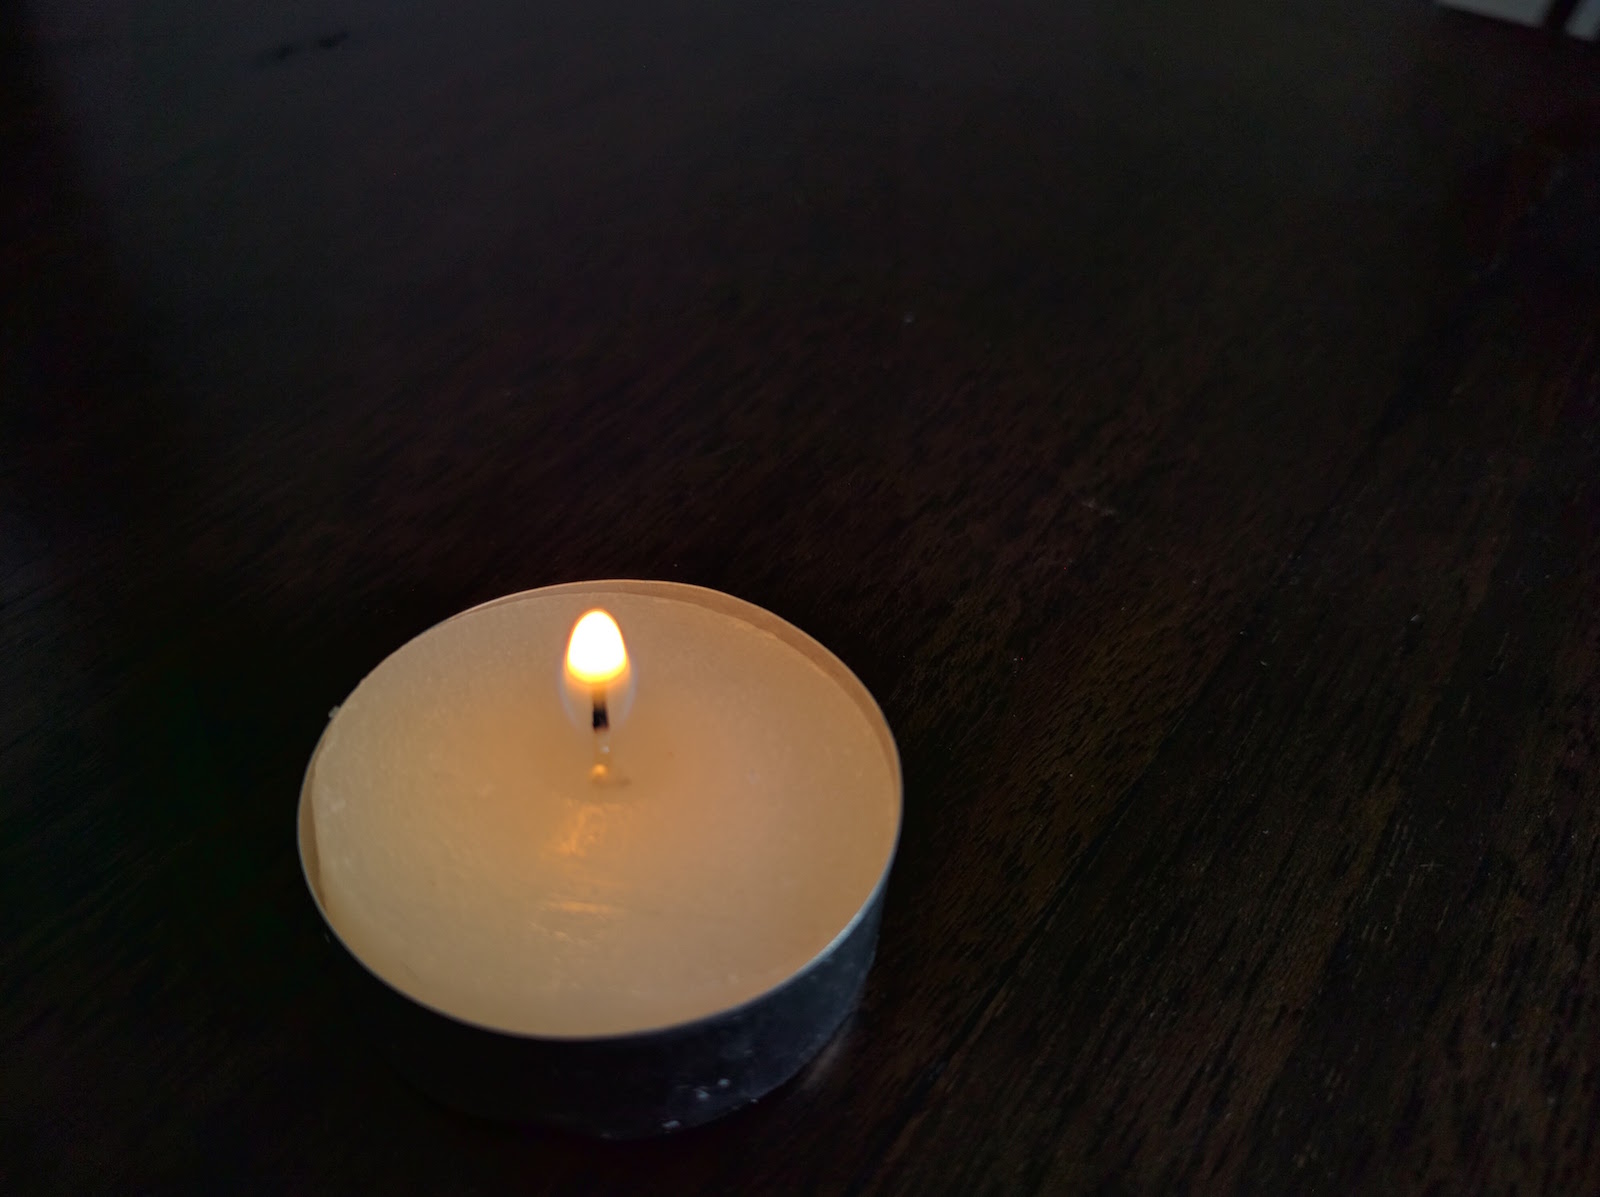
We've all seen these:
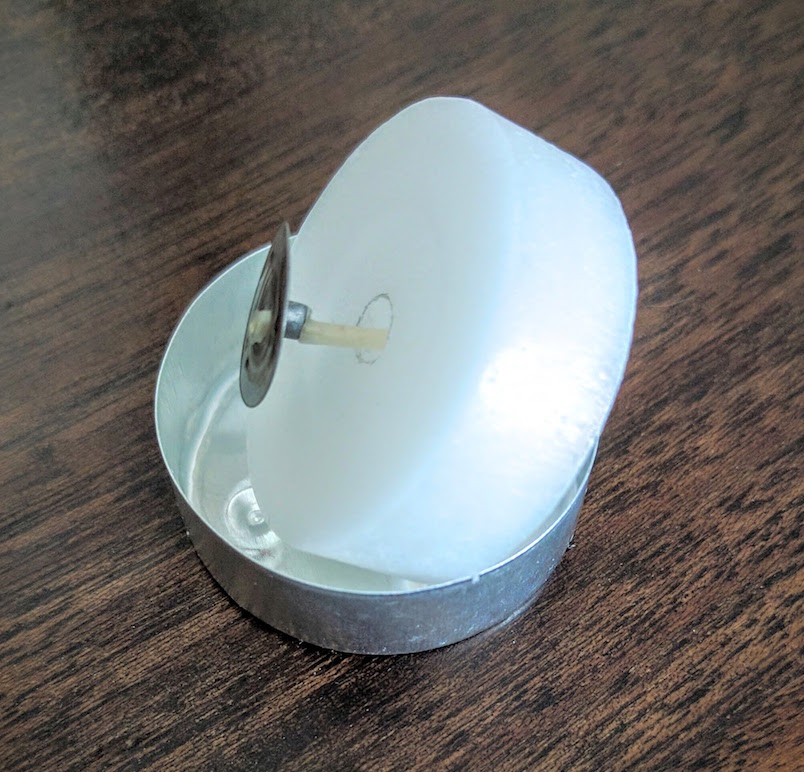
But did you know you can do this?
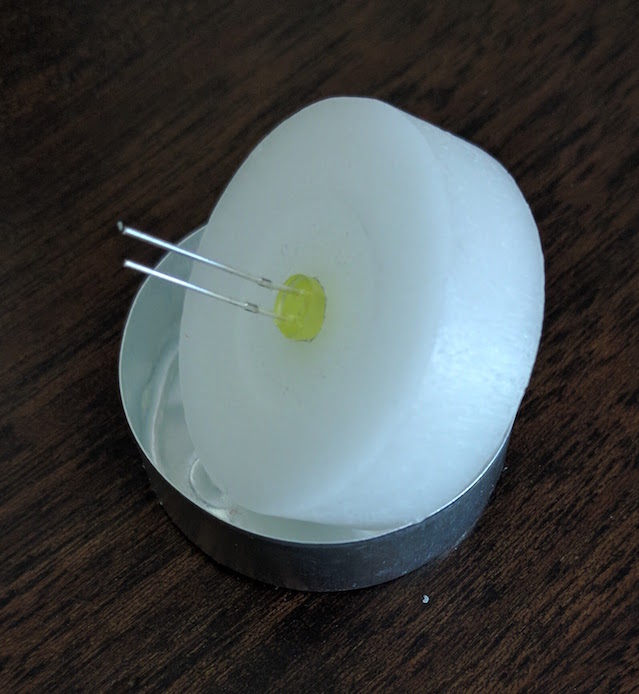
And you get this:
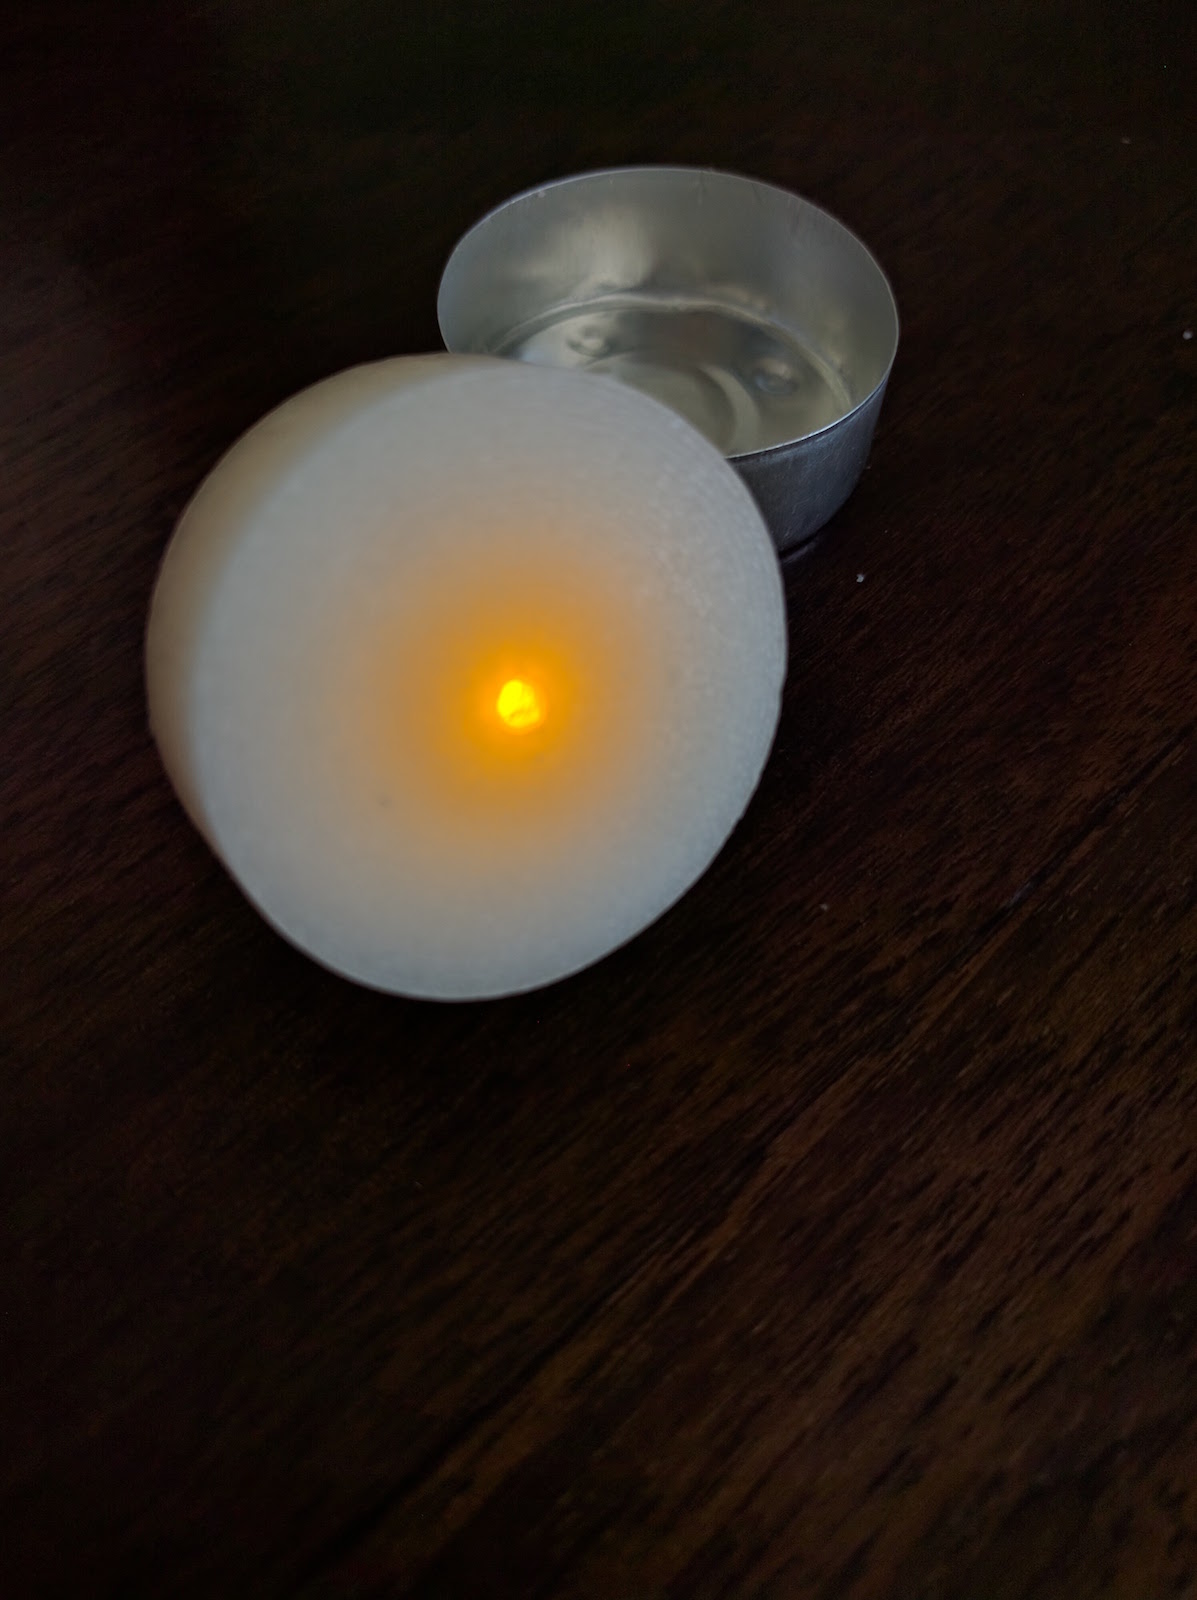
This will be the basis of my Menorah.
Setting up Blynk on the Raspberry Pi and Phone
The whole kaboodle will be run using Blynk. I use this app because:
- It's extremely easy to use
- You need no programming skills at all
- It's free (for now)
- It's stable and works perfectly every time
There are three stages for installing Blynk. We'll be installing two programs in the Pi, and one app on the phone. (Blynk is available for Android or Apple).
Installation of Blynk on RasPi
I'm assuming you're already connected to the Internet through your home router.
First, you need to install WiringPi. Instructions are here but to save you jumping to another site, do the following:
From the cmd terminal in you RasPi type:
sudo apt-get update
sudo apt-get upgrade
Once you're updated, type:
git clone git://git.drogon.net/wiringPi
Then:
cd wiringPi
git pull origin
Finally:
cd wiringPi
./build
Now that you've installed WiringPi, it's time to install Blynk itself.
Again, from the terminal, type:
git clone https://github.com/blynkkk/blynk-library.git
cd blynk-library/linux

make clean all target=raspberry
When it's done, you have Blynk installed - but before we move on, I'd like to share another little gem.
Screen Bash
This isn't necessary for our project, but it's useful to know.
Often, when I'm logged into my Pi from another computer, I want to exit Terminal (the SSH session) without affecting the processes running on the Pi. There may be other ways of doing this, but I use Screen Bash which has serviced me well for several years. This allows you to close down your remote computer, leaving your Pi running happily on its own, and I'd recommend it for many projects, including this one.
Installing Blynk on your Phone
Just log on to Google Play or your Apple account and download Blynk. Make sure you spell it right. That's Blynk, not Blink. Once you've downloaded, open your account following the app instructions.
We now have the Raspberry Pi and Phone ready. Next stage is building the Menorah.
The Hardware
The first thing you need it a solid surface to mount the LEDs on. You can work with wood, or metal, but I use something that's much easier to manipulate.
A couple of years ago I bought large sheets of cork to cover a wall. (It looks great by the way!) I had some left over and I've been using it for one thing or another ever since. It's relatively stiff, but easy to cut. It has strong adhesive on one side and it's also pleasant to the touch.
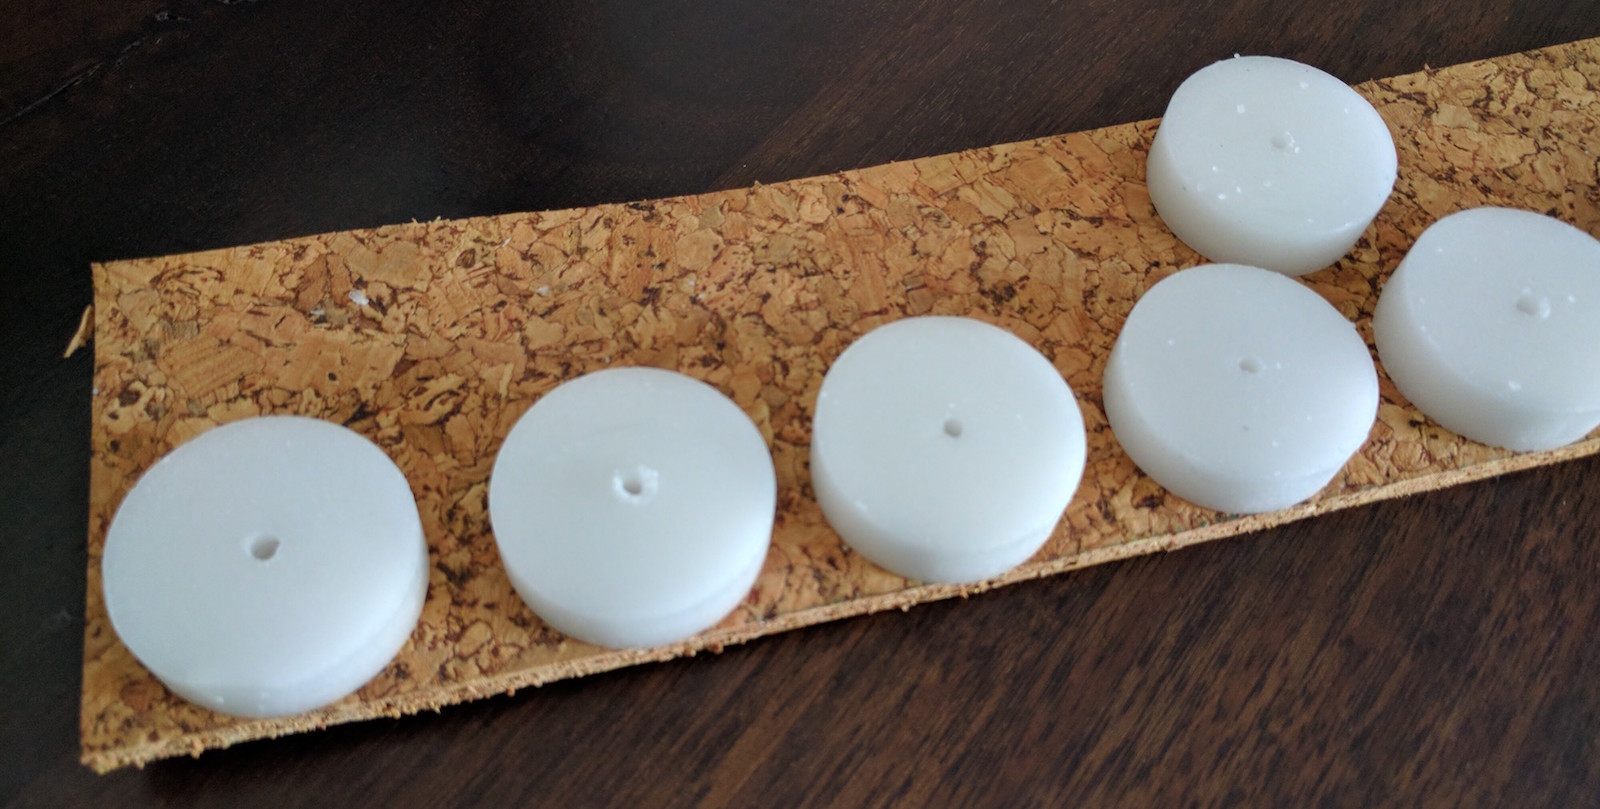
So first, I cut a piece of cork and bored 5mm holes at regular intervals. I then placed my LEDs in the holes.
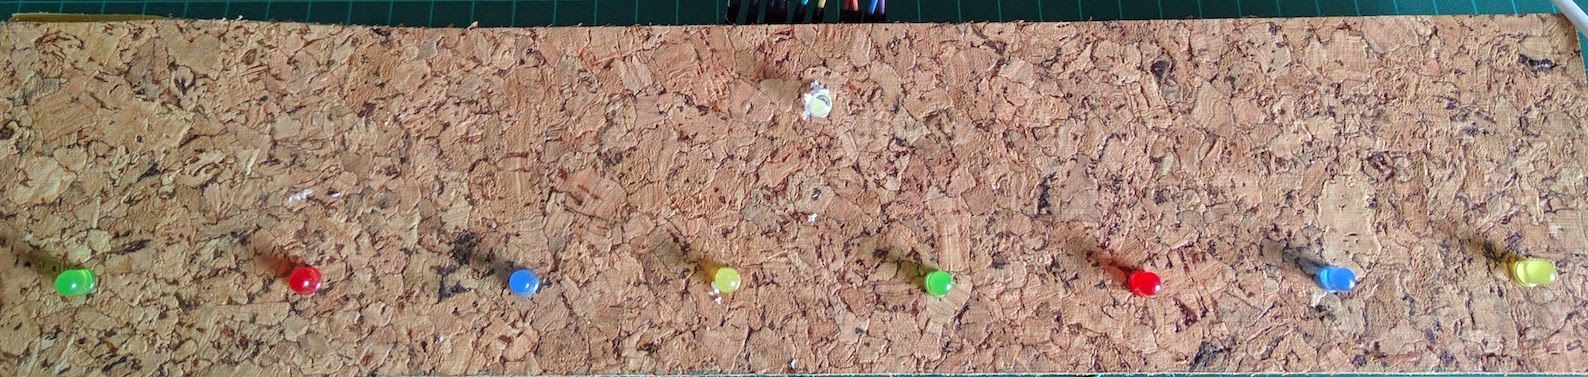
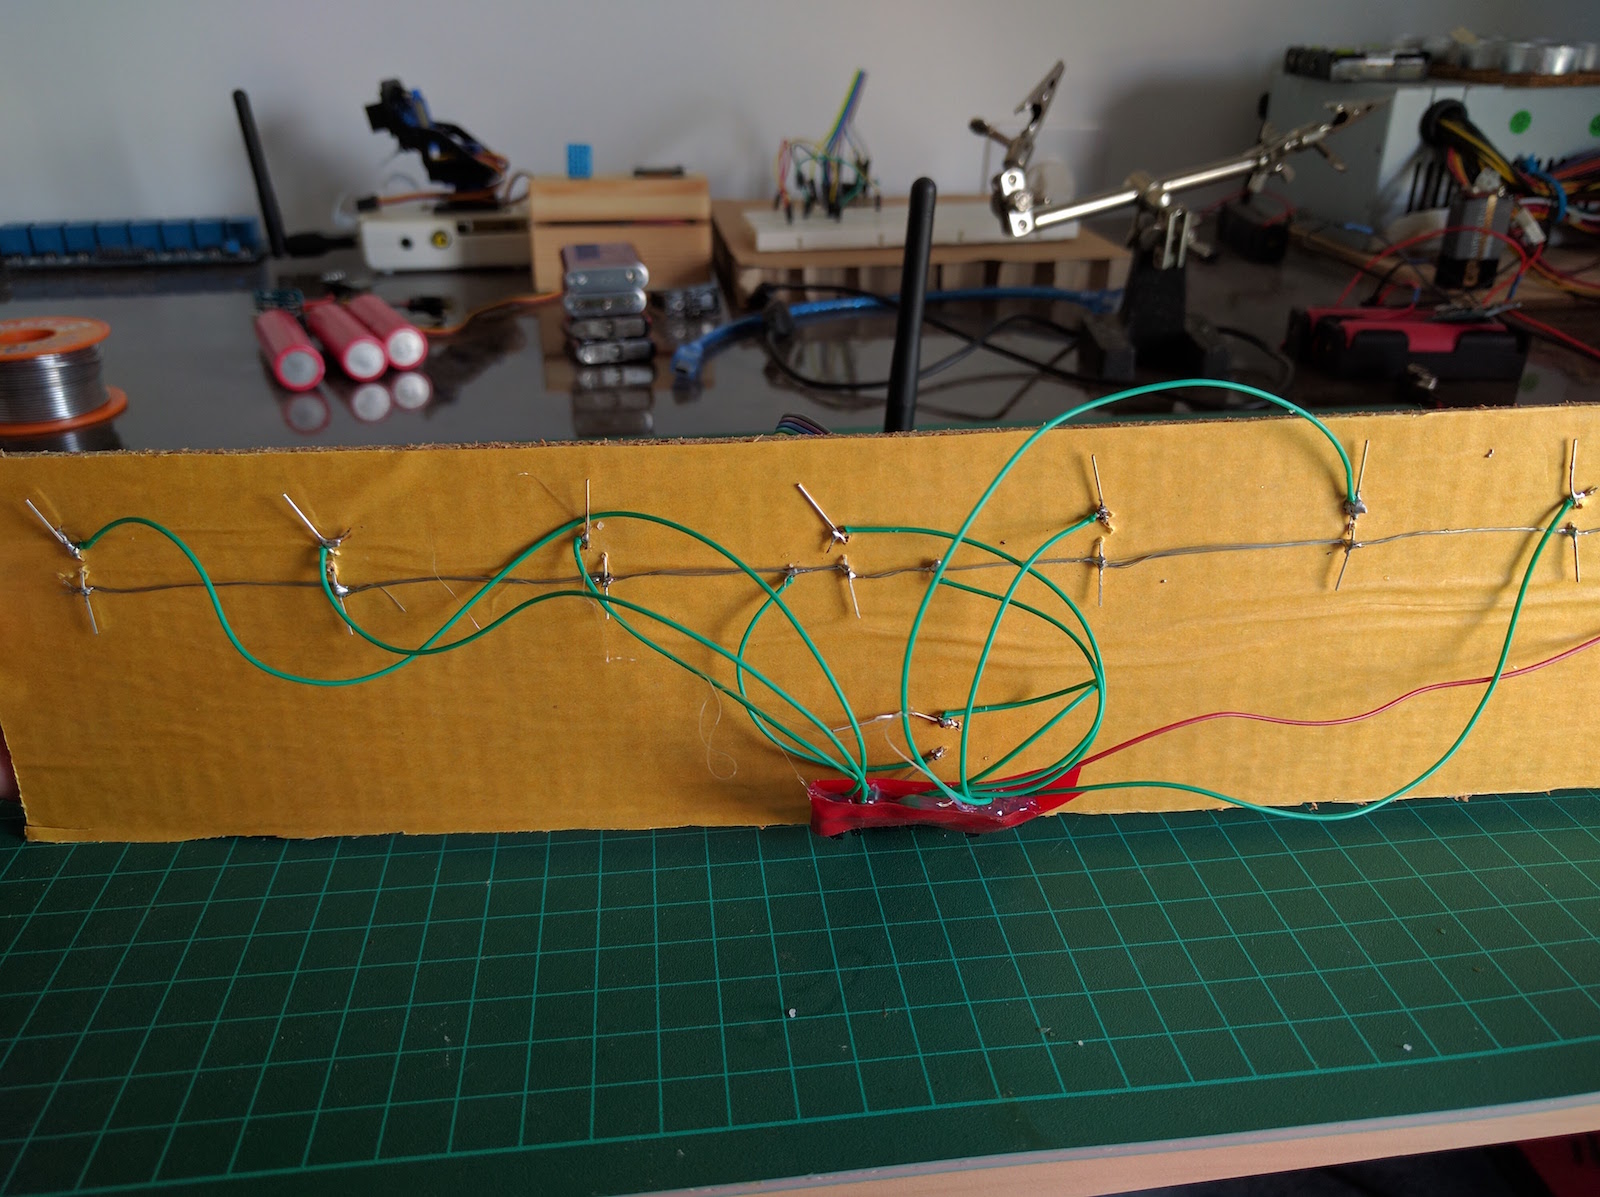
On the reverse side, I connected all the common (cathodes) of the LEDs together with fine wire.

Once that was done, I soldered a wire on to each of the other pins (anodes) of the LEDs. I collected these wires together and soldered them to a connector. (Note, you'll also need a wire for the ground connection).
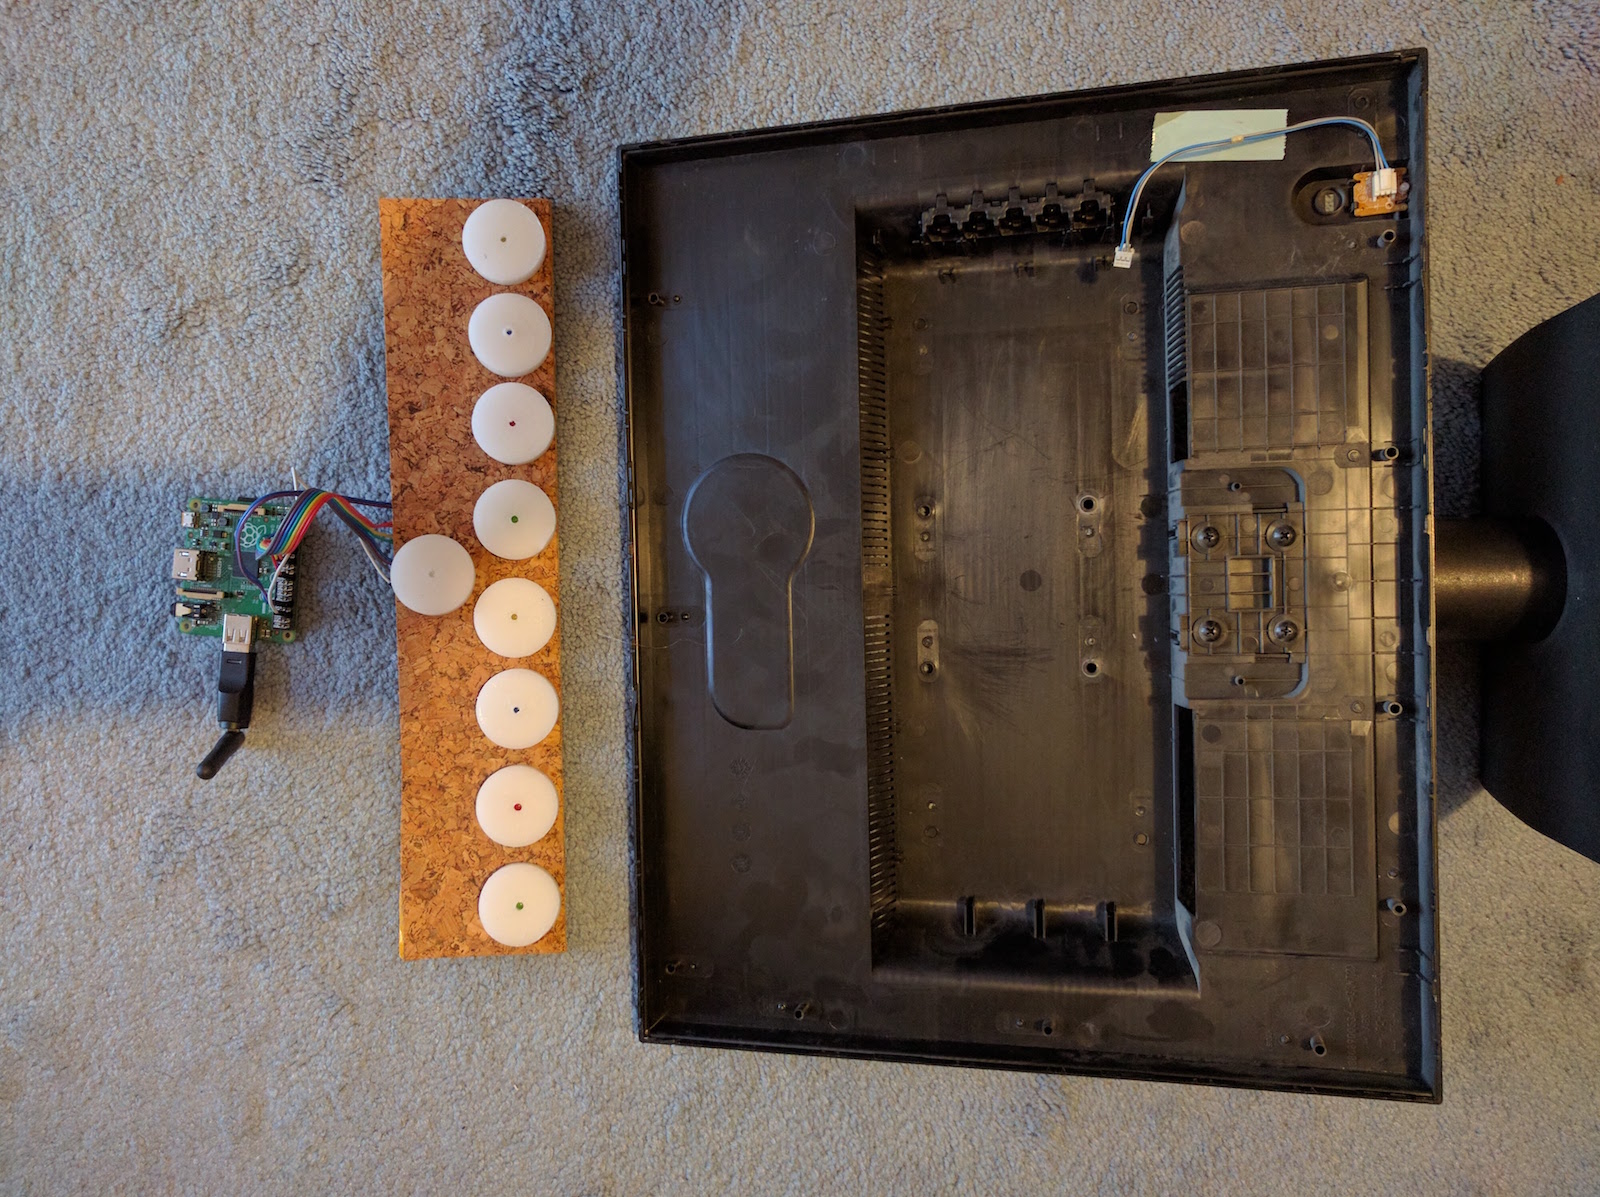
Then, I connected nine GPIO pins (and the ground pin) from the Raspberry Pi to the connector. Once I'd done that, I turned on the GPIO pins to make sure all my wiring was working. (I did my prototyping on a RasPi Model A - but transferred to the Zero when I made my final model.)
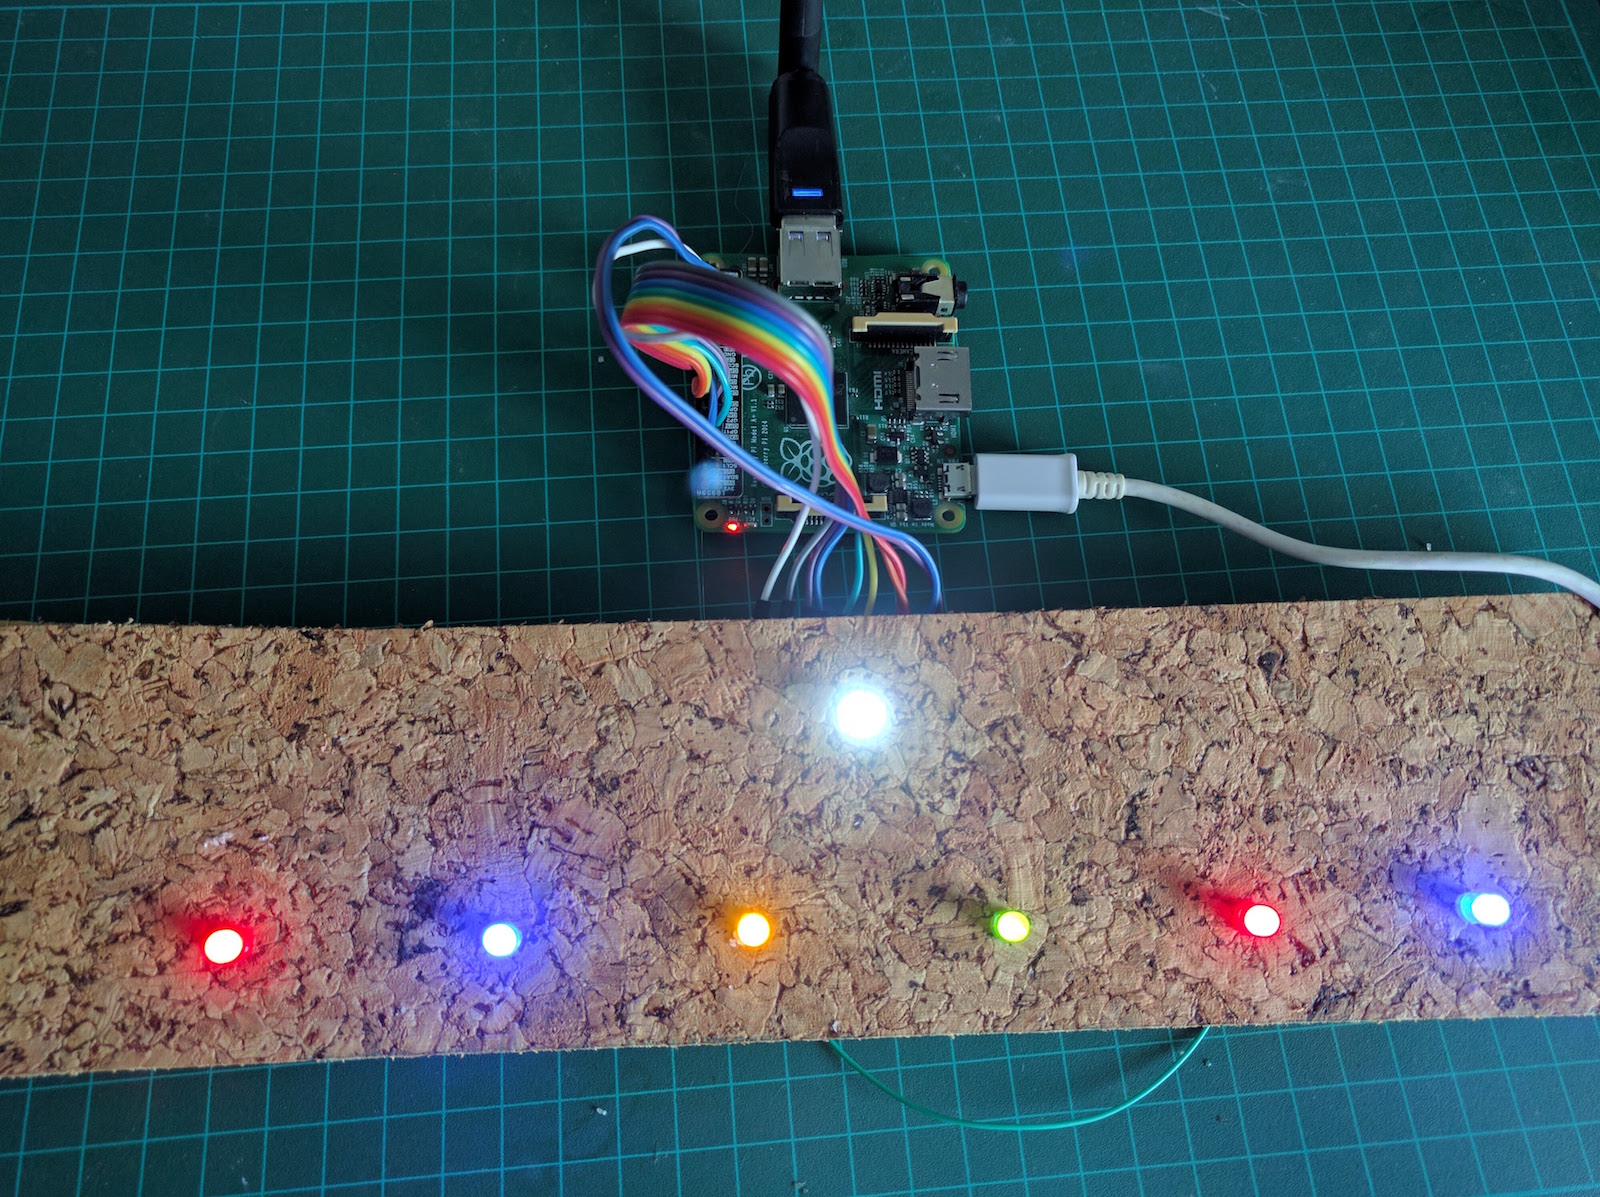
I then put the candles in their places...
And switched it on...

Where on earth do I mount it?
So, I had a working strip of candle-LEDs, but where was I going to put them? As a geek, I'm quite good at dreaming up projects, but I'm not so good with aesthetics. Recognising my limitations, I went looking for something practical.
I considered a simple picture frame, but couldn't find one that suited. I then thought of taking an old box, covering it with something attractive, and sticking my Menorah on top.
As I was sifting through my accumulated junk I came across something I'd discarded from a previous project. I found the empty housing of the screen I'd used to make my magic mirror. (A year-long project that isn't finished because I can't find suitable reflective glass). What better place to house my Menorah than somewhere that already has space at the back for the Raspberry Pi?
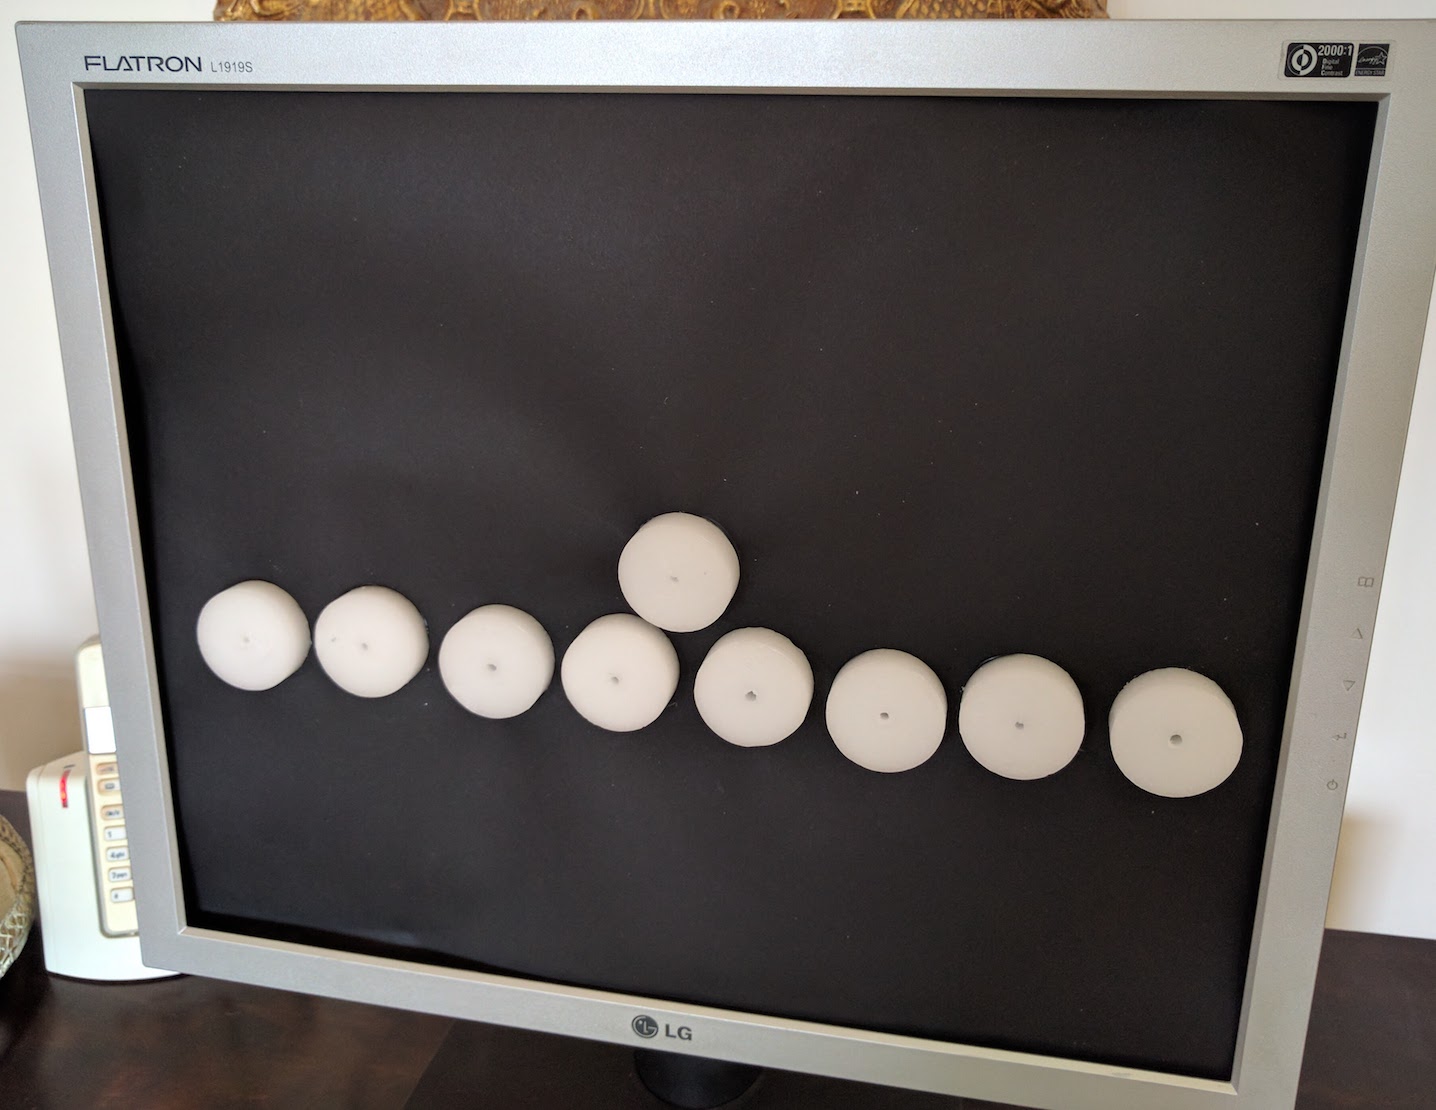
I decided that placing the cork at the front would be a bit ugly without a background, so I acquired some heavy black paper and stuck it on. But it didn't help - it was still massively ugly! Although the cork may have been a sturdy surface to mount the LEDs, it wasn't presentable on my finished Menorah.
I thought it would look better if only the white candles were contrasted on a black background, without the cork getting in the way. So, I made holes in the paper at the precise locations of the LEDs and placed the the cork behind the black paper. I then put the candles over the protruding LEDs.
It was then that I encountered the hardest problem of the whole project... How was I going to stick candle wax to heavy paper so that it wouldn't fall off the moment I stood the Menorah up?
I tried various glues but nothing worked. I even considered melting the candles slightly - but didn't want them deformed.
Then lo and behold!, I discovered something I didn't know. Silicon sticks to candle wax! I put a spot on each candle, and that was enough to stick them to the heavy paper.
Initiating Blynk
So, now that the hardware was ready, it was time to get back to the programming.
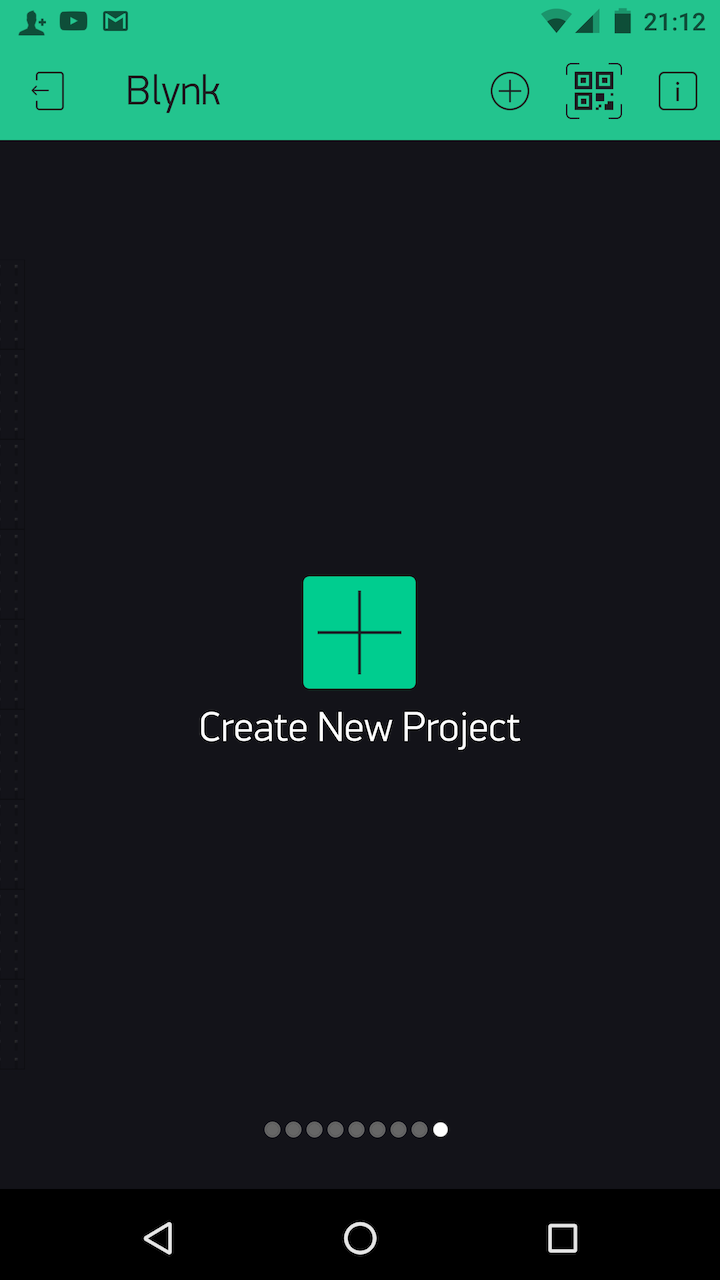
Step 1 From the app in your phone, select Create New Project
Step 2 Give it a name, and select the board you're using. In my case, I was using the Raspberry Pi.
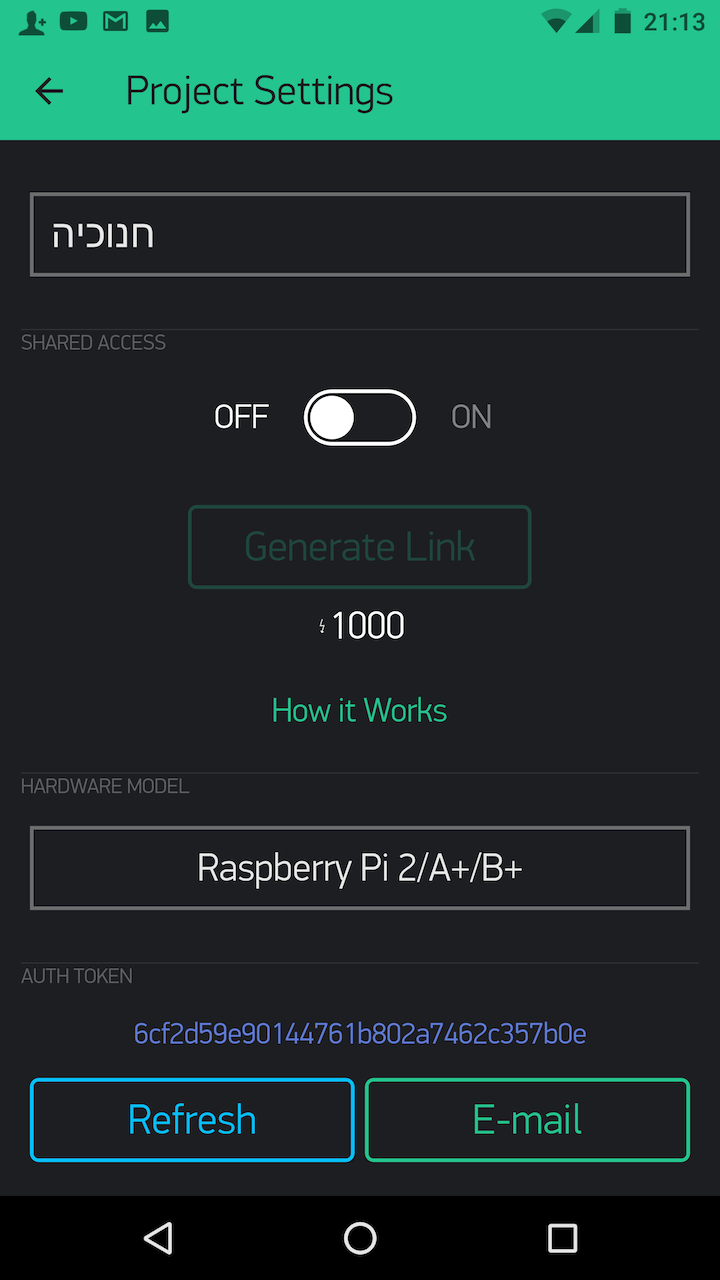
You'll see the app has given you an authorisation token. Click E-mail to send the token to the email address you gave when you registered Blynk.
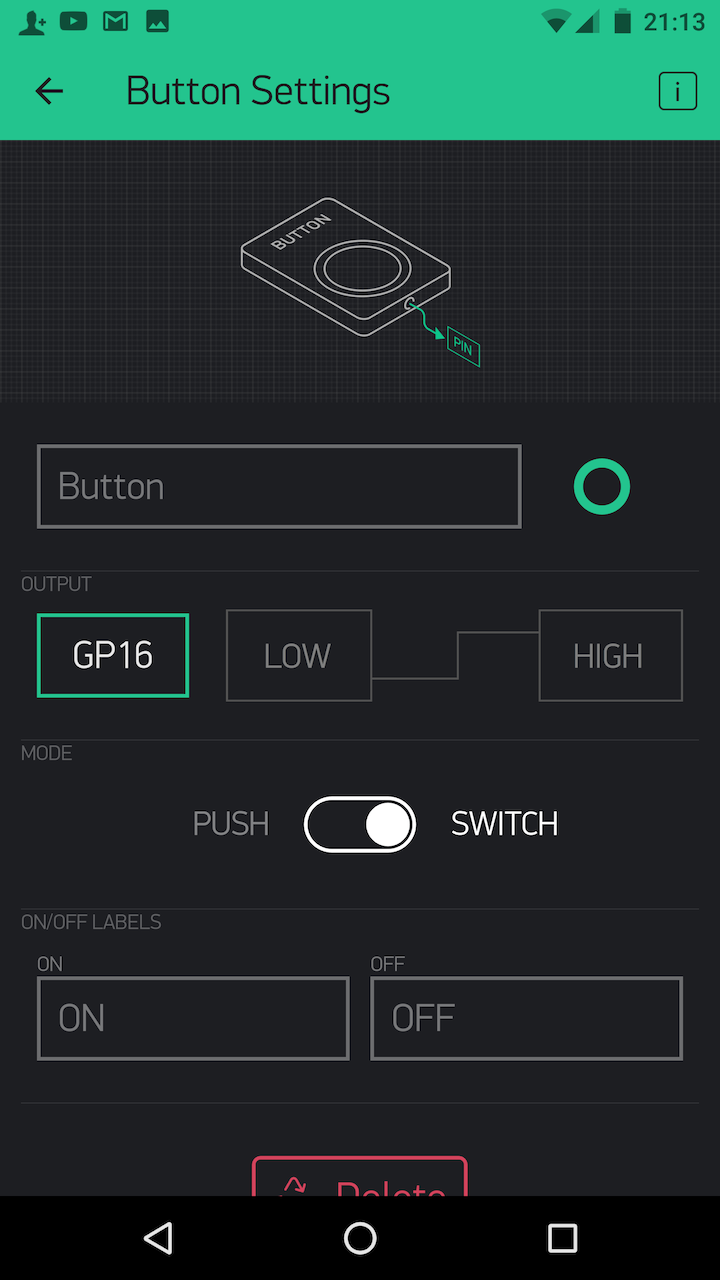
Step 3 It's time to put buttons on the app, corresponding to the GPIO pins you connected the LEDs to on the RasPi. As you'll see above, one of my LEDs is connected to GP16. Be sure to select Switch instead of Push. (The latter will keep your light lit only while you're pressing the button).
Go through this process for all your buttons, in the case of my Menorah, nine.
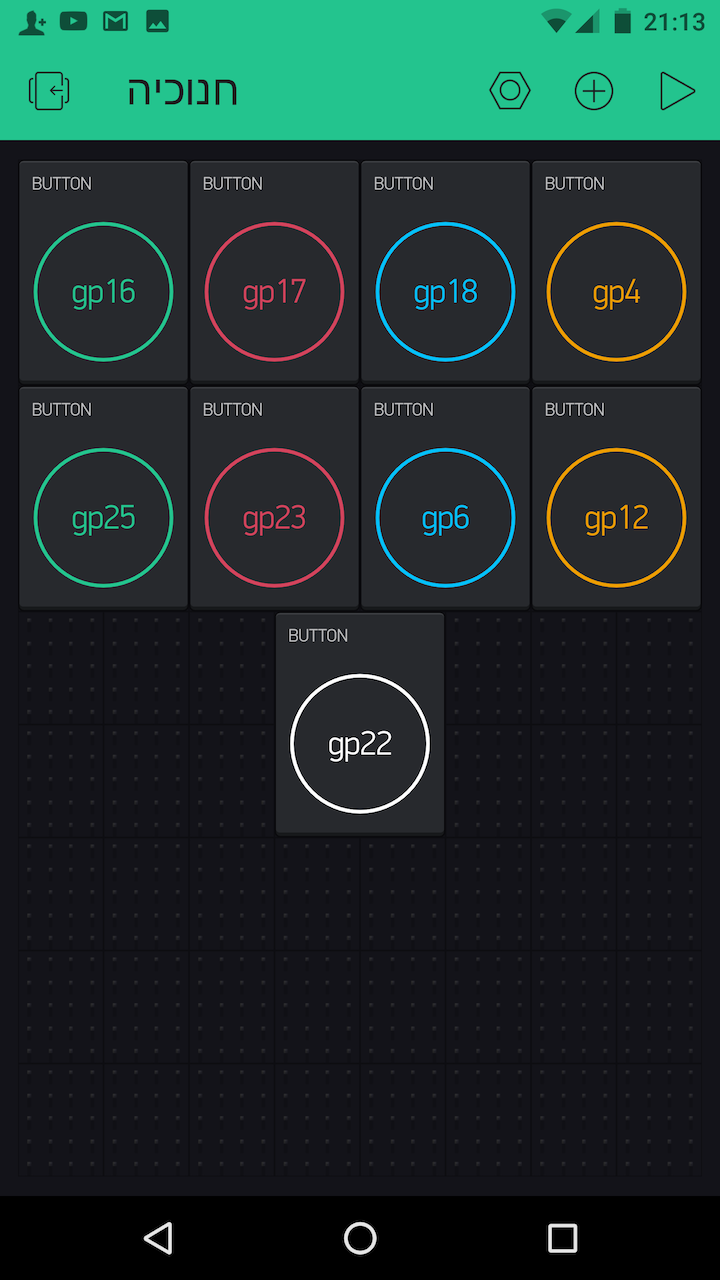
You see in the picture the GPIO pins to which all my LEDs are attached.
Step 4 Activate the app by pressing the forward arrow on the top left of the screen. Your app will now look something like this:
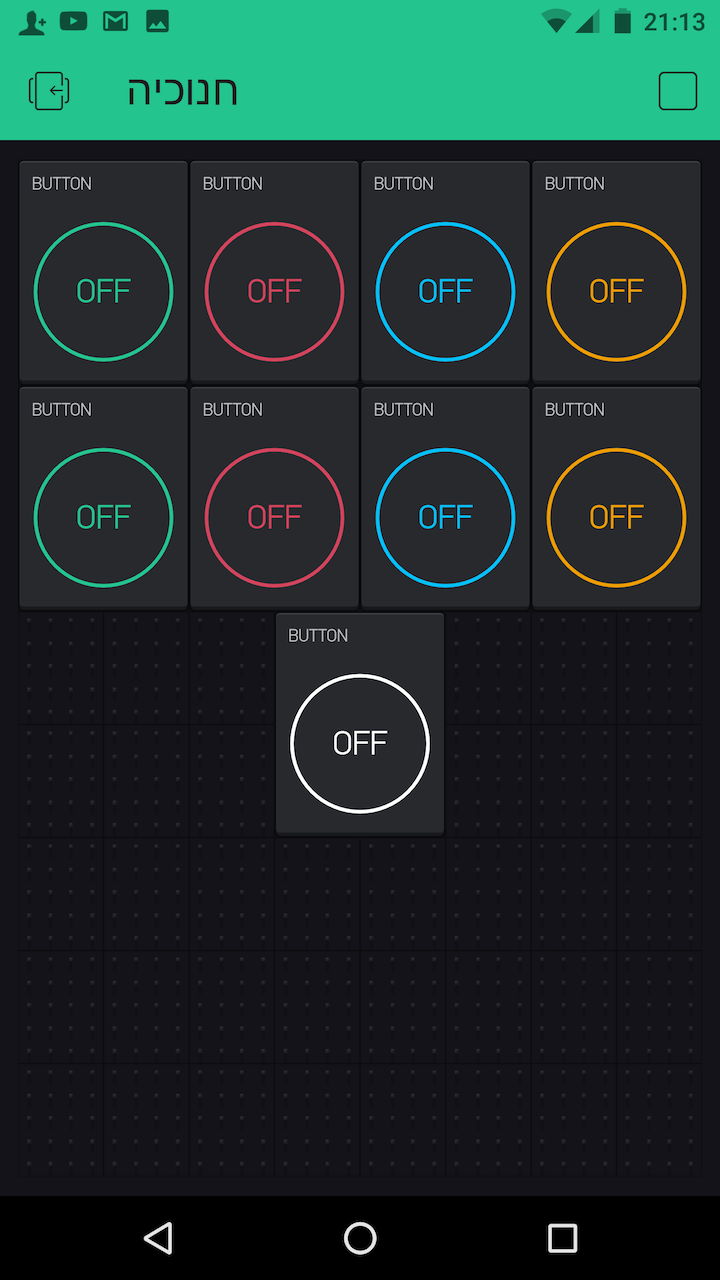
That's it from the app side of things.
Running Blynk on the Raspberry Pi
We're very close to the end. All we need to do is get Blynk running on the Pi and we're done.
Remember the authorisation token we emailed a few minutes ago? It's time to find it. You'll need it below.
The next step depends upon whether you're running your Pi through SSH on another computer, or on its own screen. If it's on its own screen, open terminal then skip to the highlight below.
If you're running through SSH and you took my recommendation of installing Screen Bash, then from Terminal type:
screen bash
This will open a new terminal instance for you.
From here type the following:
cd blynk-library/linux
sudo ./blynk --token=YourAuthToken
(Copy your authentication token from your email and paste it in the above. It's important to get the syntax right.)
Blynk should then connect to their company servers and allow you to access the Menorah's lights through your phone app. Just press the buttons and watch your lights come on! (As long as you're connected to the internet, you can do this from anywhere in the world!)
I'd like to stress again what I said at the beginning of this post. The simple process we've just completed could equally well be used to remotely control anything in your house. Using simple tools like this, you could turn on your hot water heater on your way home from the airport. With today's easily accessible technology, what was once rocket science is now within the reach of someone with no programming skills whatsoever.
Finishing Off
If your Raspberry Pi is attached to a screen, just leave things switched on and you can control your Menorah from anywhere.
If your Pi is controlled through SSH and you're using Screen Bash, you can now type (in sequence):
cmd a d
This will exit your SSH session and allow you to close down your remote computer and leave the Pi running.
Enjoy, and Happy Chanukah!