Have you ever had that problem where your WiFi reception is not good enough? How about doing something about it?
Last year I moved to a new and bigger house. I located the router next to the TV in the living-room, which was mostly at the center of the house. Then I had realized I have a very bad WiFi reception in two rooms which were the farthest from the router. So I've decided to connect the router in one of the rooms, and found out I have a very bad reception when using the TV in the living-room. Unfortunately, I didn't have "a place in the middle" I could plug the router and had to leave the router in the living-room and stay with bad reception in the other rooms.
The next thing I did was getting a repeater from a friend. A repeater, after it has been configured, is connected (wireless) to the router and acts as another router so should be great for solving this certain issue. I plugged the repeater near the entrance of one of the rooms, configured it and checked the results. Unfortunately, the repeater still had a very bad reception! Checking the internet speed with speedtest.net all I got was around 0.5Mbps when expecting 15-40Mbps. I couldn't plug the repeater closer to the router since it is an old house and this was actually the closest socket to the router.
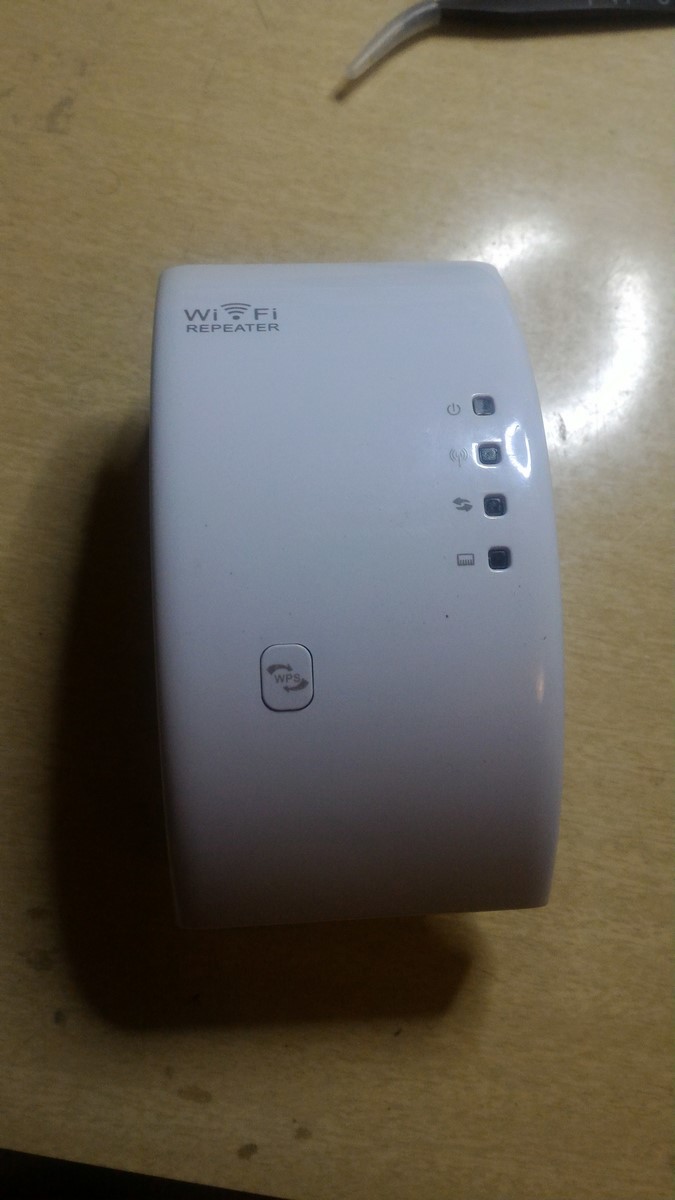
This is the repeater by the way - No brand, very cheap:
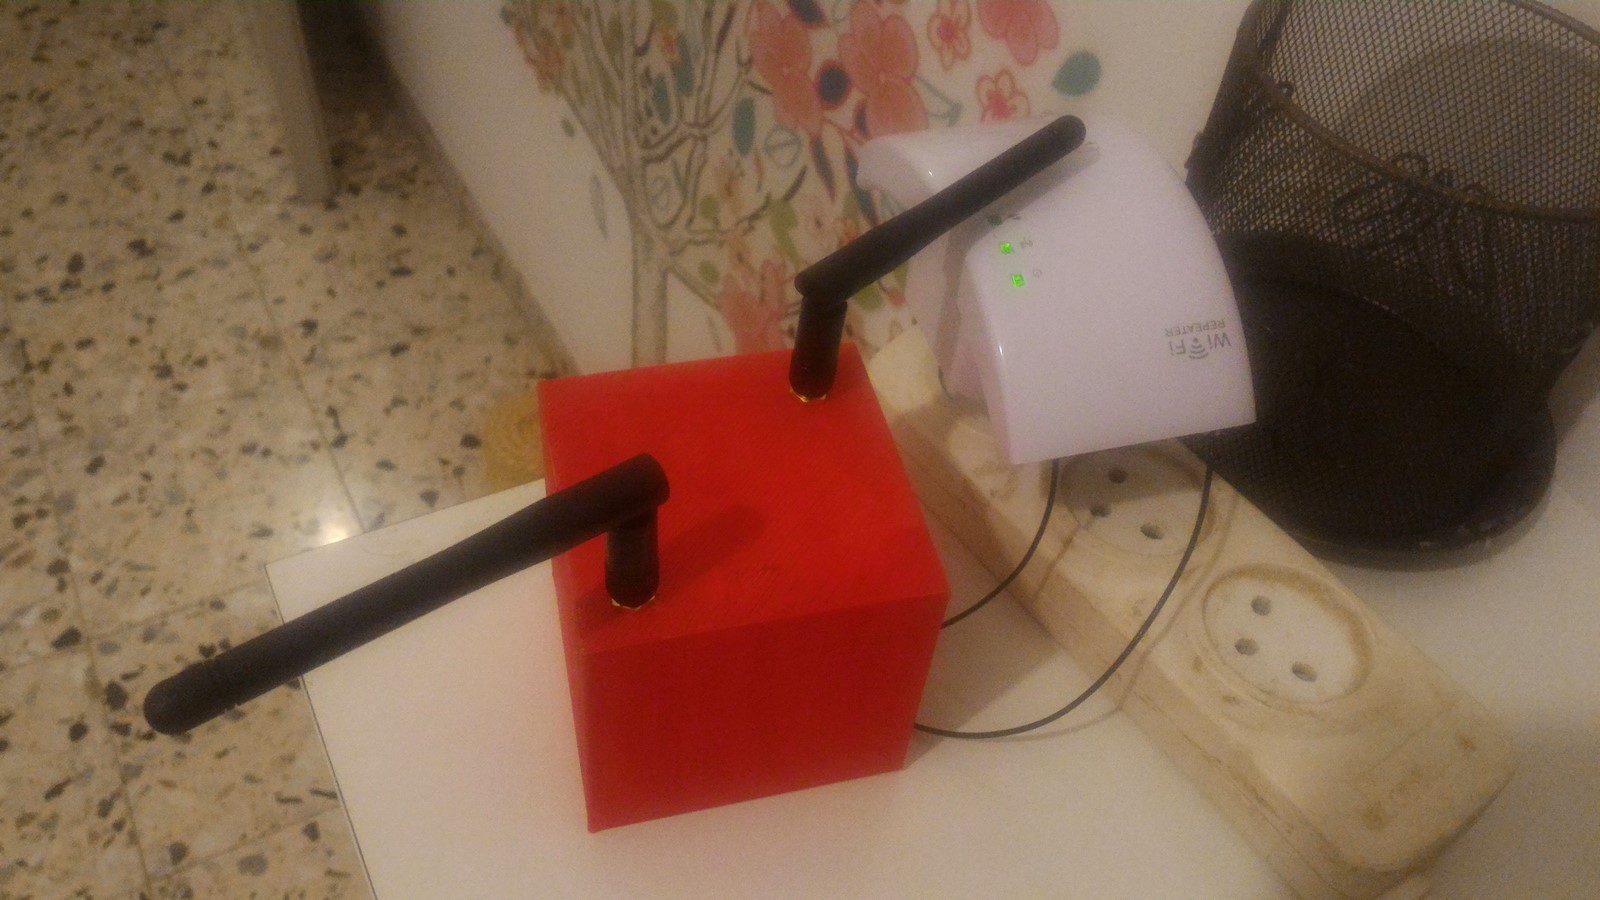
Up to this point I've done everything a normal-motivated-technical person would do. Then, a few days ago I've received several antennas I ordered, which were meant to use in a different project, but as always I order two of every kind so I had a few spare antennas. This evening I decided to try to connect the antennas to the repeater, and check if it will improve the reception. Well, to cut to the chase it did improve the WiFi speed to 15-20Mbps and here is the final product:
Documenting The Process
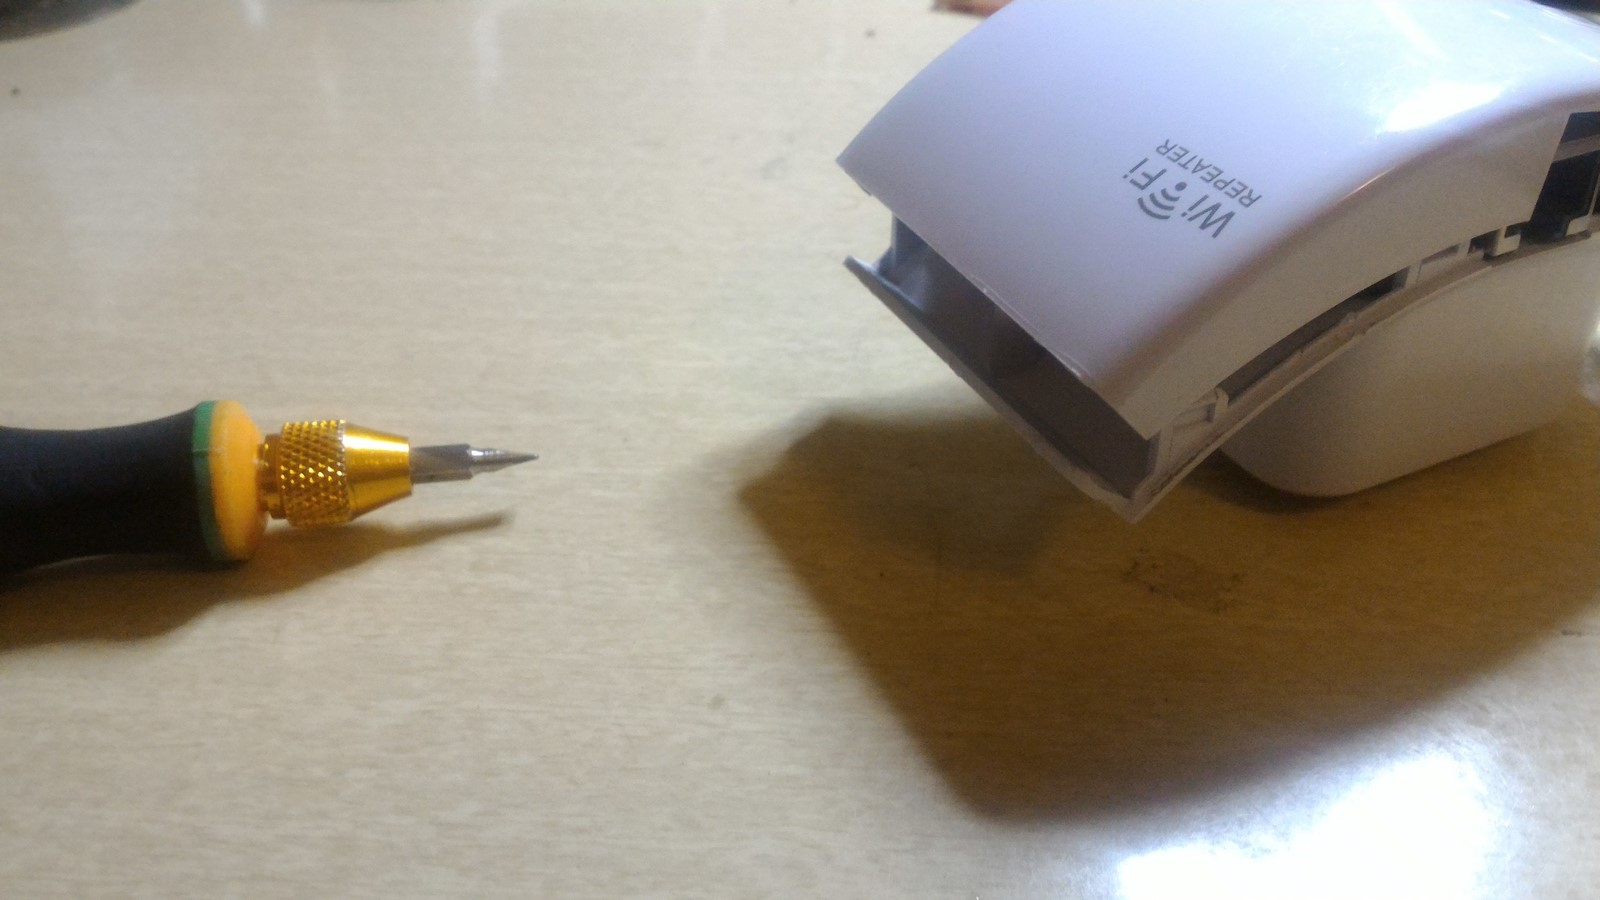
I Started with opening the repeater. As with all the plastic junk, I had to open it very carefully not to damage it so I can close it later on.
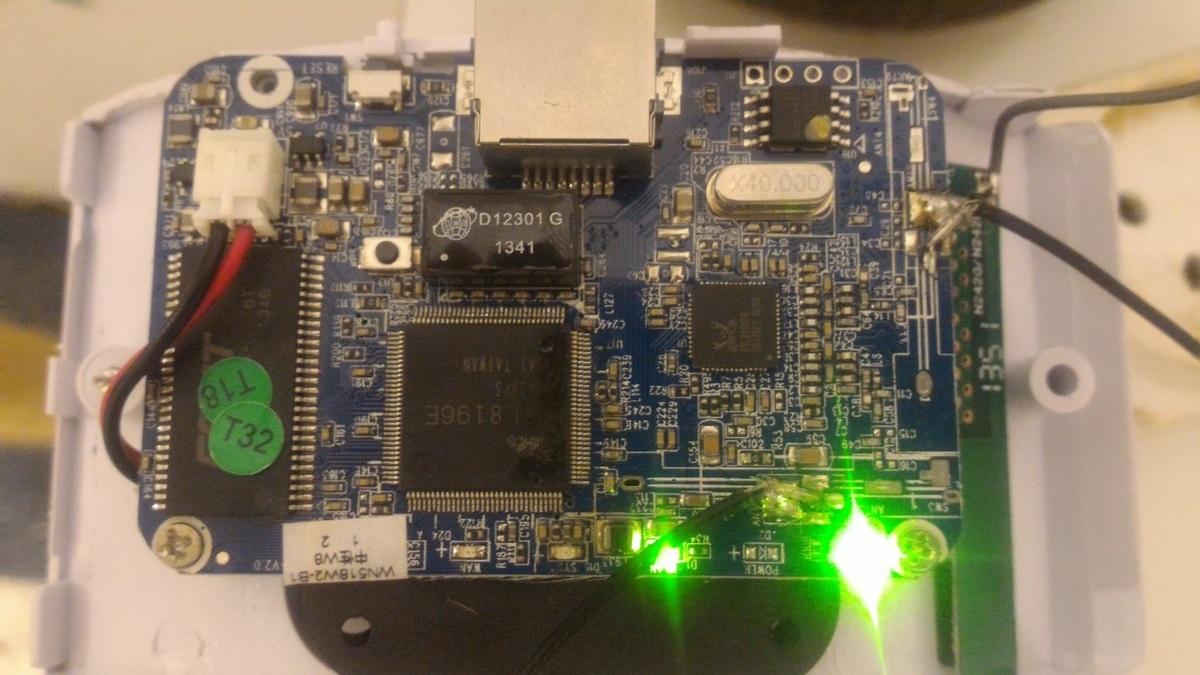
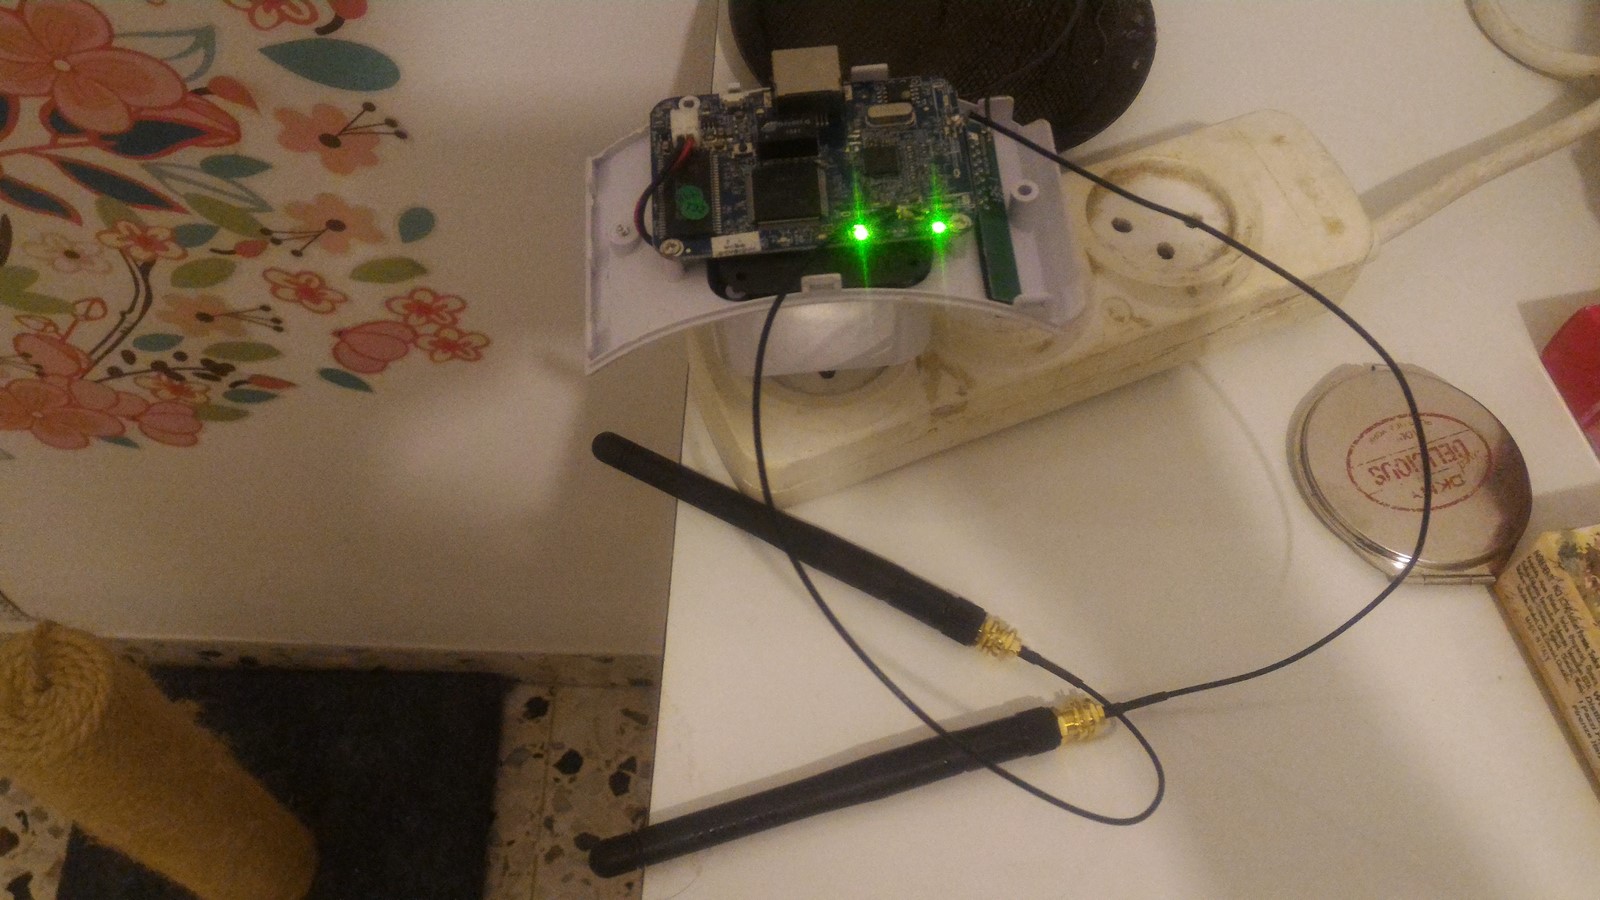
After removing the plastic I could check the entire board, so lets see what we have here:
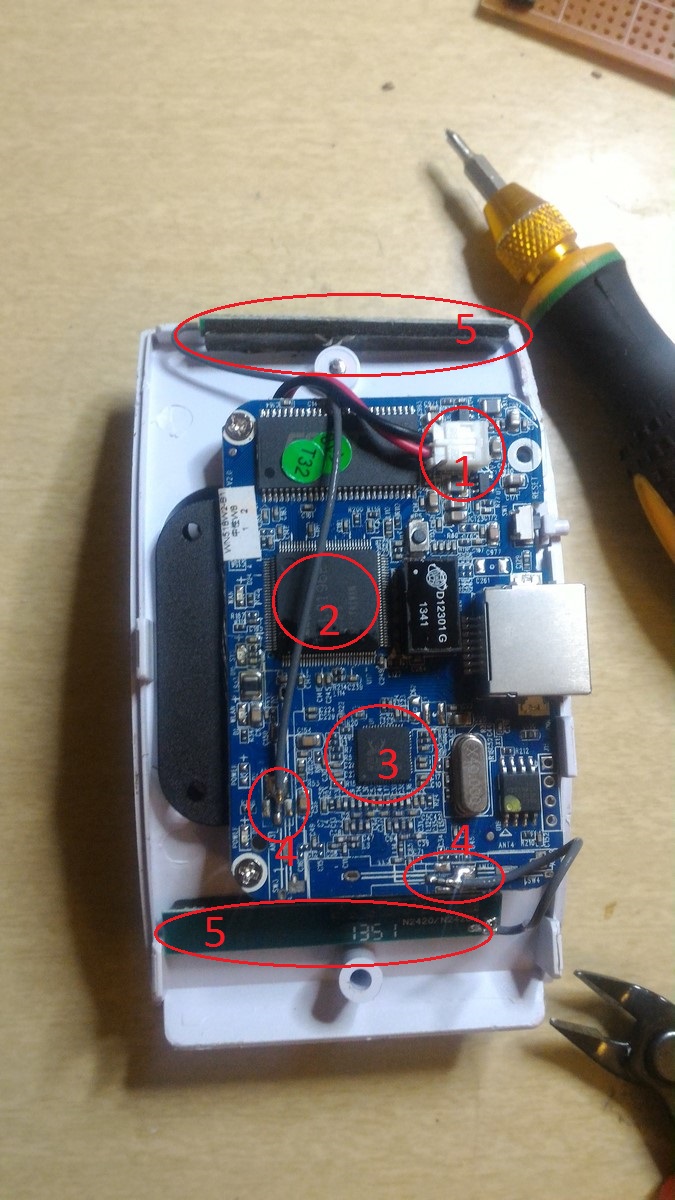
- A connector from the AC/DC transformer to the board. Didn't really check its voltage but assuming 5V/3.3V
- RTL8196 Ethernet communication chip - To the right of this chip there's Ethernet plug, which is used to configure the repeater for the first time.
- RTL8192 WiFi communication chip - This chip is handling all the WiFi communication of course, and it supports 2X2 MIMO communications. MIMO stands for Multi Input Multi Output, and 2X2 means it can support two receiver antennas and two transmitter antennas. Using two antennas and some signal processing you can get much better SNR (Signal-to-Noise Ratio) which means better reception.
- Two antennas connections - Each antenna has positive and negative connection.
- Transceiver Antennas - Each antenna is both transmitter and receiver and is placed as on-board antenna - Just a metal line on the PCB. The metal lines are at the right length to detect 2.4GHz (WiFi frequency).
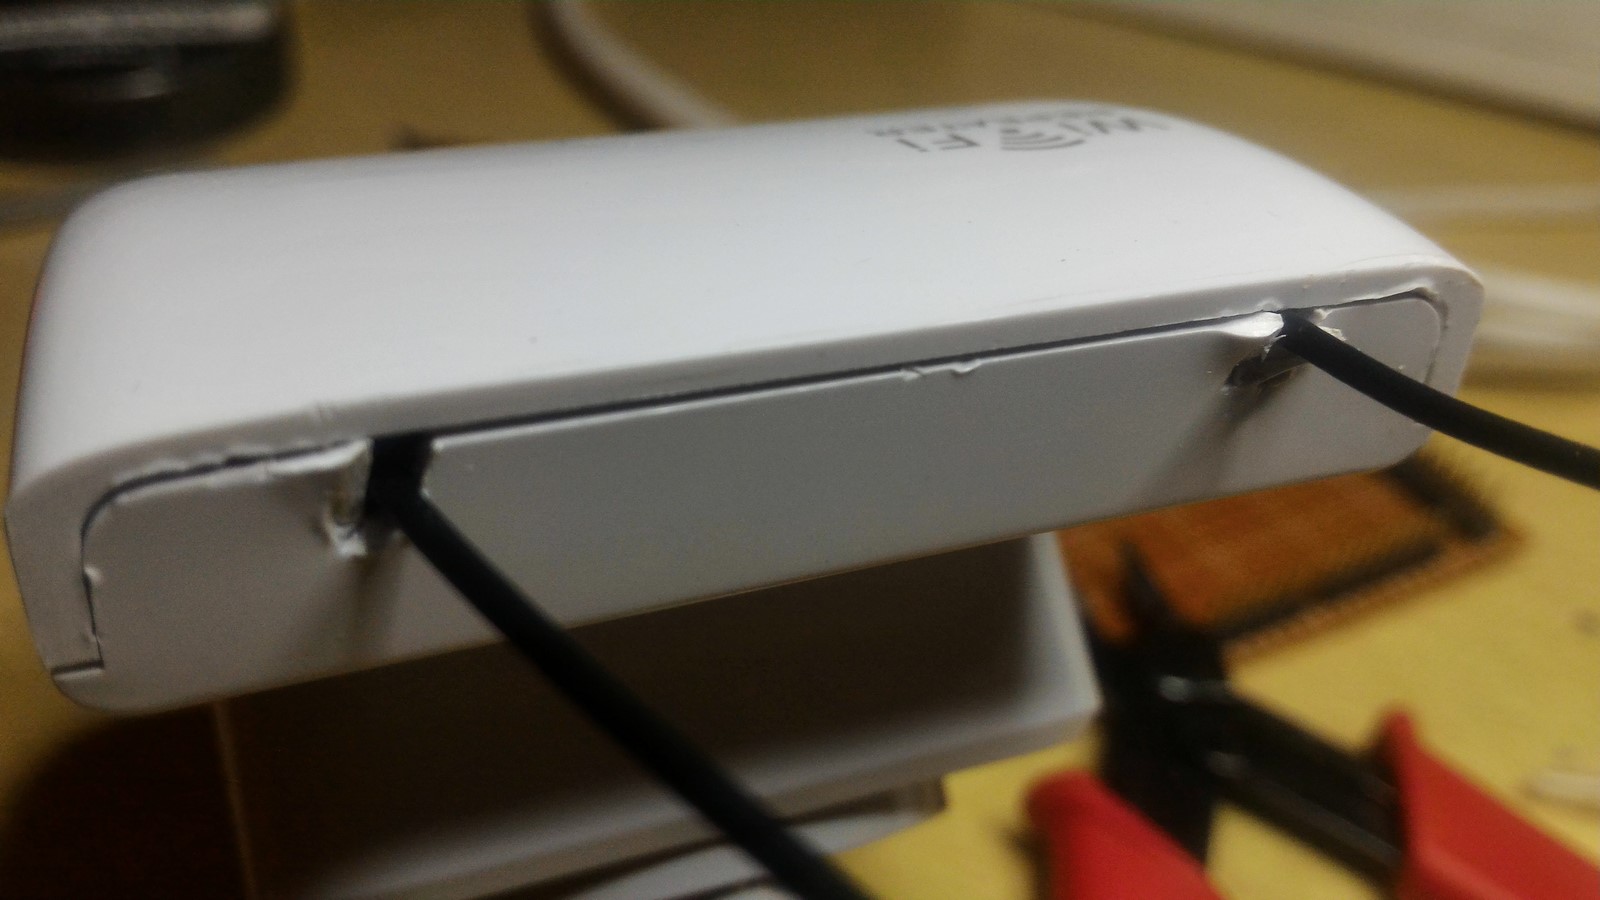
I was very disappointed the antennas were soldered to the board. Usually there's an U.FL connector which can be easily be plugged and unplugged, and of course this is also what I had at home
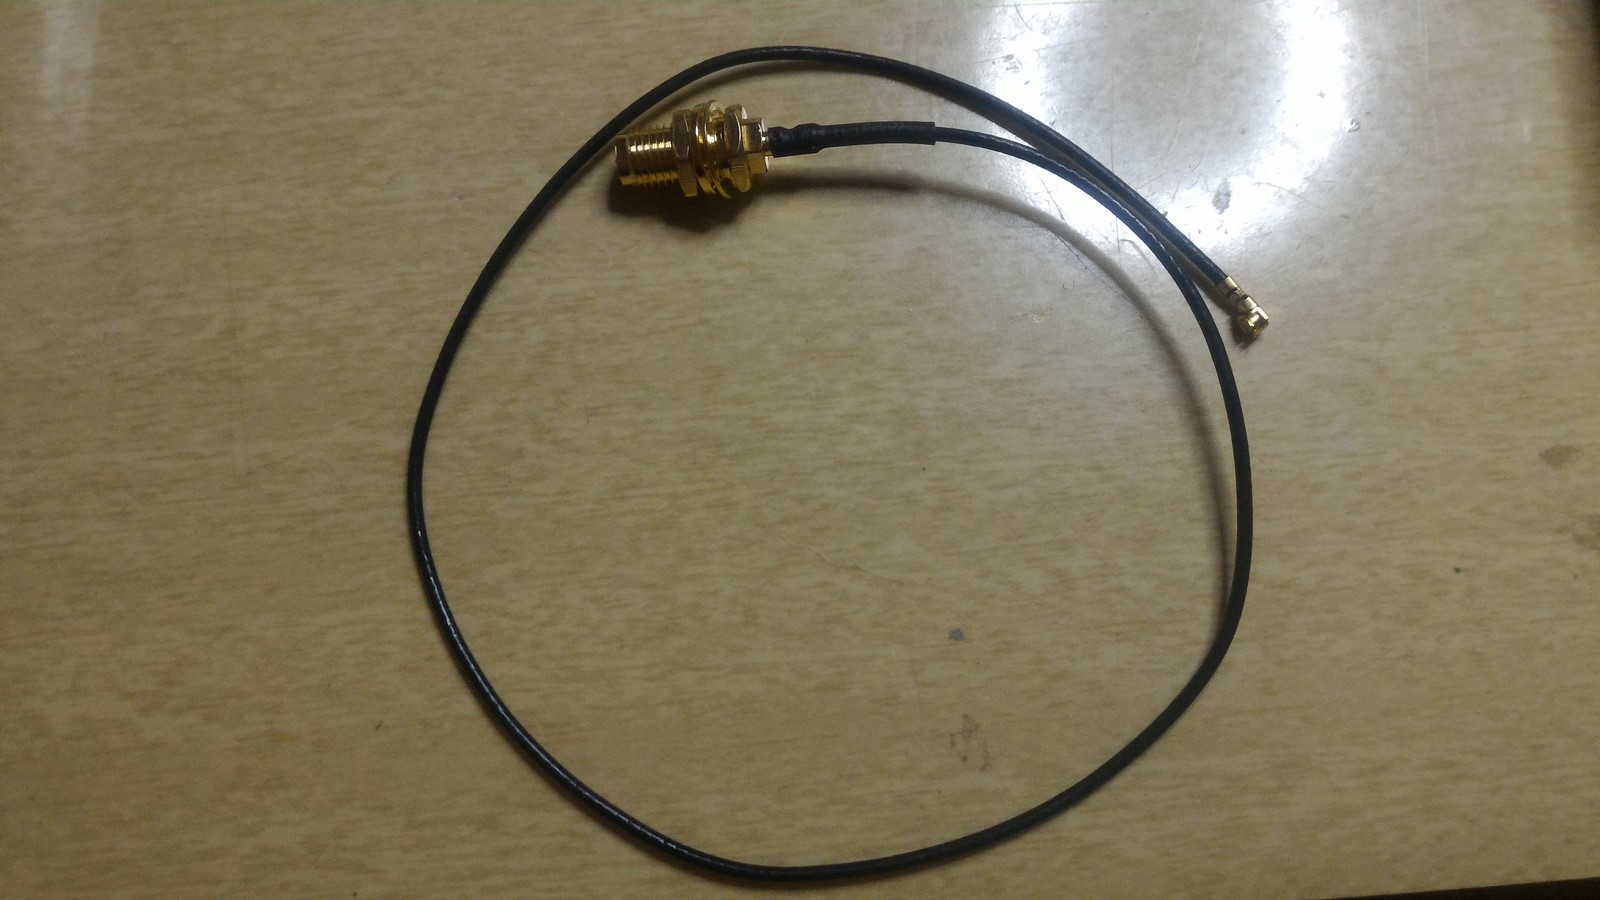
All it meant is that I had a bit more work to do. I started by cutting the connector, leaving some wire in case I'll change my mind (Which happens quite often)
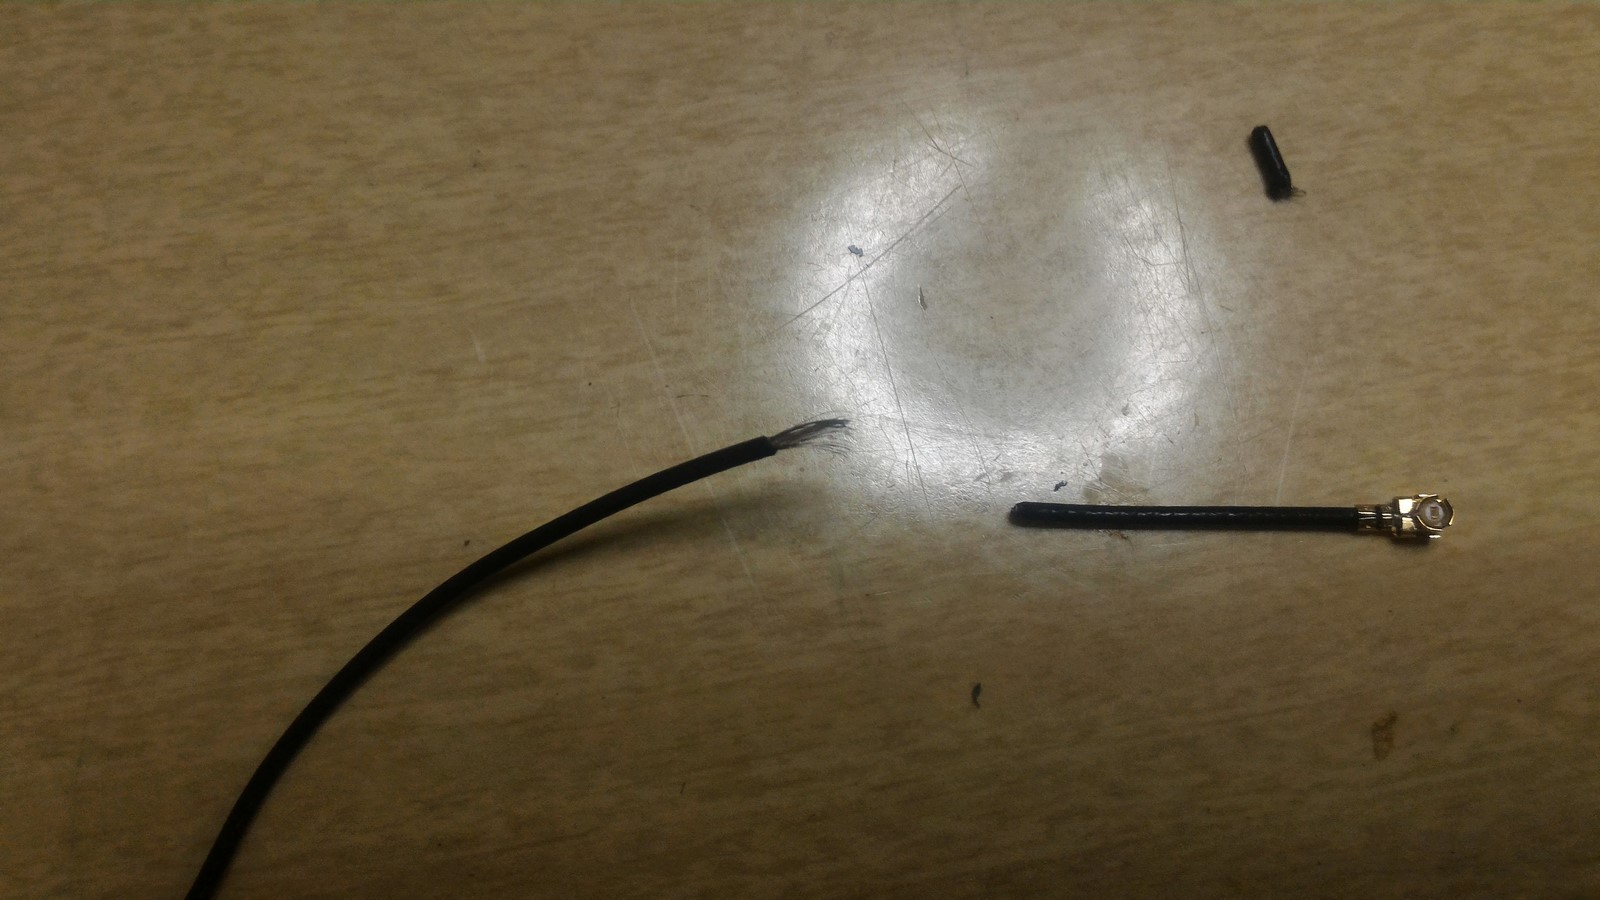
Then, I stripped some of the plastic, I had to melt it with a solder iron since I wasn't gentle enough to do so using a cutter.
Checking the cable under magnifying glass I could see it has three layers:
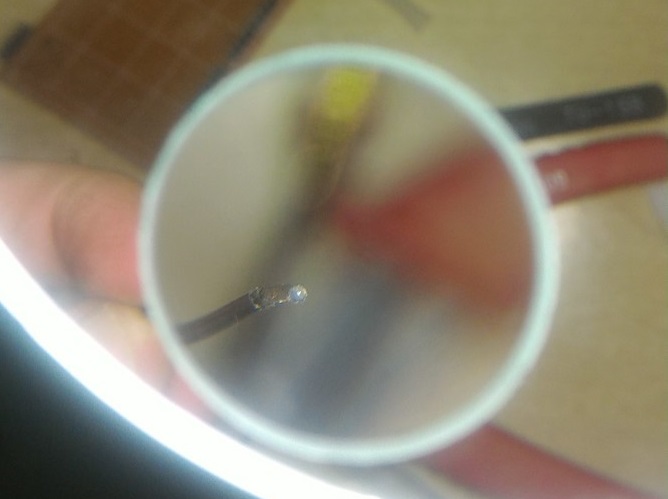
- Very small and thick metal line at the center (Positive part).
- Plastic buffer.
- Lots of metal strings branded to one another (Negative part).
I had to be very careful and separate the negative and positive parts.

Next, I soldered out the old antenna and soldered back the new antenna

And of course have done this procedure also to the second antenna as well. Then, I plugged it in and it seems to work, and work well!
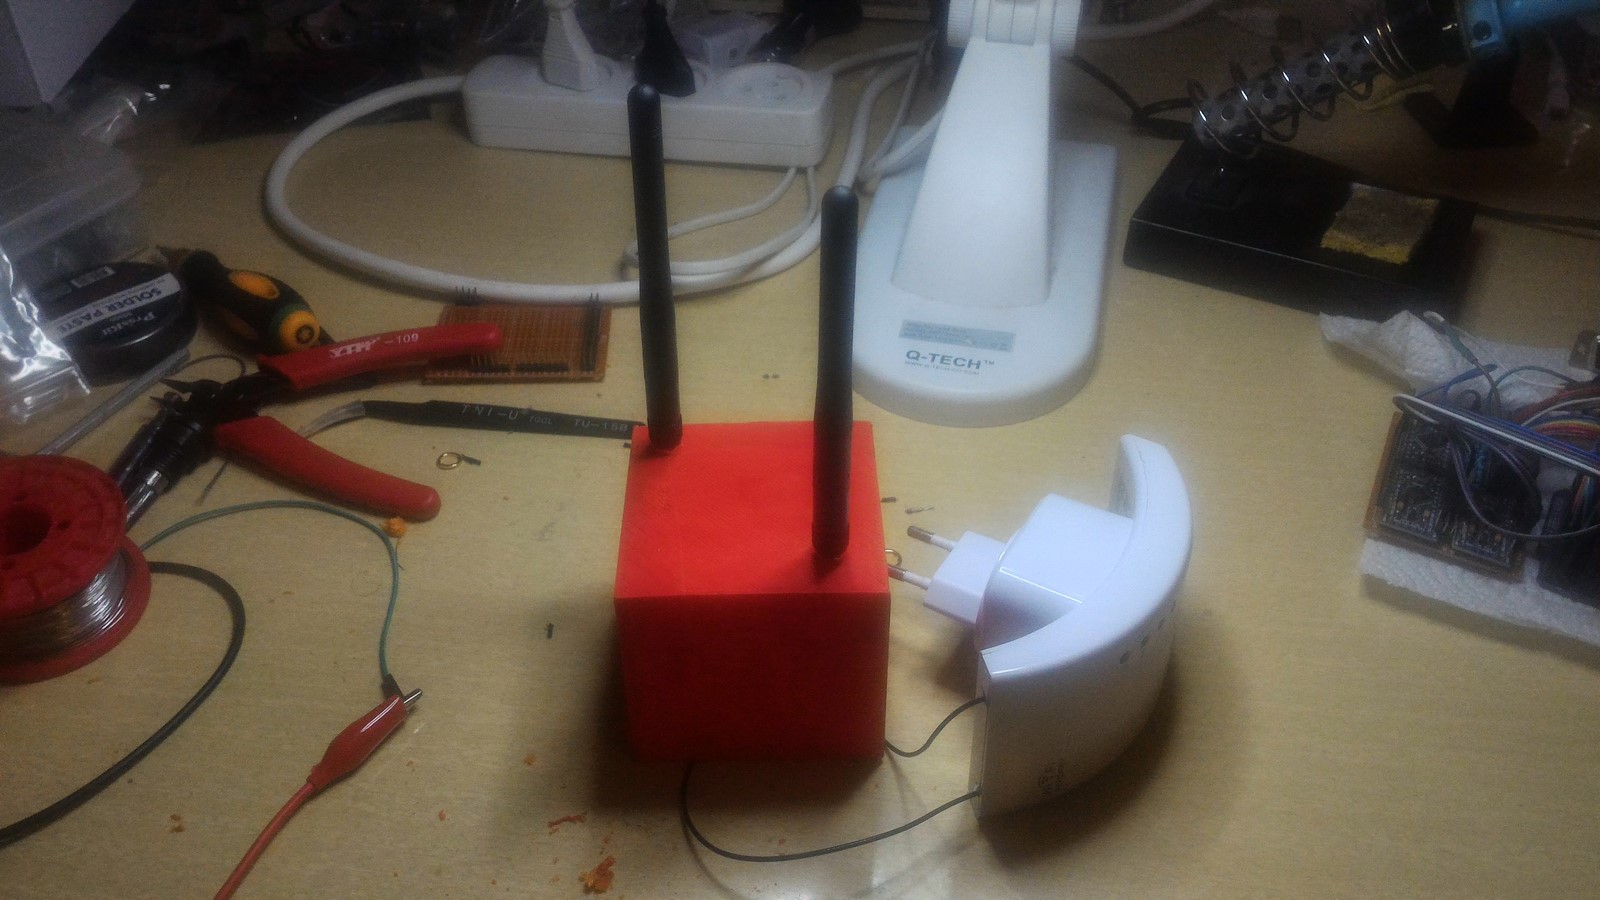
At this point I was feeling high, finally solving the WiFi issue in my house. As a final issue, I couldn't just leave the antennas hanging like that, and also they had to be at a certain distance from each other to work well. Before closing the plastic casing, I cut two small holes to pass the antennas wires outside of the case.
Then, I reused a 3D printed box I've printed while doing my Geekcon pets project, drilled some holes in it and screwed the antennas in so they will be fixed.
Finally, placing it back at its original place, checking the WiFi - Really good reception! Hack succeeded!
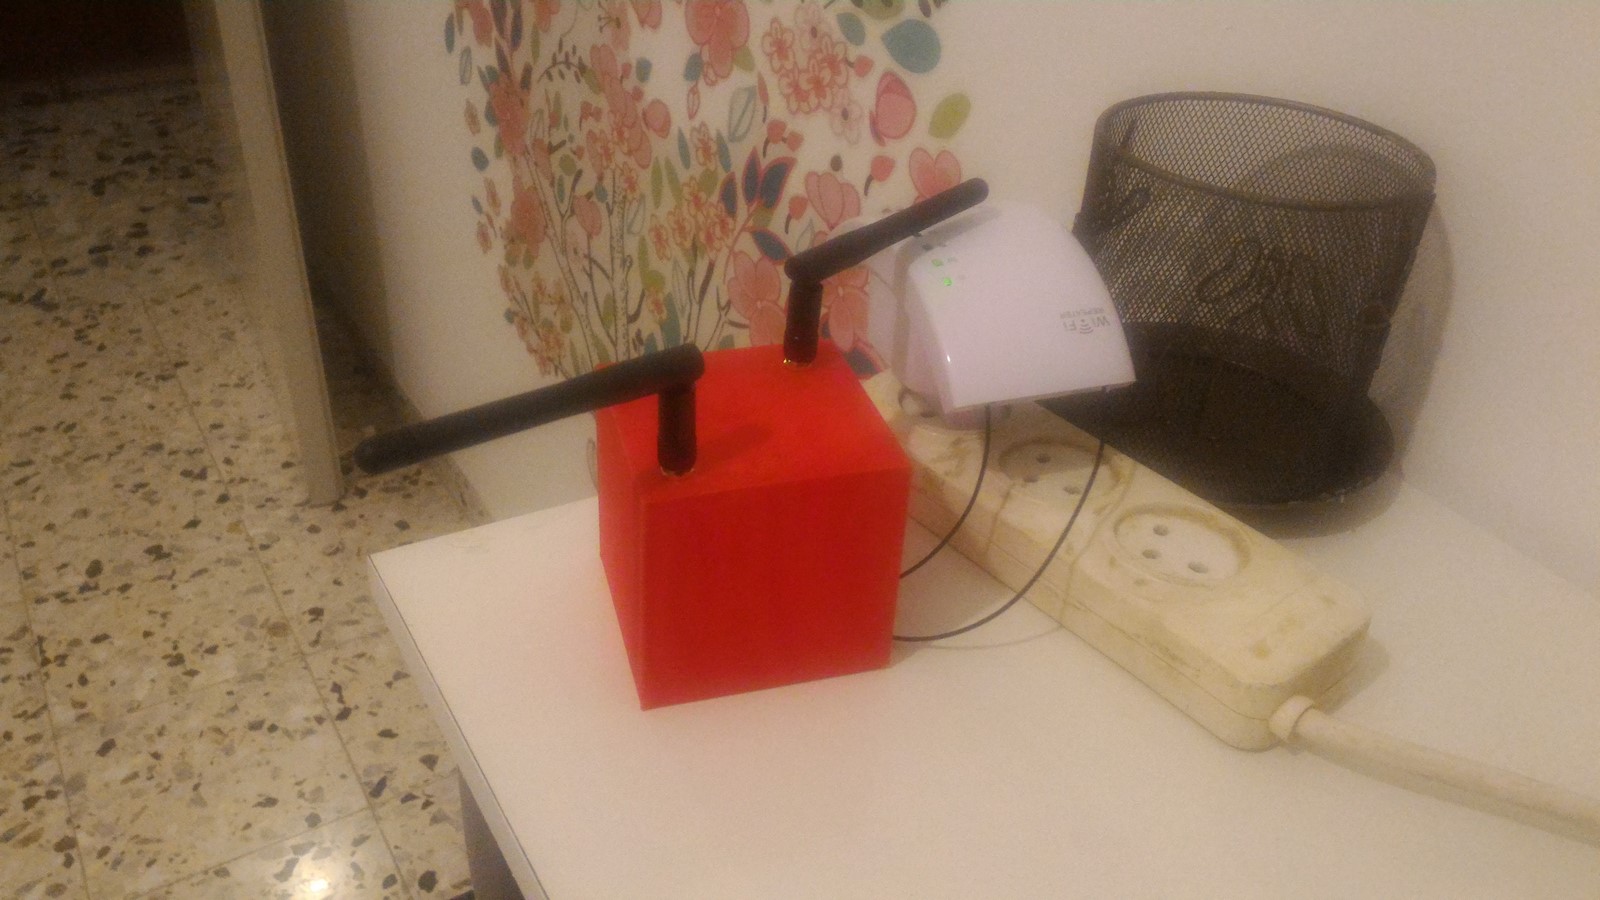
All this job took less than an hour - Go on and try it if you have the same problem.
AA